CyberPanel is a popular open-source hosting control panel powered by OpenLiteSpeed, offering easy management of websites, email, DNS, databases, and more. This guide will walk you through the installation process of CyberPanel on a fresh server.
Prerequisites #
Before starting the installation, ensure that the following prerequisites are met:
- A clean server:
- A VPS or dedicated server with at least 1 GB of RAM (2 GB recommended) and 10 GB of storage.
- Supported OS: Ubuntu 18.04, Ubuntu 20.04, AlmaLinux 8, AlmaLinux 9, Ubuntu 22.04, CloudLinux
- Root access to the server:
- You’ll need to log in as a root user or have a user with sudo privileges.
- Server IP Address:
- Example:
178.32.214.84
- Example:
- Stable Internet connection:
- The server needs to have internet access to download necessary packages and dependencies during installation.
Step-by-Step Guide to Installing CyberPanel #
Step 1: Connect to Your Server
Use SSH to connect to your server. Check this guide in how to do that.
Step 2: Update server Packages.
Depending on your Operating System Version, run the commands below to update the system
For Ubuntu:
sudo apt update && sudo apt upgrade -y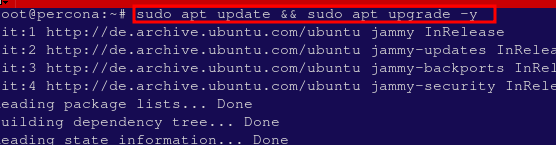
For CentOS/Alma/Rocky:
sudo yum -y updateStep 3: Run the Installation Script
CyberPanel offers an automatic installer that simplifies the process. Run the following commands to begin the installation.
During the installation process, you will be prompted to make some choices; between OpenLiteSpeed (free) or LiteSpeed Enterprise (Licenced) and also regarding installation of some addons
Run the command below to Download the CyberPanel installer:
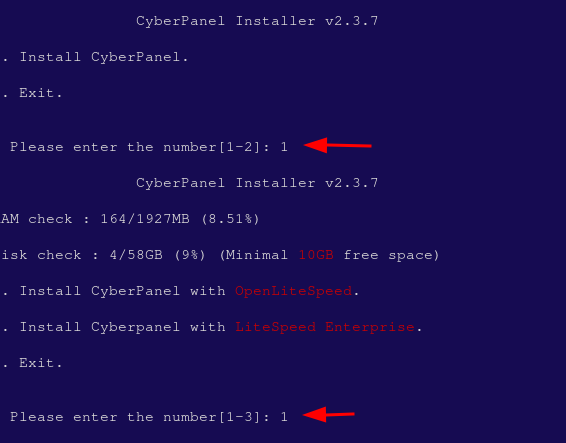
sudo su - -c "sh <(curl https://cyberpanel.net/install.sh || wget -O - https://cyberpanel.net/install.sh)"Choose the type of installation
Input 1 to choose to Install Cyberpanel, followed by another 1 to install with OpenLiteSpeed.
Step 4: Select Services and Packages.
During installation will get a sequence of prompts with various options and add-ons for selection.
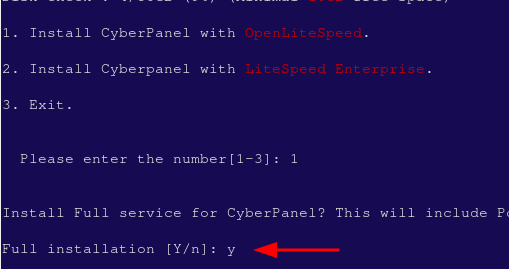
- Choose Full Service (default Y): In put Y then hit Enter. This installs
PowerDNS – an open-source DNS server
Postfix – open-source mail transfer agent
Pure-FTPd – open-source FTP server
- Remote MySQL (default N): Input N and hit Enter
Allow for your Database to be installed on a remote server

- CyberPanel Version (default Latest Version): Hit Enter to proceed with default option

- Password (default “1234567”): Input s and hit Enter to set a password or g then Enter to generate a random password, which you will see displayed on the screen when the installation completes.
In case you do not get a chance to set a password, do not worry, you will easily set using these steps once the installation completes. - Memcached (default Y): In put Y then hit Enter
This is Distributed memory object caching system

- Redis (default Y): In put Y then hit Enter
This is an In-memory data structure store, used as a database, cache, and message broke

- Watchdog (default Yes): In put Yes then hit Enter
A kernel watchdog is used to monitor if a system is running. It is supposed to automatically reboot hanged systems due to unrecoverable software errors.

Step 5: Installation Processing
Once all the options are selected, the installer will begin downloading and installing the necessary packages. This process may take 10-15 minutes depending on your server and internet speed.
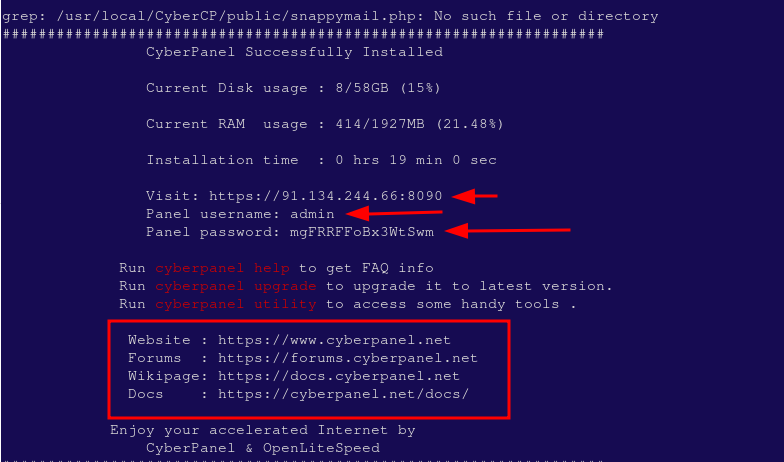
Step 7: Finalize Installation
Once everything is done, you will encounter a screen displaying important information regarding your configuration. It is recommended to select and securely copy this information to a safe location for future reference.
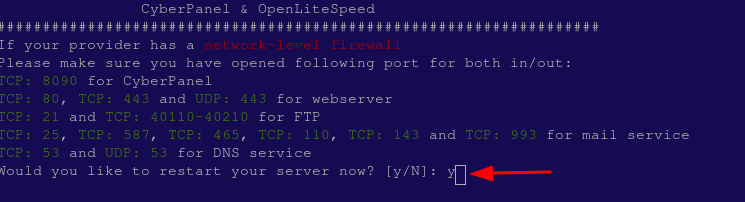
Also you will see a prompt asking you to reboot the server. Select Y then it Enter to reboot the server
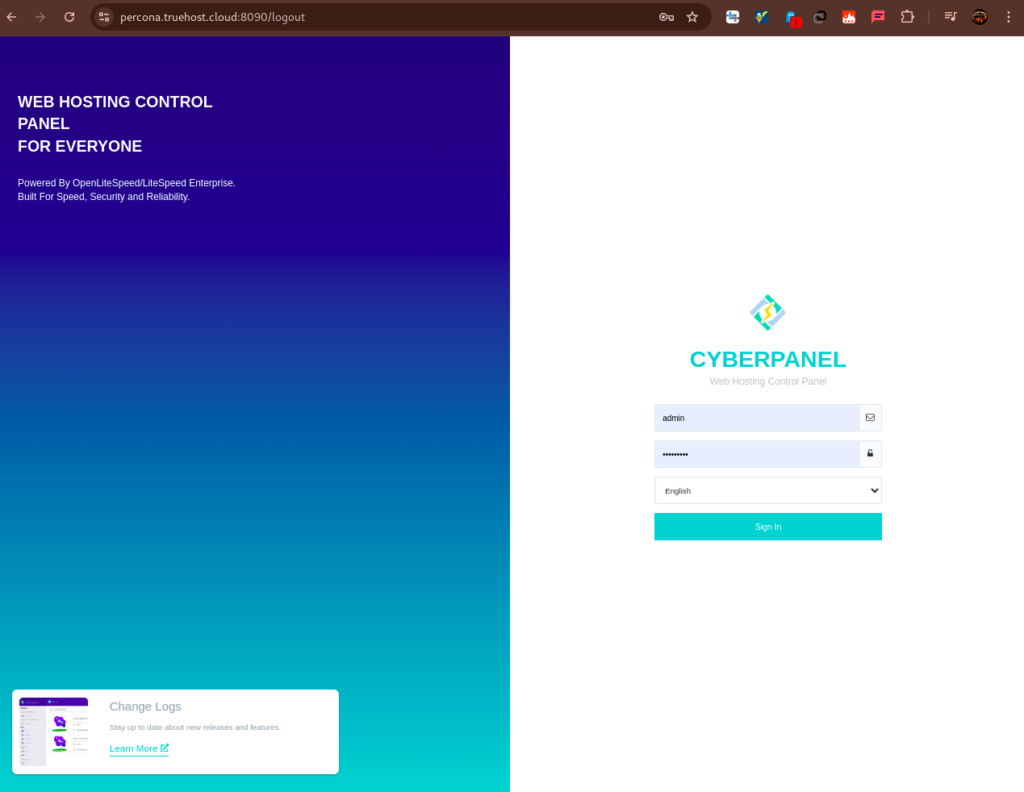
Step 8. You may Access your Cyberpanel using these steps