Truehost Cloud provides an easy-to-use interface for managing your Tcloud VPS through the Virtualizor mini panel. This guide will walk you through the process of reinstalling the OS on your Tcloud VPS.
Prerequisites: #
- An active Tcloud VPS hosted with Truehost Cloud.
- Access to your Truehost Cloud Client Area.
- Basic knowledge of operating system choices.
Steps to Reinstall Your VPS OS: #
Please be guided bellow…
Step 1: Log in to the Truehost Cloud Client Area #
- Login using the login details that you set when sign up. If you have forgotten them, please contact our support team for help.
Step 2 : Access the VPS Management Section
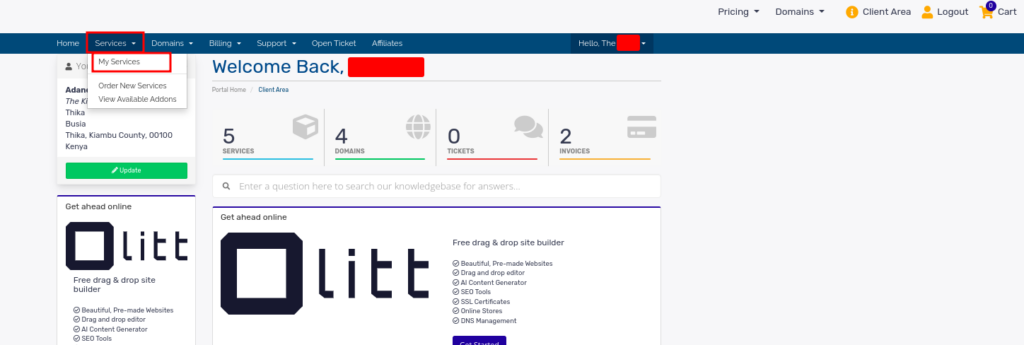
- Once logged in, go to Services from the main dashboard.
- Click on My Services to view your active services.
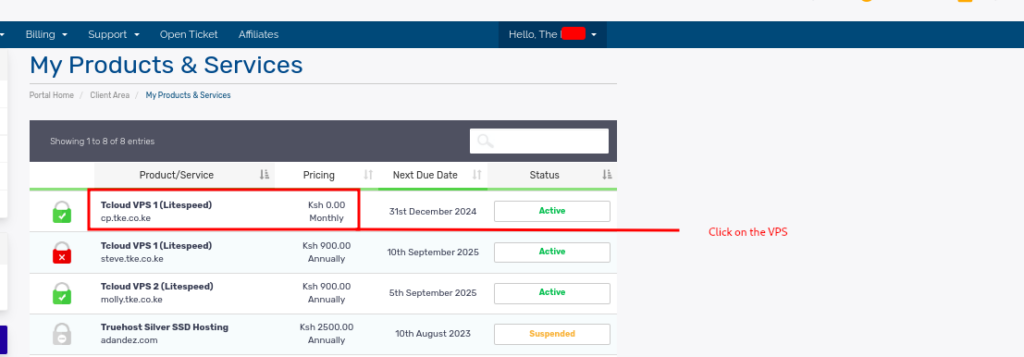
- Find your VPS service from the list and click on it to open the management interface.
Step 3: Launch the Virtualizor Mini Panel
- Within the VPS management page, scroll down to find the Virtualizor Mini Panel.
- Sometimes the panel could take up to 2 minutes to display
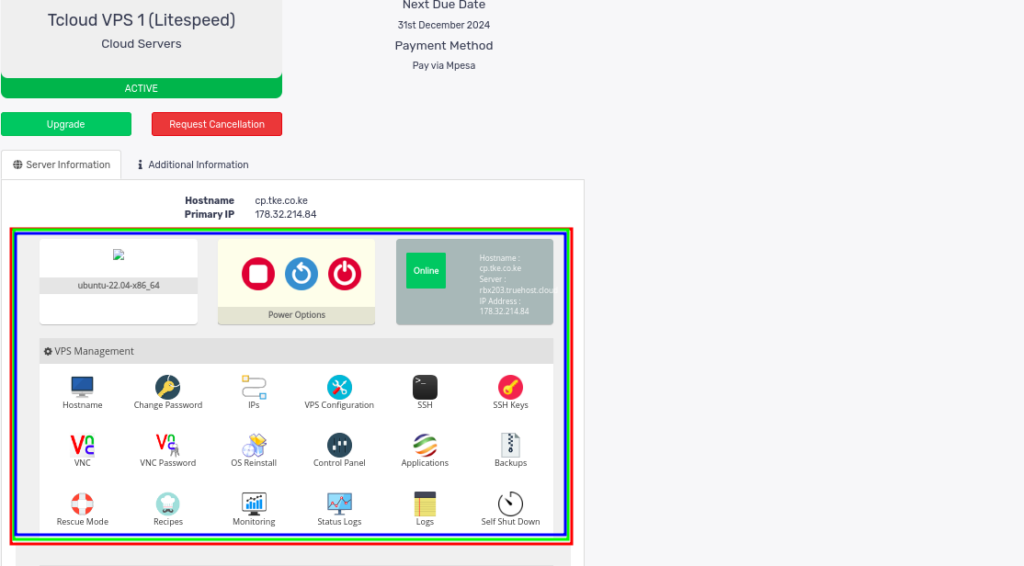
- You can check through various one-click functions given on the panel
Step 4: Navigate to the Reinstallation Option
- From the various functions on the panel locate the Reinstall OS option. This may be displayed under the OS Re-installation or Reinstall section, typically in the VPS management area.
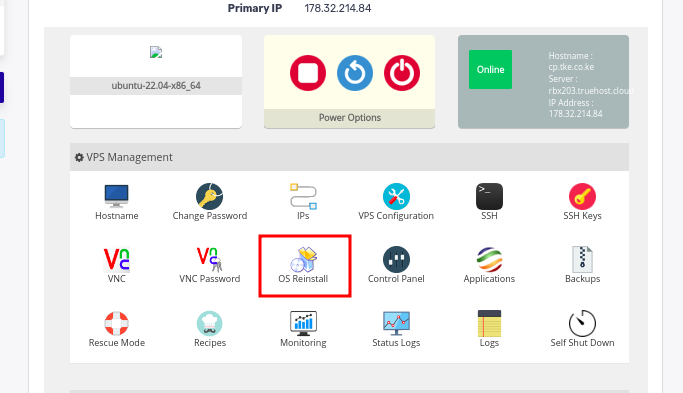
- Click on Reinstall OS to proceed.
- A list of available operating systems will be presented. Select the OS you wish to install on your VPS.
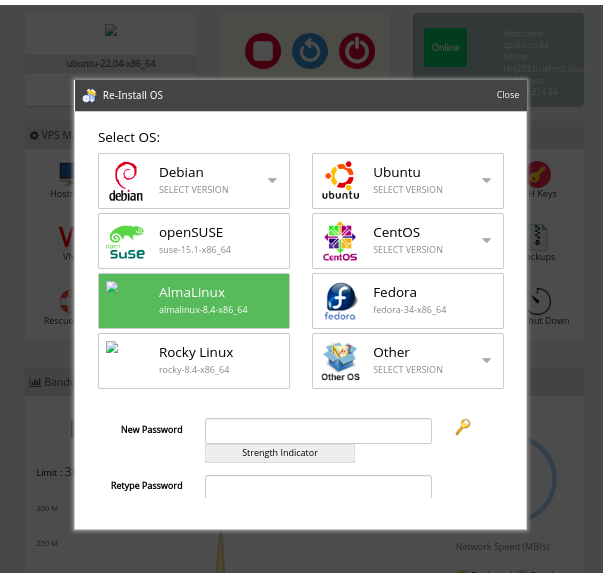
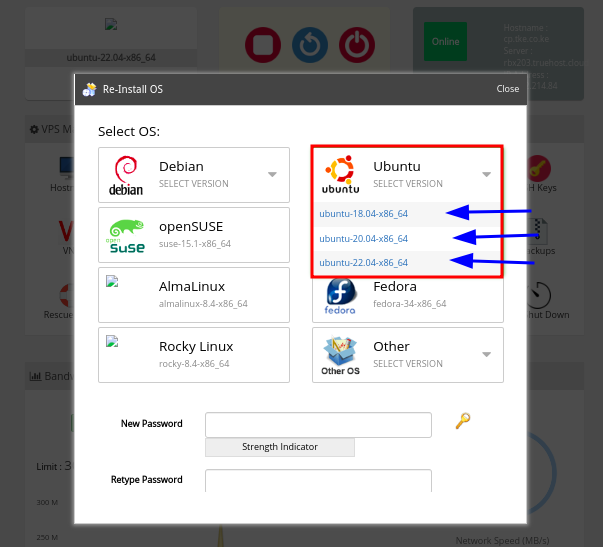
- Note that some OS options have a drop-down that let’s you choose a version to install. E.g if you click on Ubuntu, you will have a drop-down for choosing the Ubuntu version of preference.
- Choose the OS version that you want then also set a password of presence for the VPS. This will be the root SSH password. You want is strong ans secure.

Step 5: Confirm the Reinstallation
- After selecting the desired OS, you will be prompted to confirm the action. Be aware that reinstalling the OS will erase all data on the VPS, so ensure you have taken the necessary backups before proceeding.
- Click the Reinstall button to confirm the reinstallation.
- The reinstallation process will begin and may take between 3 to 10 minutes. You can monitor the progress in the Virtualizor panel.
- Once the process is complete, the VPS will be rebooted with the newly installed OS.
Step 6: Access Your Reinstalled VPS
- After the reinstallation is finished, you will receive the new login credentials for the VPS root account, which are usually displayed in the Virtualizor panel or sent via email.
- Use SSH or the console to log in to your newly installed OS using the provided credentials.