Fail2Ban is a security tool that helps protect Linux servers from brute-force attacks by monitoring logs and banning IP addresses that show signs of malicious activity. This guide explains how to install, configure, and use Fail2Ban to enhance the security of your Linux server
Prerequisites: #
- A Linux server running a supported distribution (Ubuntu, Debian, CentOS, etc.).
- Root or sudo access to the server.
- A basic understanding of SSH and command-line operations.
Step 1: Install Fail2Ban #
For Debian/Ubuntu-based distributions:
- Update the package list. It is always a good practise
sudo apt-get update && sudo apt-get upgrade -y- Install Fail2Ban using the command below:
sudo apt-get install fail2ban -y- If you want to add email support for the Fail2Ban service, insert the following command and press Enter:
sudo apt-get install sendmail- Verify Fail2Ban status using the following command:
sudo systemctl status fail2banFor RHEL/Alalinux/CentOS-based distributions:
- First Enable EPEL repository (if not already enabled):
sudo yum install epel-release*- Install Fail2Ban:
sudo yum install fail2ban -y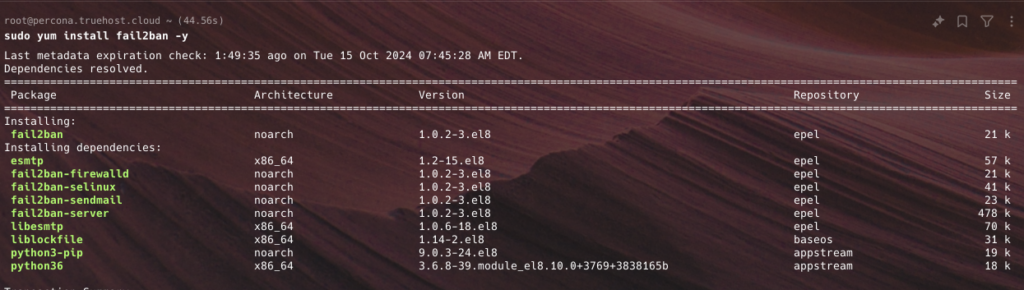
- Enable and Start Fail2Ban using these commands:
sudo systemctl enable fail2ban

sudo systemctl start fail2ban

- Check Fail2Ban status using these command
systemctl status fail2ban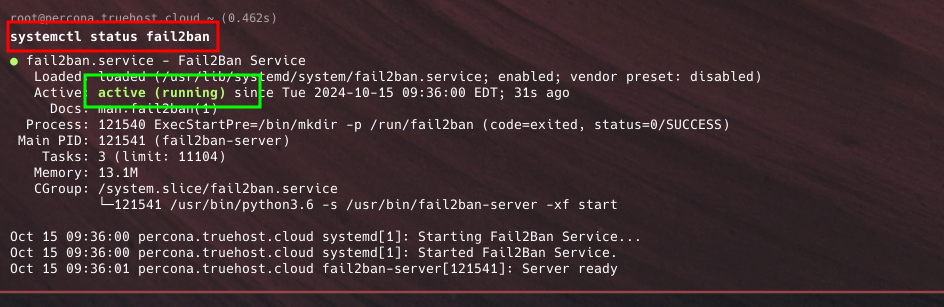
Step 2: Configure Fail2Ban #
There are two files that can be modified when configuring Fail2Ban
- jail.local – The original file is called jail.conf and it has jails – filters with actions. However, users shouldn’t directly modify this file as it contains the basic rule set for Fail2Ban’s software. Instead, you create jail.local for modifications
- fail2ban.local – The original file is called fail2ban.conf and it houses Fail2Ban’s basic configuration. It contains the global settings that should not be modified. Instead, you create fail2ban.local for modifications
Setting Up the jail.local Configuration File
- You need to make a copy of the original jail.conf file and name it jail.local. On this file it, you’ll be able to customize and setup filters and actions, such as ignoreip, bantime, findtime, maxretry, and backend.
- Use the command below to make a copy of jail.conf and name it jail.local
sudo cp /etc/fail2ban/jail.conf /etc/fail2ban/jail.local- Open the local configuration file for editing:
sudo vi /etc/fail2ban/jail.local- You can refer to this documentation to see possible configuration options for this section.
- Basic settings: In the
jail.localfile, you can configure basic parameters:bantime: How long the IP will be banned after failed authentication (e.g., 600s = 10 minutes).findtime: The time window during which a certain number of failures must occur to trigger a ban.maxretry: The number of failed attempts before a ban is triggered.backend: allows you to specify the backend configuration for file modification. The default value is auto, but if you use CentOS or Fedora, it needs to be systemd.
- Example configuration:
bantime = 10m
findtime = 10m
maxretry = 5- Configure SSH protection
- Fail2Ban has a built-in SSH protection jail. To enable it, scroll to the
[ssh]section and ensure that enabled = true - Below are some of the possible configurations option for this section
- enabled – Enables or disables the jail. Options are
trueorfalse - banaction – defines which default action to use when the maxretry threshold is reached. If you use firewalld, set the value to firewallcmd-ipset. However, if you’ve set up UFW as your firewall, change it to ufw.
- banaction_allports – allows you to label and block IP addresses on every port. If you use firewalld, set the value to firewallcmd-ipset.
- port – Specifies the port to monitor for SSH connections. Default is
ssh, but if your SSH server runs on a non-standard port, you can specify it. - filter – Points to the filter used by Fail2Ban to detect malicious patterns in logs. For SSH, this is typically set to
sshd. - logpath – Specifies the path to the log file where SSH attempts are logged. This is usually
/var/log/auth.logon Debian/Ubuntu or/var/log/secureon CentOS/RHEL. - maxretry – Defines the maximum number of failed attempts before an IP address is banned.
- enabled – Enables or disables the jail. Options are
- Example configuration:
[sshd]
enabled = true
port = 22
filter = sshd
logpath = /var/log/auth.log
maxretry = 5
findtime = 10m
bantime = 1h
ignoreip = 127.0.0.1/8 192.168.0.1
action = %(action_)s
banaction = iptables-multiport
protocol = tcp
Setting Up the fail2ban.local Configuration File
The fail2ban.conf file keeps Fail2Ban’s basic configuration. It contains the global settings that should not be modified.
If you want to make changes you need create another file and name it fail2ban.local then copy contents of fail2ban.conf to it. This overrides the default configuration profile.
- Use the command below to make a copy of fail2ban.conf and name it fail2ban.local
cp /etc/fail2ban/fail2ban.conf /etc/fail2ban/fail2ban.local- Open the local configuration file for editing:
sudo vi /etc/fail2ban/fail2ban.local- You can now edit the values in the file, as desired. Refer to this documentation to see the possible values