Effective user and group management is essential to maintaining security, efficiency, and organization on a Linux server.
With proper user and group configurations, administrators can ensure that users have appropriate access levels and permissions, keeping sensitive data protected and minimizing the risk of accidental or malicious actions.
Here’s a look at best practices for managing users and groups on Linux.
1. Understanding User and Group Basics #
- In Linux, every user has a unique user ID (UID), while groups have group IDs (GID). Users can belong to multiple groups, each with specific permissions, allowing for flexible access control across the system.
- User: A unique identity on the system with a username and UID.
- Group: A collection of users with a GID, allowing shared permissions.
- Linux uses three categories of permissions: owner (user), group, and others, which can be adjusted for files, directories, and commands to control access.
2. Creating and Managing Users #
Add New Users
- It’s crucial to follow a consistent naming convention and avoid adding unnecessary users to sensitive groups like
sudoorroot.
- To add a new user, use the command below;
- This command creates a new user with default settings, including a home directory.
sudo adduser [username]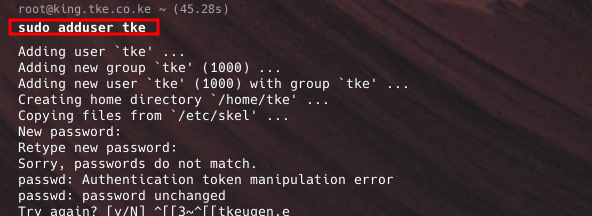
Use useradd for Custom Options
For custom configurations, useradd allows greater flexibility. You can specify custom home directories, shell types, and other user-specific settings.
sudo useradd -m -d /custom/home -s /bin/bash -c "User Description" [username]
User Passwords and Expiration
- Set strong passwords for all user accounts and enforce password policies to enhance security:
sudo passwd [username]
- To set password expiration for regular password changes:
- Int he command below, 90 represents the number of days that the password will be valid.
sudo chage -M 90 [username]
- After 90 days, the password will expire, and the user will be prompted to update it at their next login.
3. Managing Groups for Access Control #
Create and Assign Groups
Grouping users simplifies permission management, especially for multi-user environments. To create a new group:
sudo groupadd [groupname]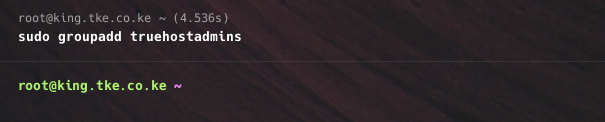
To add a user to a group:
sudo usermod -aG [groupname] [username]
Note:
System groups, like sudo, www-data, and docker, come pre-configured with specific permissions. Only assign users to system groups if they need that level of access.
Verify Group Memberships
To check a user’s group memberships:
groups [username]
4. Configuring Permissions with chmod, chown, and chgrp #
- Permissions control access to files and directories. Set proper permissions to reduce the risk of accidental or malicious data access.
chmod: Modifies permissions for the user, group, and others.
sudo chmod 750 [filename] # rwxr-x---chown: Changes ownership of files to a specific user.
sudo chown [user]:[group] [filename]chgrp: Changes the group ownership of a file.
sudo chgrp [group] [filename]- You could check this article for more information regarding users and groups
5. Restricting Root Access #
- Root access should be limited to essential administrative tasks only. Avoid giving users access to the root account and consider using sudo to elevate permissions temporarily.
- You can check this article on how to do that
6. Lock and Disable Accounts as Needed #
- For security, disable or lock user accounts when they’re no longer active, such as after an employee leaves. This prevents unauthorized access without deleting user data.
Lock an account:
sudo usermod -L [username]
Unlock an account:
sudo usermod -U [username]
Expire an account immediately:
sudo chage -E 0 [username]7. Audit User Activity and Monitor Access #
- Use system logs to audit user activity, including login times, sudo usage, and access to critical files.
- The
/var/log/auth.logor/var/log/securefiles (depending on your distribution) track authentication events and are valuable for security auditing.
Monitor login attempts:
sudo lastlog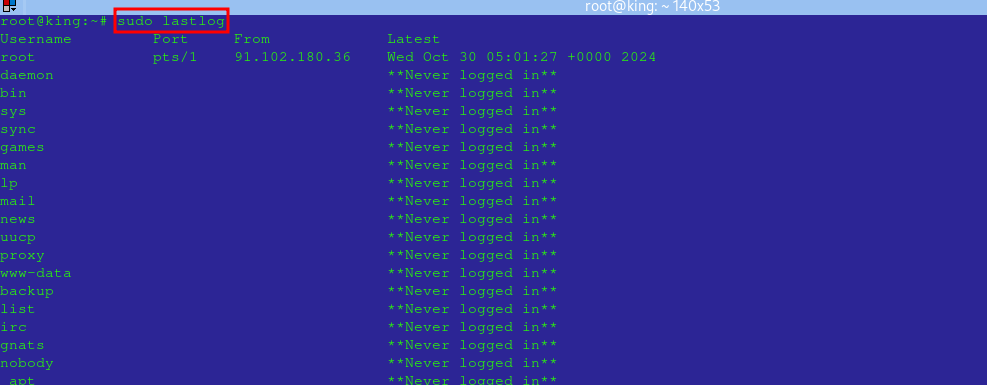
View failed login attempts:
sudo cat /var/log/auth.log | grep "Failed password"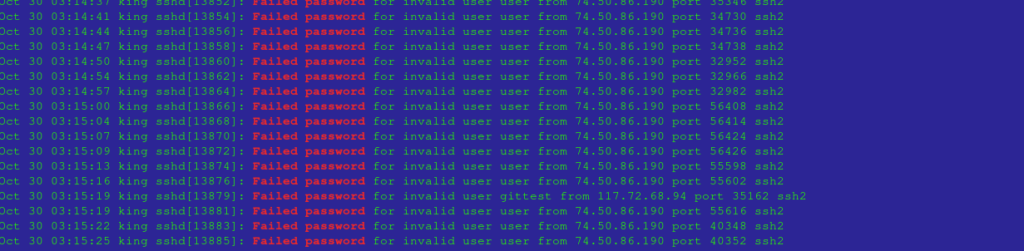
8. Enable Account Policies for Security – Optional Step #
- Account policies help enforce security best practices, such as password complexity, password aging, and login limits.
Use pam for Security Policies
- Linux’s Pluggable Authentication Modules (PAM) allow you to configure password and account policies. To set password complexity:
sudo vi /etc/pam.d/common-password- Add
minlen,ucredit,lcredit,dcredit, andocreditparameters to enforce complex passwords.
Configure Login Limits
- Set login attempt limits to protect against brute-force attacks:
sudo vi /etc/security/limits.conf- Define
hardandsoftlimits for various resources, like the maximum number of processes and open files.
9. Document User and Group Policies
- These steps can be so many that you end up not recalling all the configurations that were you did. Maintaining clear documentation on user and group policies helps keep everyone informed and simplifies future administration.
- Documentation should include:
- Naming conventions
- Group structures and access levels
- Account creation, deletion, and disabling procedures
Author’s Final thoughts #
Effective management of users and groups in Linux is critical to server security, organization, and accessibility.
By following these best practices, administrators can ensure that only authorized users have the appropriate access, reducing the risk of security incidents while maintaining a well-organized server environment.
Proper documentation, monitoring, and regular audits help make user management easier, enhancing security and enabling smooth server operations.