DirectAdmin provides an easy to use DNS Manager, which some users could fave a little challenge finding and navigating. Below are steps on how to Manage DNS.
ADD A DNS record in DirectAdmin #
- You first need to login into DirectAdmin control panel using one of the URLs below,
https://IP-address:2222 or https://server-hostname:2222.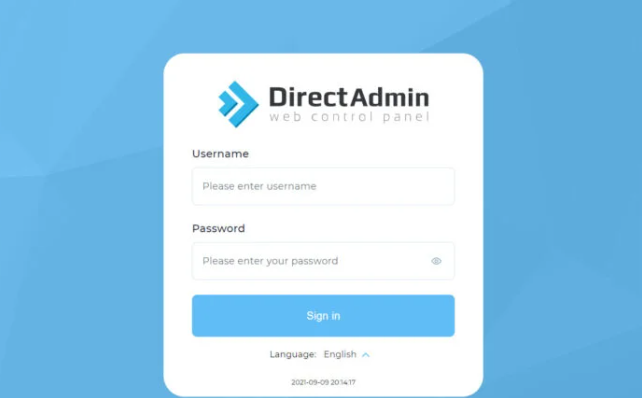
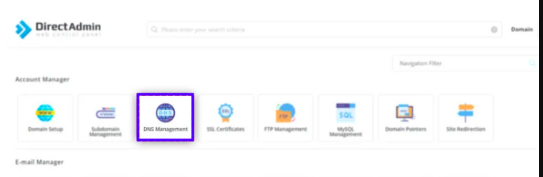
2. Go to Account Manager → DNS Management.
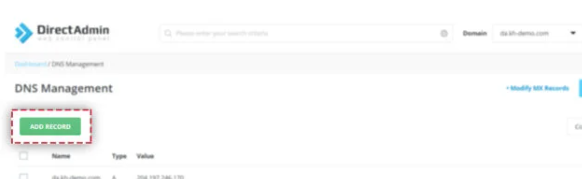
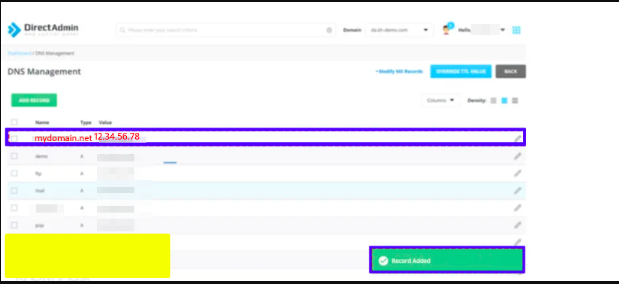
3. To add a new record, click on Add Record
4. You will be needed to choose the Record Type (like A, CNAME, TXT, MX,etc). You will also need to enter Name and and Value. Once done Click on ADD.
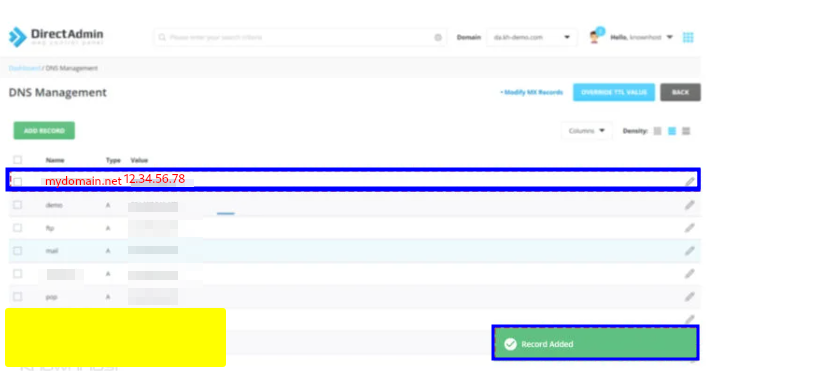
- With those steps, you have added a DNS record.
Modify existing DNS record in DirectAdmin? #
- You first need to login into DirectAdmin control panel using one of the URLs below,
https://IP-address:2222 or https://server-hostname:2222.2. Go to Account Manager → DNS Management.
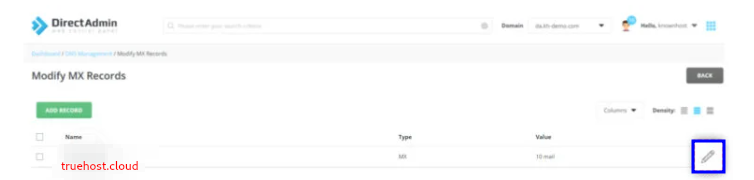
4. To modify a DNS record, click on the Edit icon on the extreme right, corresponding with the domain name whose records you want to edit.
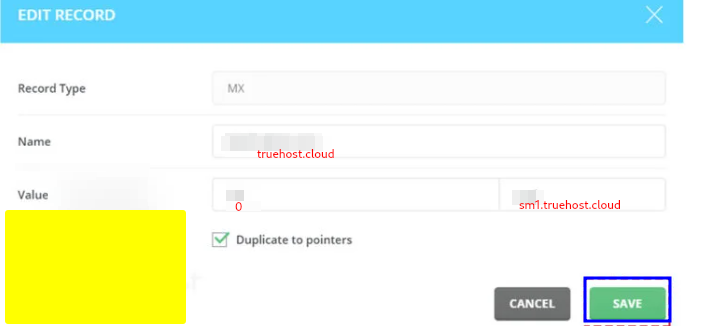
5. Make the changes that you want to make, then click on Save.
Delete DNS record in DirectAdmin #
- You first need to login into DirectAdmin control panel using one of the URLs below,
https://IP-address:2222 or https://server-hostname:2222.2. Go to Account Manager → DNS Management.
3. From the list of existing DNS record that you see, Select DNS Record that you want to delete, then Click on Delete.
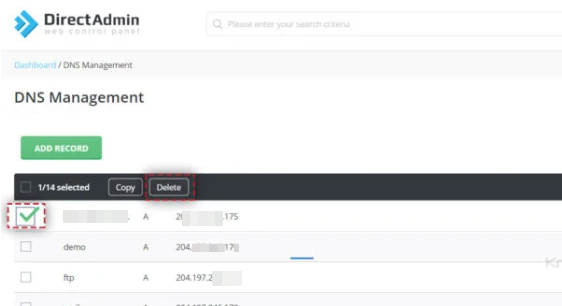
- You will be asked to confirm deletion. Confiem by clicking on Delete, as in the image below.
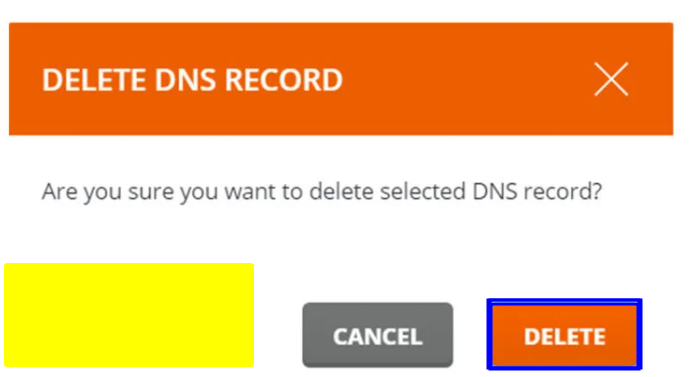
- Your DNS record will now be deleted