Cron jobs are used to automate repetitive tasks and to schedule them to happen at specific times. Just as it is with most control panels, the feature is also available in DirectAdmin.
- You first need to login into DirectAdmin control panel using one of the URLs below,
https://IP-address:2222 or https://server-hostname:2222.
2. Navigate to Advanced Settings -> Cron Jobs
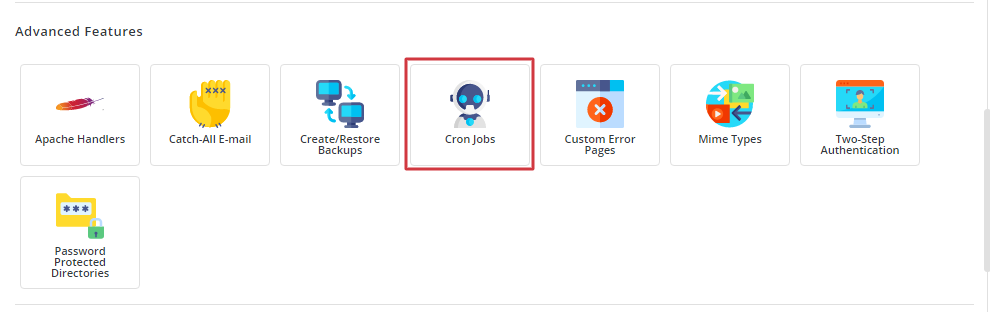
- You will be taken to a Window where you can create/modify and delete cron jobs.
3. Define the cron job command
- In the command field, you will input the command that you want the cron to execute. This can be a command that executes a script, some program or a complete command that already does a task.
- For example if you have a cron like this below, which runs a bash script
- You can set time for the cron
bash /home/rootuser/my-scripts/checkServerLoadNnotify.sh4. Set timing for the cron job
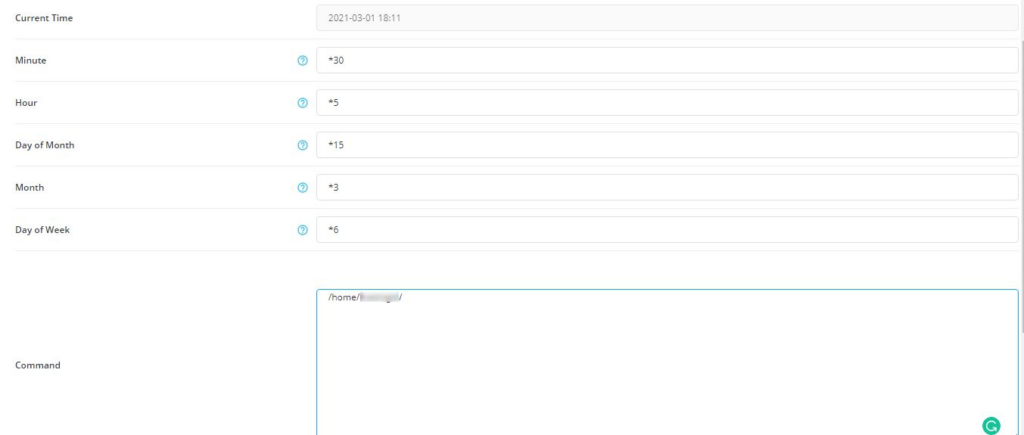
- DirectAdmin provides fields which you can set when and how a cronjob runs. You will have fields for;
- Minute: Enter the minutes (0-59) when you want the cron job to run.
- Hour: Enter the hour (0-23) for running the cron job.
- Day of Month: Enter the day of the month (1-31).
- Month: Specify the month (1-12).
- Day of Week: Select the day of the week (0-6 where Sunday is 0 or 7).
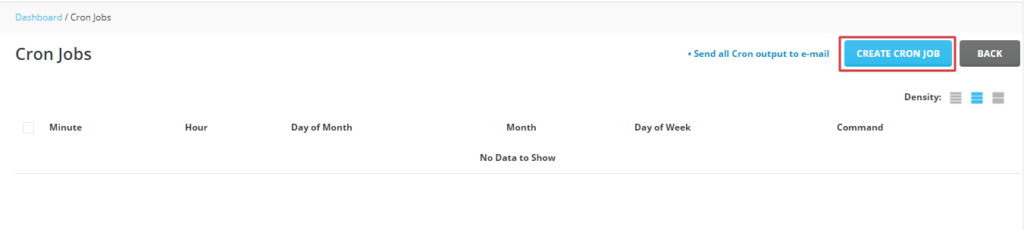
5. Click on Create, to add the cron job
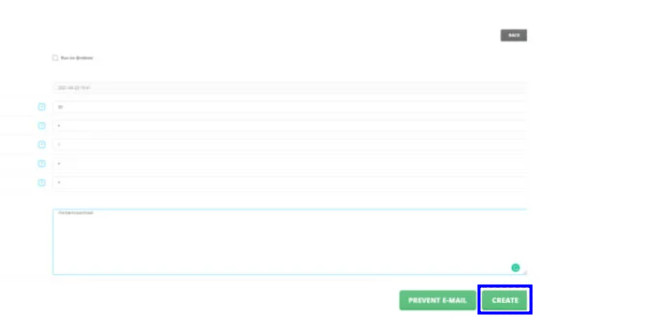
- You have just created a cron job
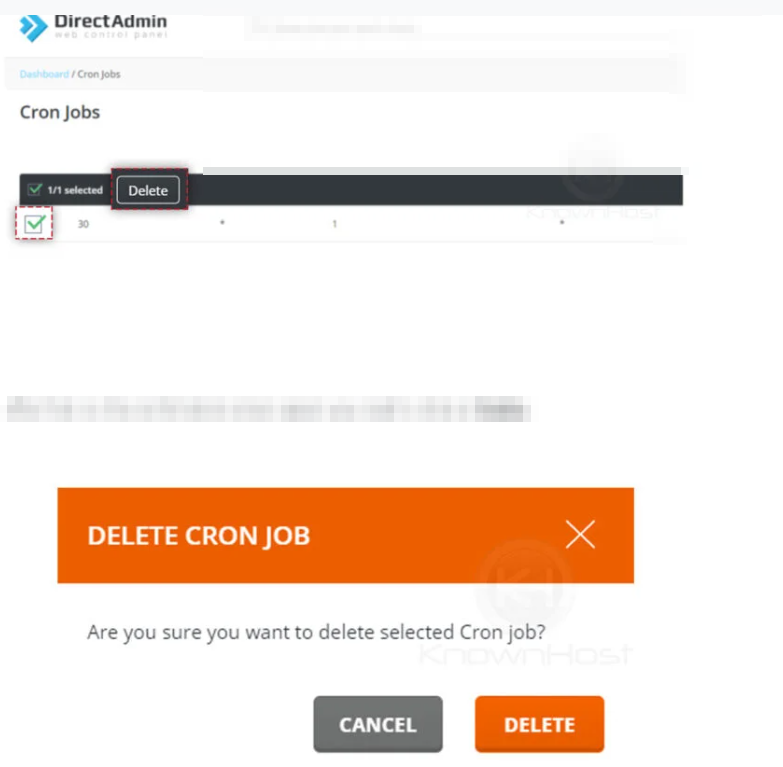
6. You can View, Edit or Delete a Cron job
- To perform any of the above actions, Navigate to Advanced Settings -> Cron Jobs
- You will see the respective buttons or each of the actions then click on the appropraiate one.
- You may be asked to confirm the action. Click on the appropriate button co confirm the action.
With the above steps, you have successfully created/modified/deleted your cron jobs on DirectAdmin.