Setting up custom nameservers in CentOS Web Panel (CWP) allows you to use personalized domain name servers, such as ns1.yourdomain.com and ns2.yourdomain.com. This setup is essential for server administrators and web hosting providers who want more control over DNS and branding.
Please note that the nameservers that you update here should already be registered
Step by Step on How to Set Up Nameservers in Control Web Panel #
- Log in to CentOS Web Panel root panel using these steps
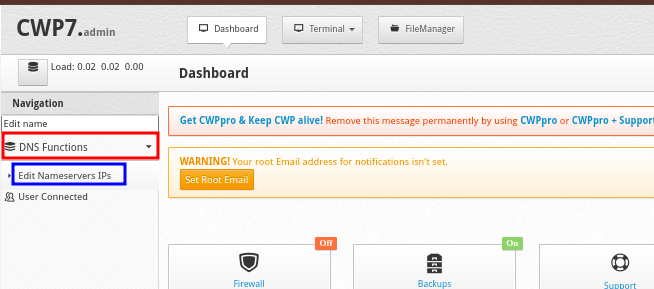
- In the CWP dashboard, navigate to DNS Functions.
- Click on Edit Nameservers IPs to define your nameserver addresses.
- Here, you will add your subdomains you want to use for the NameServers and one IP for each.
ns1.tke.co.ke --> 185.4.149.83
ns2.tke.co.ke --> 185.4.149.90- You can also add the same IP, for your server.
ns1.tke.co.ke --> 185.4.149.90
ns2.tke.co.ke --> 185.4.149.90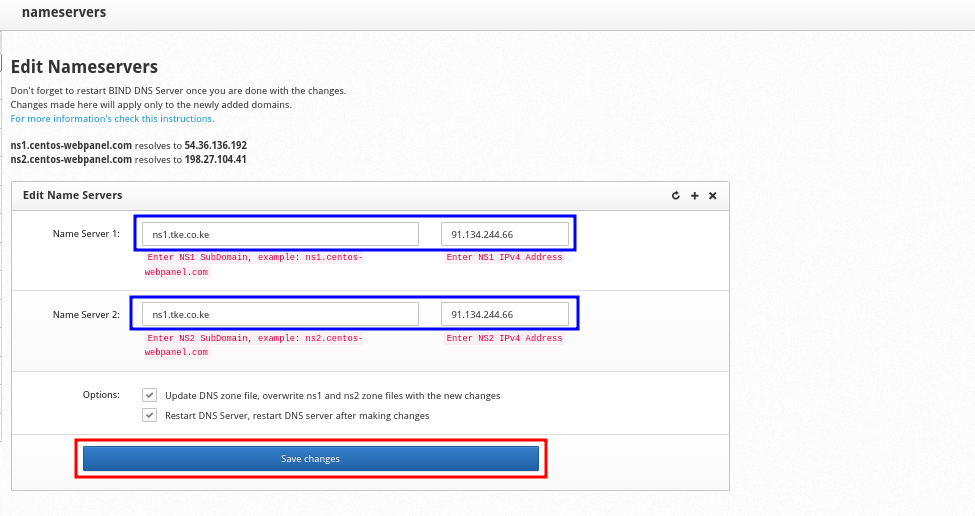
- Once done, click on Save to update the changes.
- If you had not registered those nameservers with your domain registrar, please do it using these steps
- You may now point your hosted domains to those nameservers so that they resolve to the server.
Your custom nameservers are now set up in Control Web Panel. This configuration allows you to manage DNS services directly on your server and provides a branded experience for clients and users.