This is a guide on how to add a user account on Webuzo panel. The steps are carried out on the Webuzo Admin Panel.
Prerequisites #
- Ensure that Webuzo Panel is installed on your server
- You should have admin log in details to the panel; IP, and root logins
Step by Step #
- Log in to your webuzo panel with admin details. Normally you will use the URLs below;
https://your_server_ip:2004 OR https://your_server_ip:2005- Input username as root, and the password as your server’s root SSH password, then click on Log in.

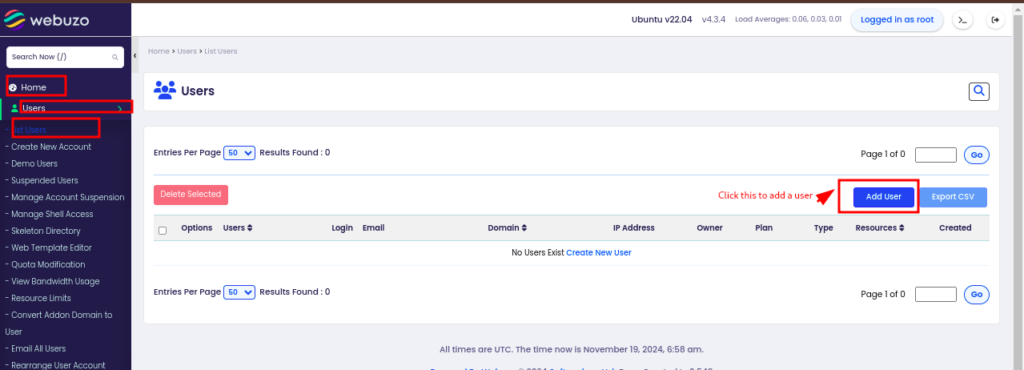
- Once logged in, navigate to Home > Users > List users
- You will see a button labeled Add User. Click on that.
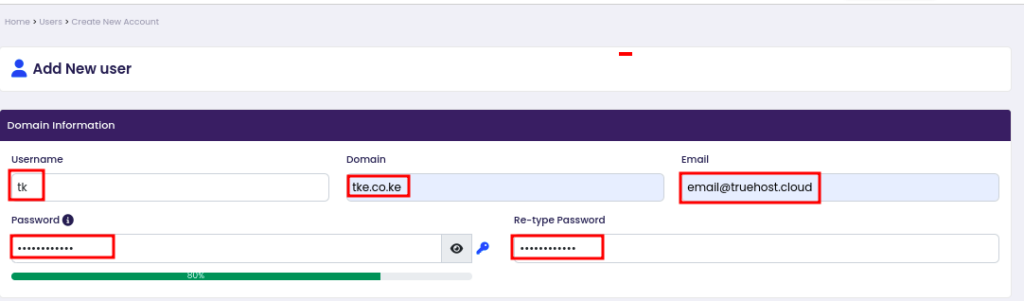
- You will have a window that has new user details that you need to fill in.
- In the domains sections, add valid details about your domain. Consider using a strong password in the password section.
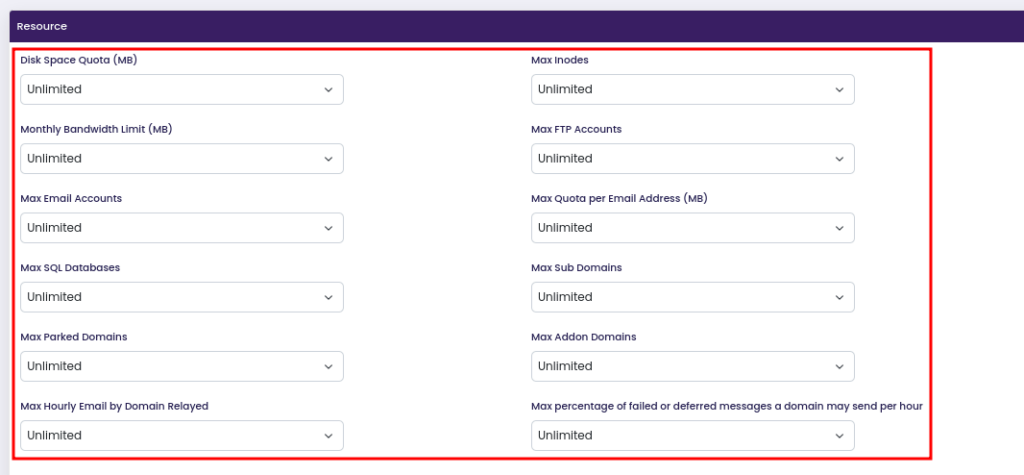
- In the Plan section, you can optionally choose a plan, if you have plans created prior. Othewise leave it as it is, then select options manually in the next step

- If you have no plans, then you may be selecting options manually, in the Resource section
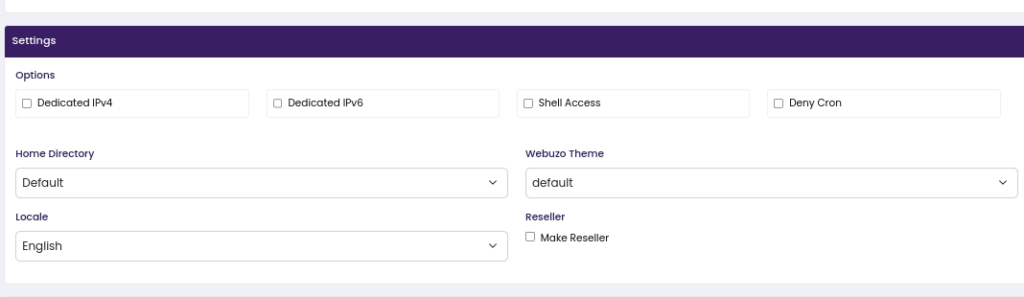
- In the Settings section, you will have options to set dedicated IPs to domains of user, to enable shell access hence to giving shell to user and deny cron which will not allow to add cron job to user.
- You can also make the user a reseller by checking the checkbox labelled Make Reseller.
- Select them as you desire.
- Next will be the Feature section. You can leave it as it is. If you have set custom features, then you can allow the features to your end users by selecting them the drop-down.

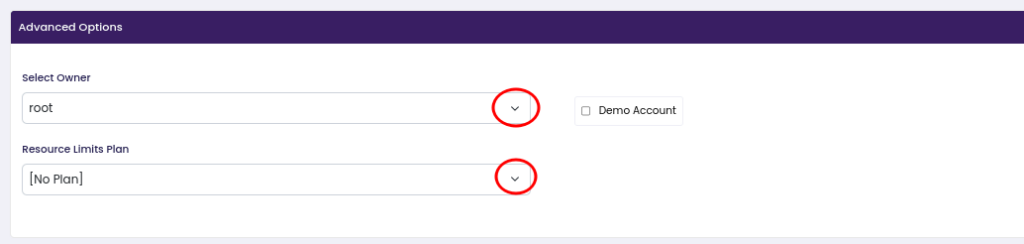
- In the Advanced Settings Options, you can select the owner of the account that you are creating, from the drop-down
- You can also select the Resource Limits Plan if you have plans, or else leave it as it is.
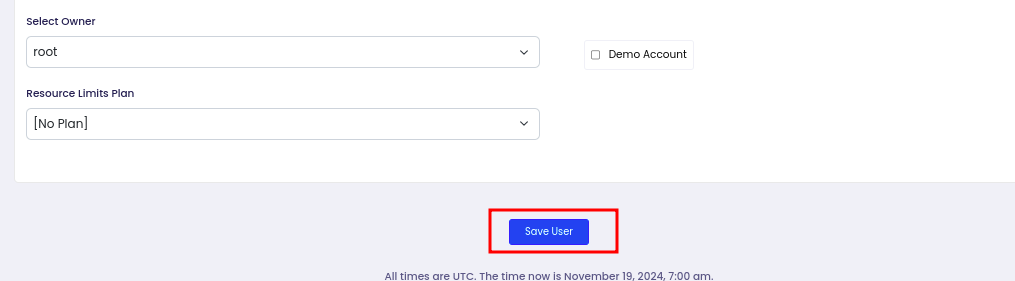
- Once done, click on Save User to save your selections and create the user.
- You will see a message confirming successful creation of the account
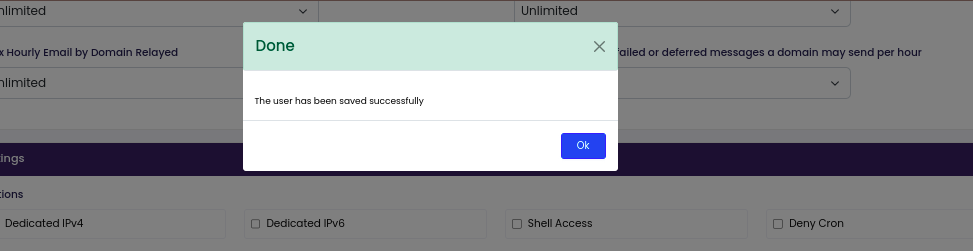
With those steps, you have successfully created a Webuzo User. You can now log in to the user panel using these steps