This article will guide you on how to add a domain and configuring nameservers in the Webuzo panel using root user access.
Steps For Adding Domain in Webuzo Panel #
- Log in to Webuzo Admin panel using these steps

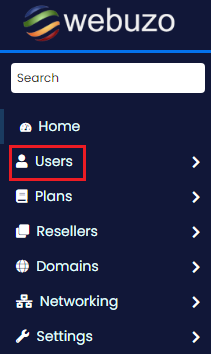
- Once logged in, check the pane on the left side and click on Users
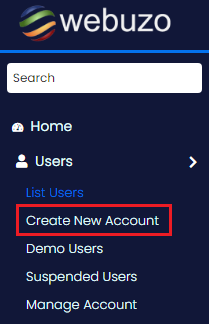
- From the dropdown menu, you will then click on Create New Account
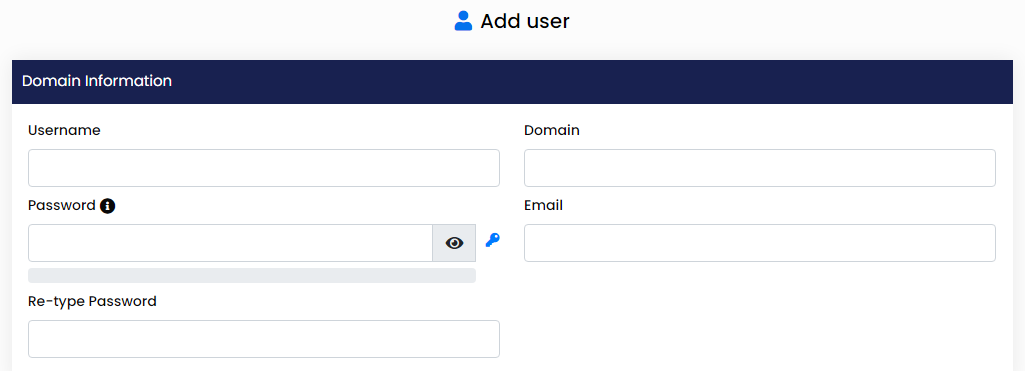
- You will have a page with fields where you fill the new account details
- Once you have added the details, click on Save User to create the domain.
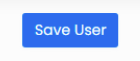
- Your domain has been added to the panel.
Steps For Adding Nameservers in Webuzo Panel #
- Log in to Webuzo Admin panel using these steps
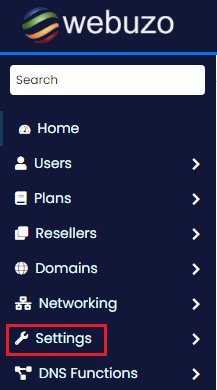
- From the left-side pane, click on Settings
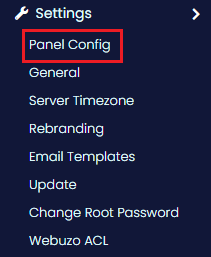
- Then from the drop-down menu that opens, click on Panel Config
- You will see a window with the Webuzo Configuration form, with fields to fill. Some of the details you will share are Panel domain or server hostname, two nameservers
- Also, you can optionally share the Admin email.
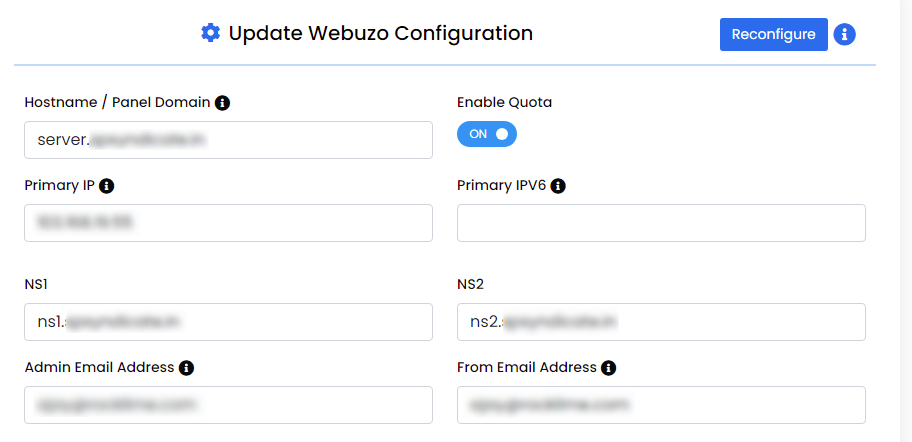
- Once you have updated the details, you can click on Update, to save changes.
That-way, you have added nameservers to Webuzo panel. DNS propagation will take about 3 hours to 24 hours to complete.