Automating backups is essential for safeguarding data on your cPanel accounts. WHM makes it easy to schedule regular backups with its built-in backup system.
You can use third party tools like Jetbackup to handle your backups
Here’s how to set up and schedule cPanel backups in WHM.
- Log in to WHM either with the root or sudo reseller account. Normally you will use one of the URLs below;
http://your_server_ip:2087

https://your_server_hostname:2087
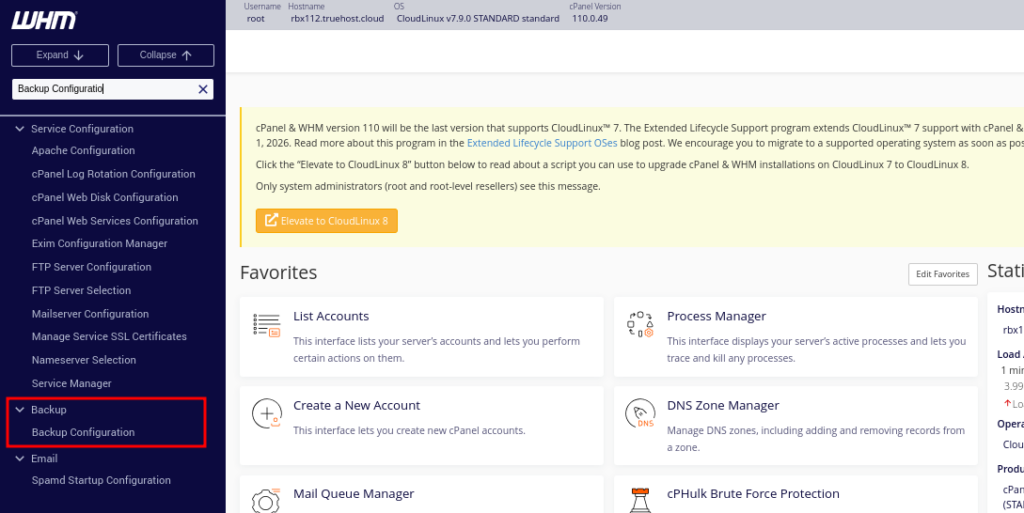
- Navigate to Backups >> Backup Configuration.
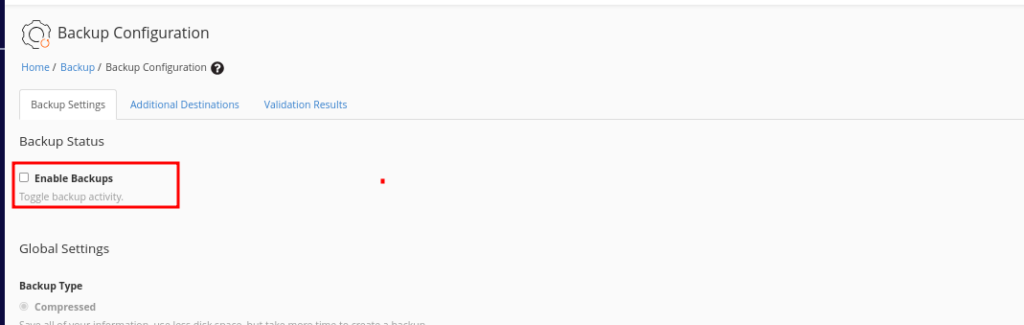
- Under Backup settings, in the Backup Status section click the Enable option
- Set your Global Settings by selecting from the backups
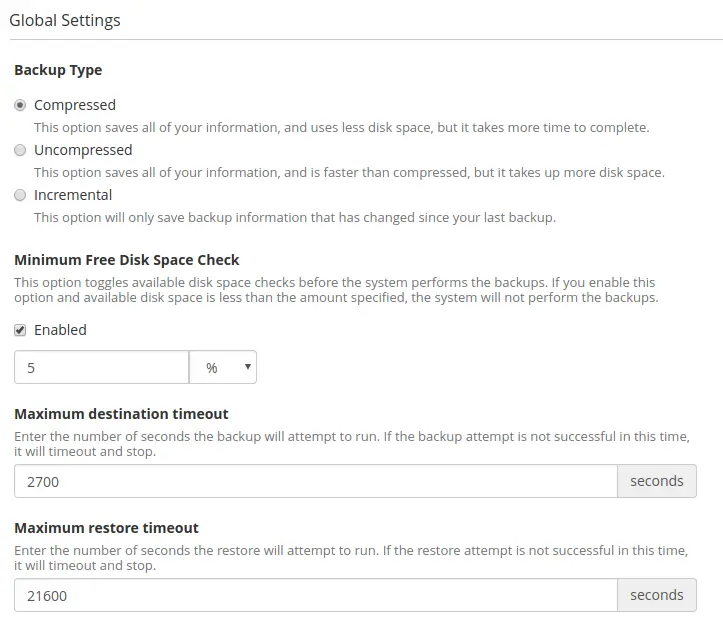
- Backup Type – Choose one of the options to define how the server will store the backup.
- Compressed – Saves all information in compressed file. This takes more time but uses less disk space.
- Uncompressed – Saves all information in an uncompressed format. This uses more disk space but is faster.
- Incremental – Stores only one uncompressed file. It saves only updated information and replaces that. This limits the restoration settings but is faster and uses the least disk space.
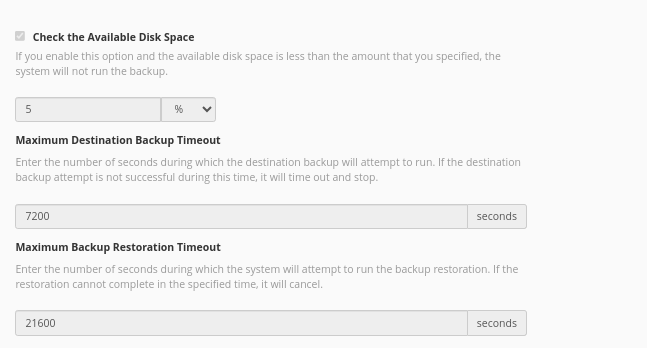
- You can choose to check the Check the Available Disk Space to set the minimum disk space that should be available for a backup to happen.
- The Maximum destination timeout option defines the amount of time that a backup process allows uplaod of a single backup file.
- The option Maximum restore timeout specifies the amount of time that a backup process allows to restore a file
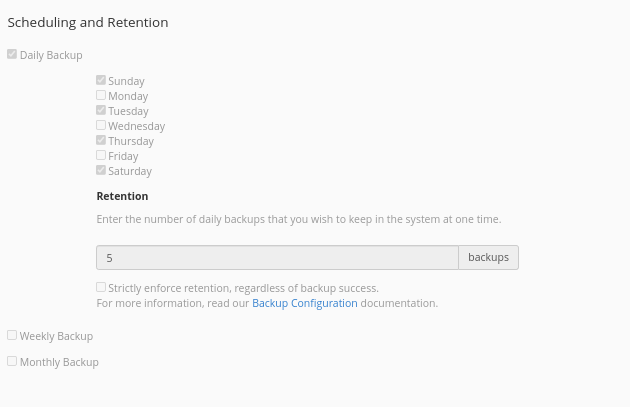
- Now set your Scheduling and Retention preferences.
| Backup Daily | Creates a new backup on each selected day. You need to configure the days and the number of retained backups (1-9999). |
|---|---|
| Backup Weekly | Creates a new weekly backup on the day selected. You need to configure the days and the number of retained backups (1-9999). |
| Backup Monthly | Creates a new weekly backup on the day selected. You need to configure the days and the number of retained backups (1-9999). |
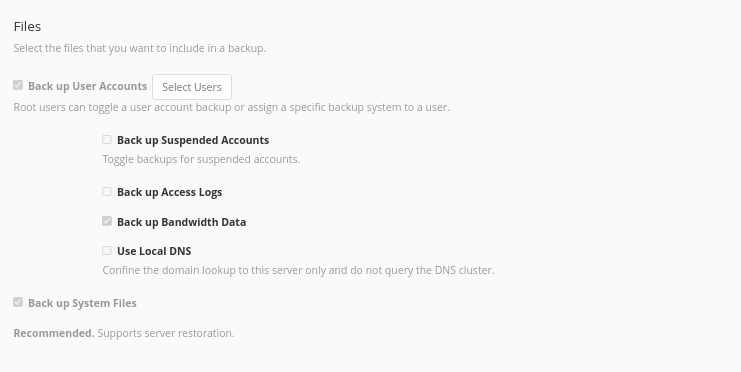
- Set your Files preferences.
- Backup Accounts – Checking the box enables user accounts ton be backed up. You may want to don that, after which you now configure these below
- Select Users – You are able to select the specific users that you want to back up.
- Backup Suspended Accounts – You can enable/disable this to determine whether or not, suspended accounts should be backed up.
- Backup Access Logs – This allows you to enable or disable backups for access logs
- Backup Bandwidth Data – This enables backing up of bandwidth data
- Use Local DNS – When enabled this option confines the domain lookup to this server only, and does not query the DNS cluster.
- Backup System Files – Enable this box if you wish to backup system files. This is for server restoration and not for account restoration. It is highly recommended to enable this setting.
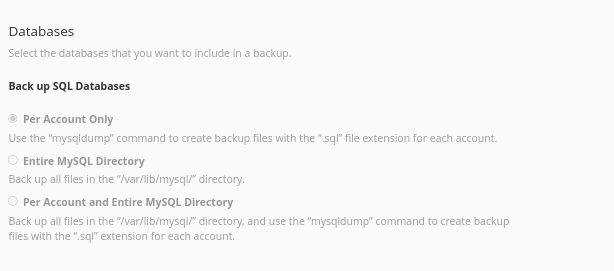
- Configure your Database backup settings.
- Per Account Only – This option backups up databases for each account using mysqldump
- Entire MySQL Directory – This option backups up all databases on the server by making a backup of the data directory: /var/lib/mysql/
- Per Account and Entire MySQL Directory – This will do backup for all databases on each account and all those on the server
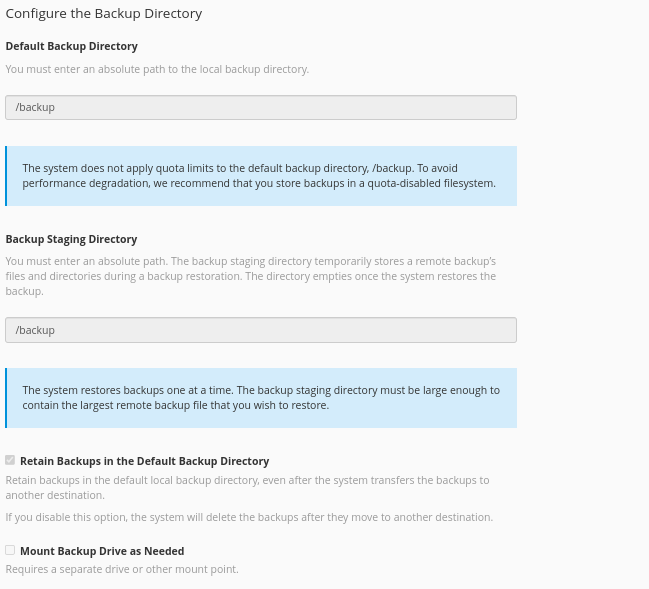
- Configure your Backup Directory.
- Default Backup Directory – This is usually set to /backup bu default but you can change it by inputting a full path to your directory of preference.
- Retain backups in the default backup directory – Selecting this option will keep a copy of the backupin the backup directory even after moving the backup to a different destination, otherwise the local backup will be deleted.
- Mount Backup Drive as Needed – Select the Enable button to mount a backup drive. The server will check /etc/fstab/em> for another mount point. If disabled (default) the server will not check.
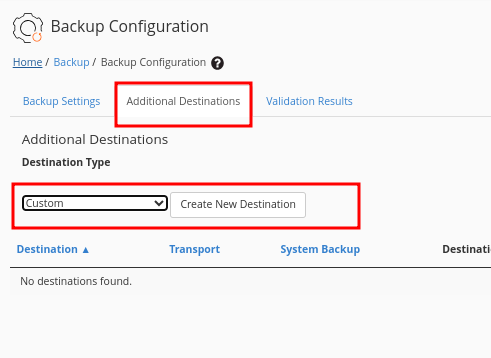
Additional Destinations
- In the additional destinations tab, you can create additional backup destinations. For each destination that you choose, you could get different set up configurations. See the options in the drop-down menu.
- Once done with all configurations, Click the Save Configuration button.
With this set up, your backups will now be running according to how you you did the configurations above.
If you need to run the backups manually at any given time, you can run the backup script from the server’s terminal while logged in as root
/usr/local/cpanel/bin/backupIf you want to see the background processes as they happen, you can add the –debug flasg to the command, as below;
/usr/local/cpanel/bin/backup --debugThat will be all. I really hope that you have managed to set up your backups with guidance from this article.