Prerequisites
- Root Access to the server’s WHM
- Jetabackup Installed on the server
Step 1: Log in to WHM either with the root account. Normally you will use one of the URLs below;
http://your_server_ip:2087

https://your_server_hostname:2087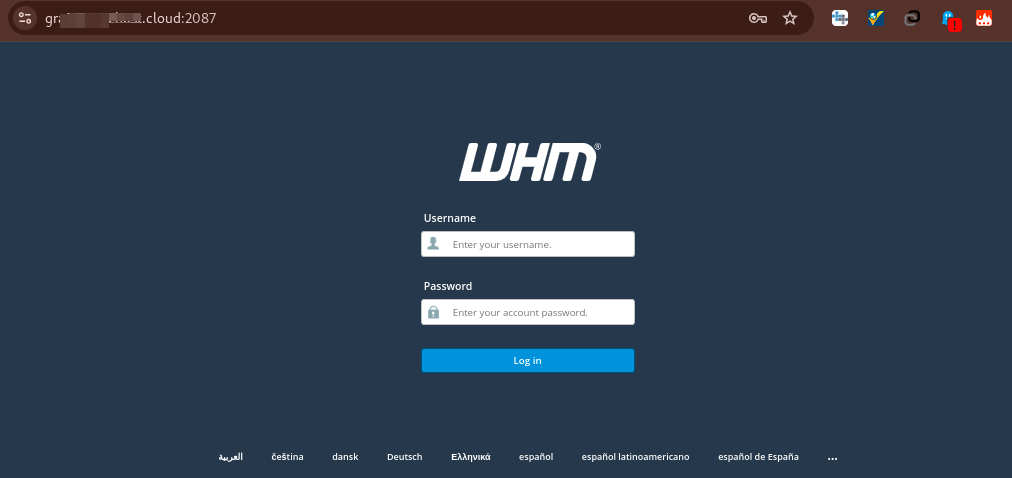
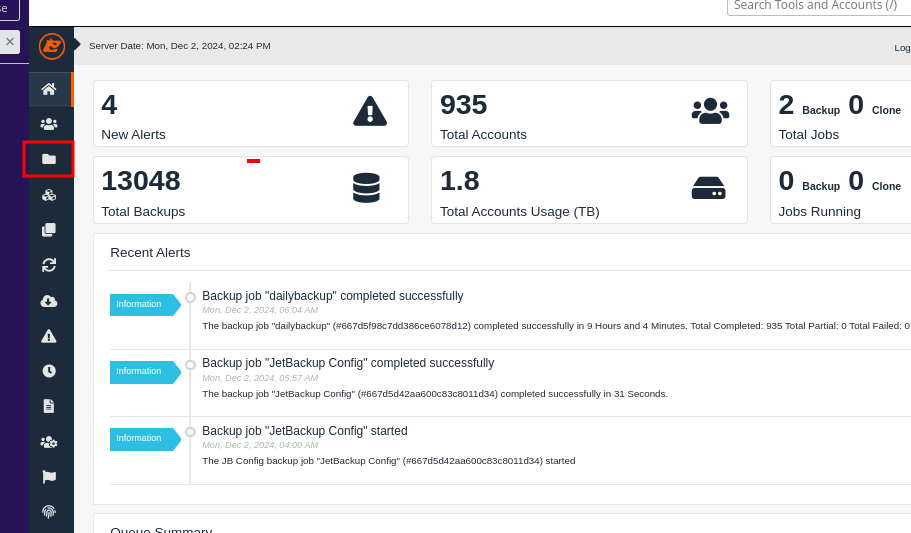
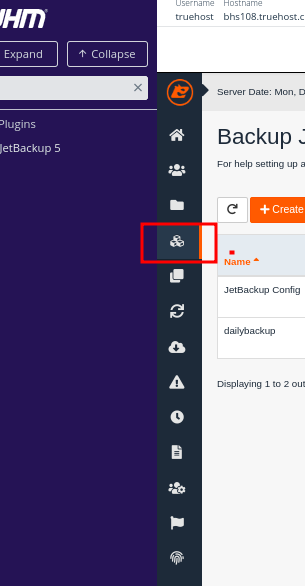
Step 2: Navigate to JetBackup 5 #
- In the WHM dashboard, search for JetBackup 5 in the search bar or Navigate to Plugins >> JetBackup5.
- Click on JetBackup 5 under the JetBackup section.

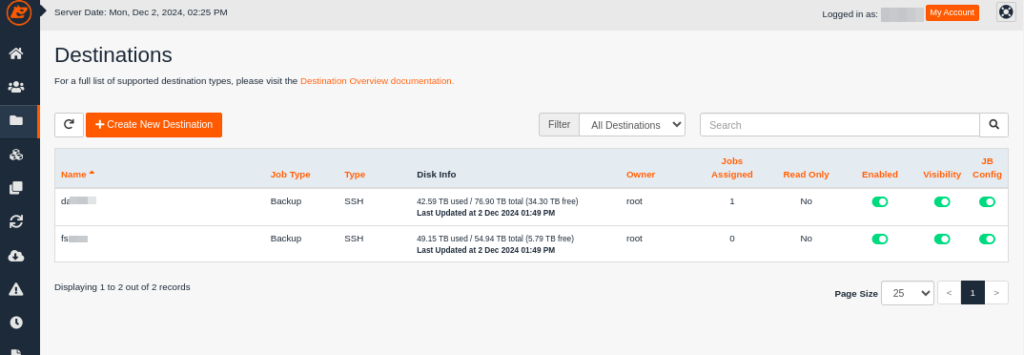
Step 3: Access the Destinations Section #
- In the JetBackup 5 interface, click on Destinations from the left-hand menu.
- This section lists all configured backup destinations, if they exist.
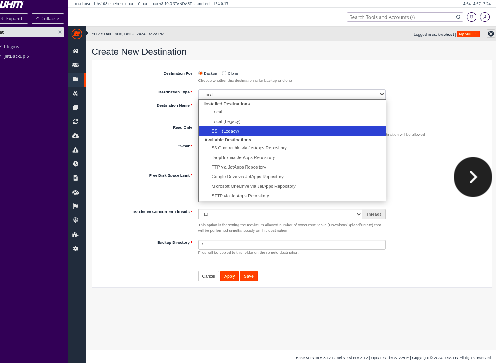
Step 4: Add a New Destination #
- Click the “Create New Destination” button.
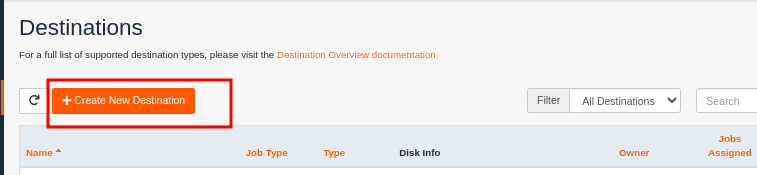
- Select your preferred destination type (e.g., SFTP, Local, Amazon S3, Google Drive, etc.) from the dropdown menu.
- If you have a remote server and you want to be backing up there, you may select SSH (Legacy) and when prompted to install the plugin, proceed to install.
Step 5: Configure Destination Settings #
Depending on the destination type, provide the required details:
Example for SFTP:
- Name: A unique name for the destination (e.g., “Remote SFTP/SSH Leagcy Backup”).
- Hostname: The IP address or domain of the remote SFTP server.
- Port: Default is
22. Change to your custom one, if you have it. - Username: The username for authentication on the remote server.
- Password: The password for the SFTP user (or use an SSH key if configured).
- Directory: Specify the folder path where backups will be stored (e.g.,
/backups/jetbackup).
Example for Local Destination:
- Name: A unique name for the destination (e.g., “Local Backup”).
- Directory Path: The local folder path for storing backups (e.g.,
/home/backups).
Configure other fields, such as retention settings, according to your backup strategy.
Step 6: Save the Destination #
- Once you have fed in the destination details, scroll down and click on Save.
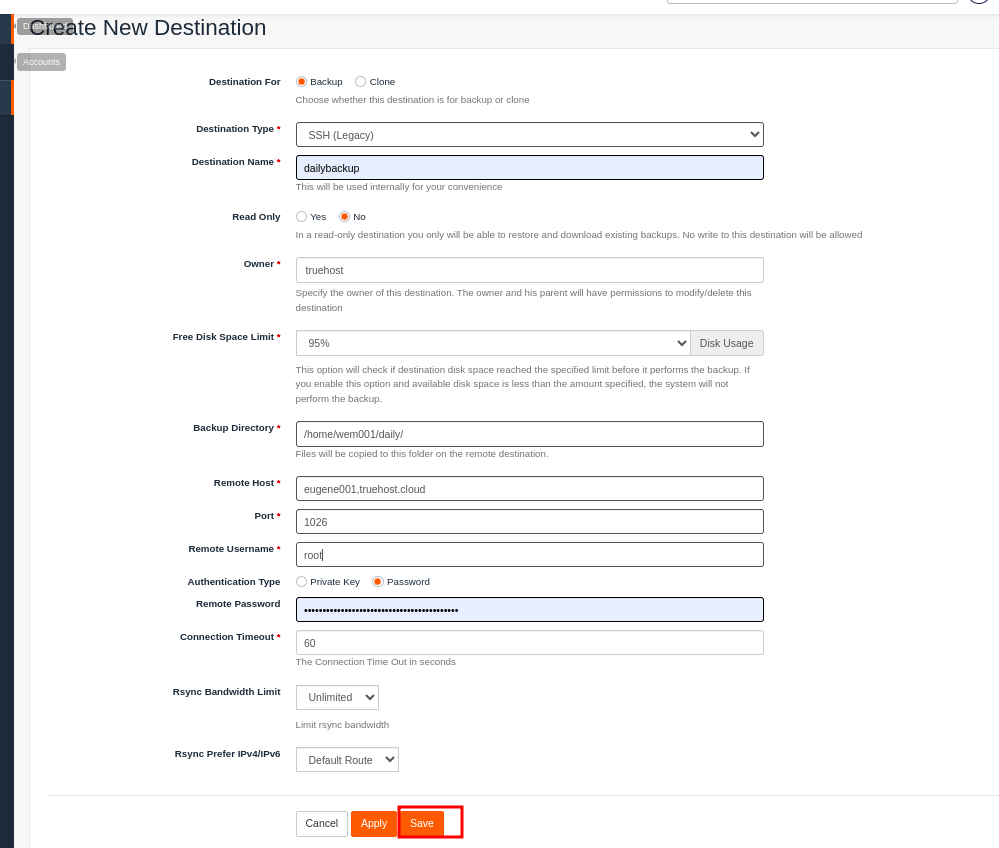
- If the remote server logins that you supplied are correct, the destination will be created and the backup directory that you specified will be created on the server
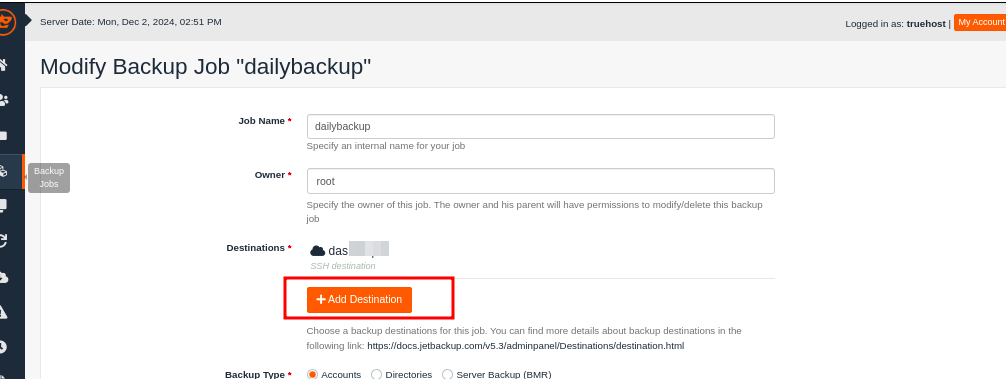
Step 7: Assign the Destination to Backup Jobs #
- Navigate to Backup Jobs in JetBackup.
- Edit an existing backup job or create a new one.
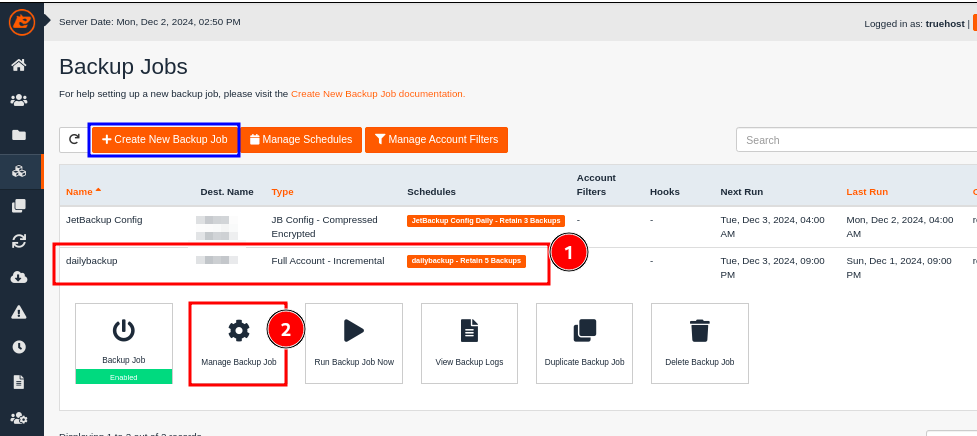
- Assign the newly added destination to the job under the Destinations section.
- You will see the destinations, including the one you created. Click on a the one you want then click on Select Destinations
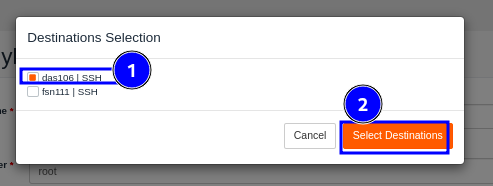
- The backup job will be assigned to the destination.
Cheers! That will be all.