Postfix is a widely-used mail server for sending and receiving emails. It is highly configurable and can be combined with Dovecot to enable POP/IMAP functionality, creating a fully-featured mail server.
In this guide, we will walk you through the setup of a mail server running Postfix and Dovecot on a Linux server, with a focus on Almalinux. I will use Almalinux 8.4 here.
By the end of this tutorial, you’ll have a working mail server capable of handling email traffic.
Overview: #
- Postfix: Acts as the Mail Transfer Agent (MTA), responsible for receiving and sending emails using SMTP (Simple Mail Transfer Protocol).
- Dovecot: Acts as both the Mail Delivery Agent (MDA) and IMAP/POP3 server, managing how email is stored and how users can access it.
Prerequisites #
- A server with Almalinux Installed
- Root or Sudo Access to the server:
- A hostname set up for the server and shoud point to the server IP (e.g.,
mail.example.com). - A Fully Qualified Domain Name (FQDN)
- DNS Records:
- MX Record: Point the domain’s MX to your mail server (e.g.,
mail.example.com). - SPF, DKIM, and DMARC Records (recommended for improved email delivery and security):
- MX Record: Point the domain’s MX to your mail server (e.g.,
Step 1: Install Required Packages #
- Update your server
sudo dnf update -y- Install Postfix and Dovecot:
sudo dnf install postfix dovecot -y- Enable and start Postfix and Dovecot services:
sudo systemctl enable --now postfix
sudo systemctl enable --now dovecot
Step 2: Configure Postfix #
- Edit the Postfix configuration file (
/etc/postfix/main.cf)
sudo vi /etc/postfix/main.cf- Set basic configurations by adding or modifying these lines. They possibly exist and commented out, so just trace them and remove the comment (#), then edit accordingly.
myhostname = mail.example.com         # Set your hostname
mydomain = example.com                # Set your domain
myorigin = $mydomain
inet_interfaces = all
inet_protocols = ipv4
mydestination = $myhostname, localhost.$mydomain, localhost
relayhost =- Still in the same file, set mailbox and security configurations adding or modifying these lines. They possibly exist and commented out, so just trace them and remove the comment (#), then edit accordingly. Replace mail.example.com with you server’s hostname.
home_mailbox = Maildir/ # Use Maildir format
smtpd_tls_cert_file = /etc/letsencrypt/live/mail.example.com/fullchain.pem
smtpd_tls_key_file = /etc/letsencrypt/live/mail.example.com/privkey.pem
smtpd_use_tls = yes
smtpd_tls_session_cache_database = btree:${data_directory}/smtpd_scache
smtp_tls_session_cache_database = btree:${data_directory}/smtp_scache
smtpd_recipient_restrictions = permit_sasl_authenticated, permit_mynetworks, reject_unauth_destination

- Configure Postfix to use Dovecot for SASL authentication:
smtpd_sasl_type = dovecot
smtpd_sasl_path = private/auth
smtpd_sasl_auth_enable = yes
smtpd_tls_security_level = may
smtpd_sasl_security_options = noanonymous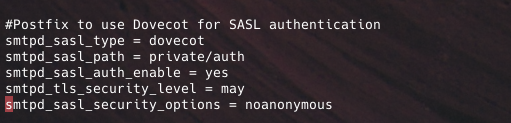
- Save and exit (
:wq + Xto save in vim, thenYto confirm andEnter).
- Restart Postfix:
sudo systemctl restart postfix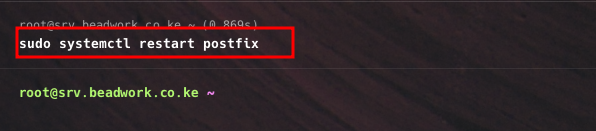
Step 3: Configure Dovecot #
- Edit the Dovecot configuration file (
/etc/dovecot/dovecot.conf): Just as it was in postfix config file, these lines in dovecot config file possibly exist and commented out, so just trace them and remove the comment (#), then edit accordingly.
sudo vi /etc/dovecot/dovecot.conf- Set protocols and mail location:
protocols = imap pop3 lmtp
mail_location = maildir:~/Maildir
- Configure authentication mechanisms in
/etc/dovecot/conf.d/10-auth.conf:
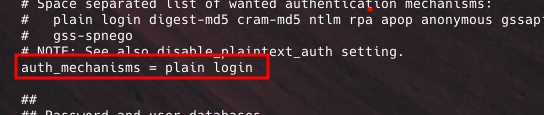
sudo vi /etc/dovecot/conf.d/10-auth.conf- Ensure the following settings
disable_plaintext_auth = yes
auth_mechanisms = plain login
- Configure Dovecot to handle Postfix SASL requests by editing
/etc/dovecot/conf.d/10-master.conf
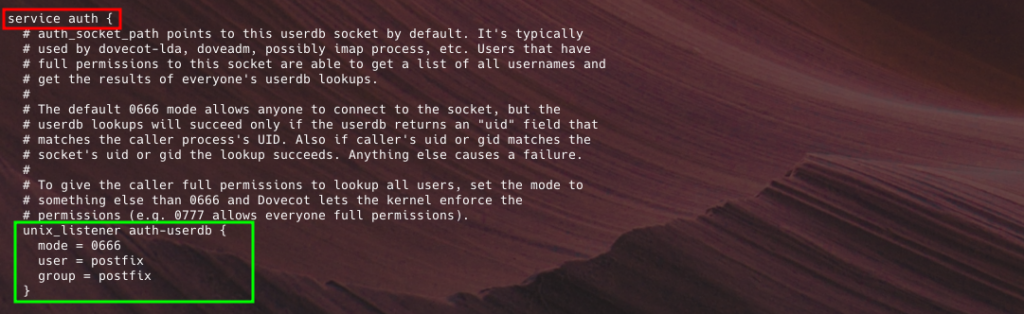
sudo vi /etc/dovecot/conf.d/10-master.conf- Look for the
service authsection, and add these lines:
unix_listener /var/spool/postfix/private/auth {
mode = 0666
user = postfix
group = postfix
}
- Generate an SSL Certificate using Let’s Encrypt
- Let’s Encrypt provides free SSL certificates trusted by most clients. You’ll need to install Certbot, the Let’s Encrypt client, and request a certificate. Replace mail.example.com with you server’s hostname.
sudo dnf install epel-release -y
sudo dnf install certbot -y
sudo certbot certonly --standalone -d mail.example.com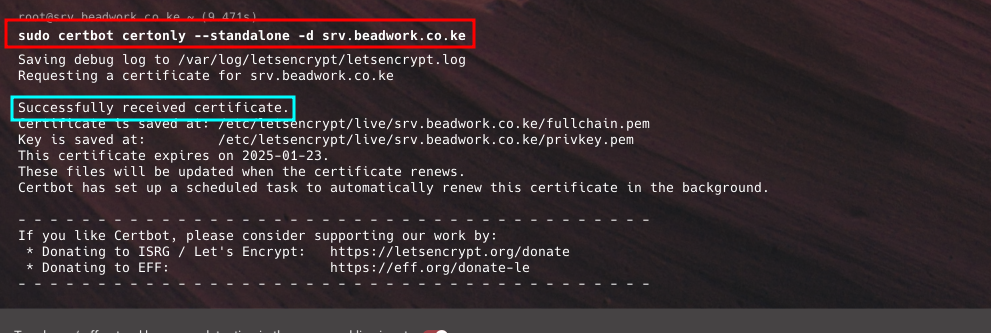
- Once Certbot has issued the certificate, update your Dovecot and Postfix configurations to use the following paths. Set up SSL/TLS for Dovecot in
/etc/dovecot/conf.d/10-ssl.conf
sudo vi /etc/dovecot/conf.d/10-ssl.conf- Add or modify the following lines, again replacing mail.example.com with you server’s hostname
ssl = yes
ssl_cert = </etc/letsencrypt/live/mail.example.com/fullchain.pem
ssl_key = </etc/letsencrypt/live/mail.example.com/privkey.pem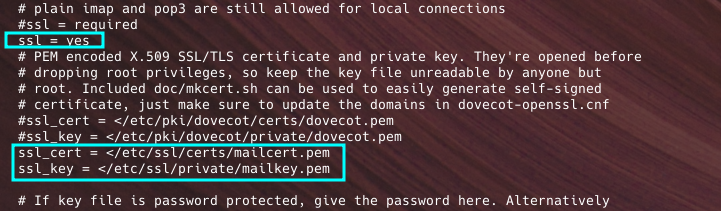
Step 4: Open the Mail Ports in Firewall #
- Allow SMTP, IMAP, and POP3 ports through the firewall
sudo firewall-cmd --permanent --add-service=http
sudo firewall-cmd --permanent --add-service=smtp
sudo firewall-cmd --permanent --add-service=imap
sudo firewall-cmd --permanent --add-service=pop3
sudo firewall-cmd --reloadsudo firewall-cmd --permanent --add-service=smtp
sudo firewall-cmd --permanent --add-service=imap
sudo firewall-cmd --permanent --add-service=pop3
sudo firewall-cmd --reload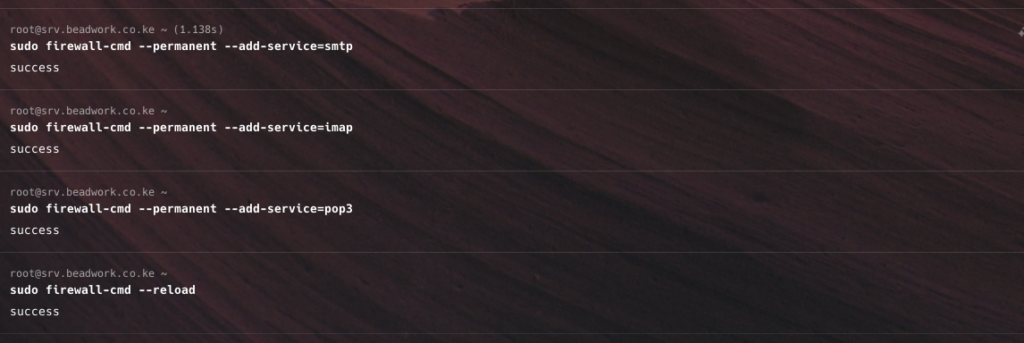
- Restart dovecot service
sudo systemctl restart dovecotStep 5: Test Your Mail Server #
- Check Postfix status:
sudo systemctl status postfix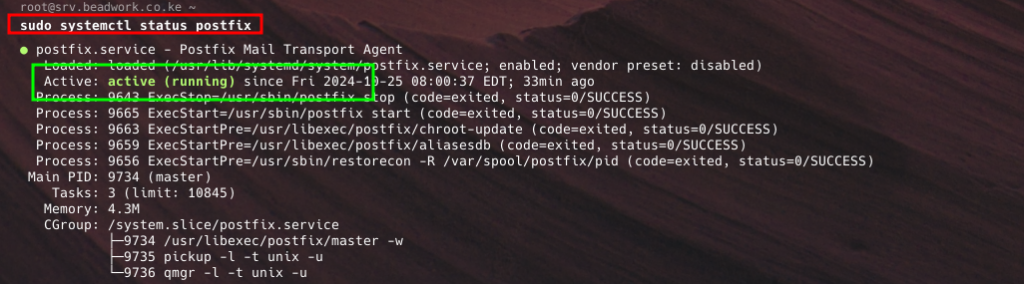
If postfix is not running, start it using this command
sudo systemctl start postfix- Check Dovecot status
sudo systemctl status dovecot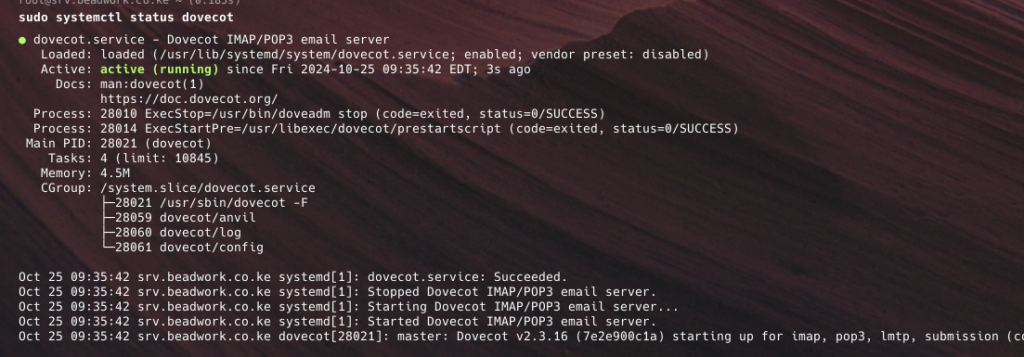
Step 6a: Send a Test Email Using mail Command #
- The
mailcommand is a simple way to test email sending. First, install themailxpackage if it’s not already installed:
sudo dnf install mailx -y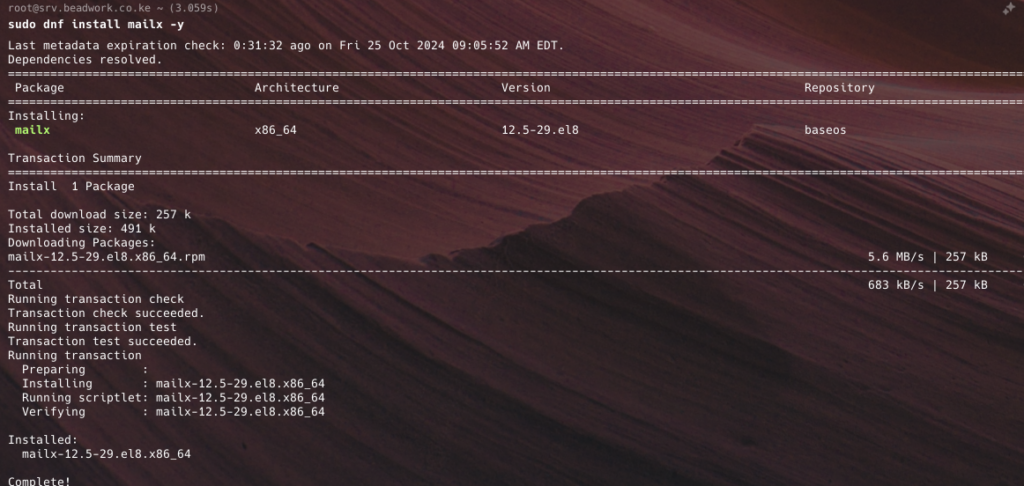
- Then, send a test email to an external email address (like Gmail) to check if outgoing mail works:
echo "This is a test email from my server" | mail -s "Test Email" your-email@example.com
- Check Postfix Logs: To verify if the email was successfully sent, review Postfix logs:
sudo tail -f /var/log/maillog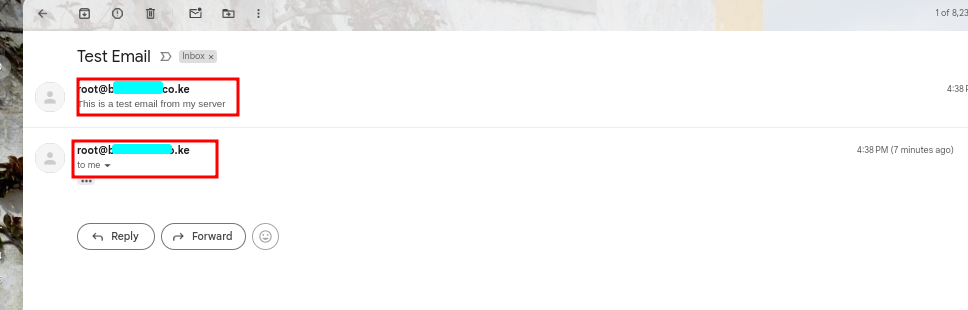
Step 6a: Test Receiving Mail with a Mail Client (e.g., Thunderbird or Outlook) #
- Configure an email client to connect to your server using IMAP or POP3. Use the FQDN you set up for your mail server (again replacing mail.example.com with you server’s hostname) and the email account credentials you configured.
- Settings for IMAP:
- IMAP Server:
mail.example.com - Port: 993 (for IMAPS/SSL) or 143 (for plain IMAP)
- Encryption: SSL/TLS
- Username: Full email address (e.g.,
user@example.com) - Password: User’s email password
- IMAP Server:
- Settings for SMTP:
- SMTP Server:
mail.example.com - Port: 587 (for STARTTLS) or 465 (for SMTPS/SSL)
- Encryption: STARTTLS or SSL/TLS
- Username: Full email address
- Password: User’s email password
- SMTP Server:
This basic configuration should have your mail server running on AlmaLinux using Postfix and Dovecot with secure mail handling. For production, ensure that security configurations are optimized, including SPF, DKIM, and DMARC settings for email authentication.