To create a virtual machine, you will do a few steps on one of the servers where you have installed proxmox.
Prerequisites #
- Have proxmox already installed
- An ISO Image of your choice.
Step 1: Add the ISO Image to Proxmox #
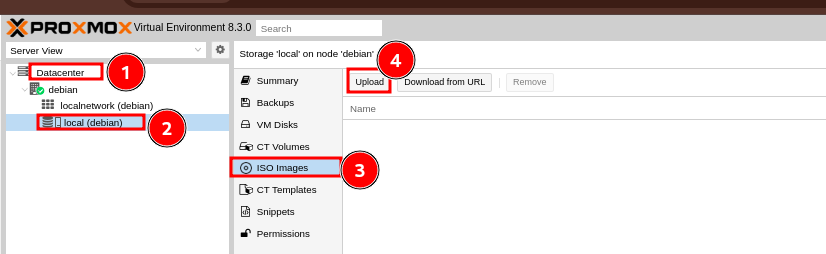
- Before you can create a virtual machine, you first need to upload an ISO Image to the proxmox data store.
- To do that navigate to Proxmox –> Local (Proxmox) –> ISO images –> Upload. You can use the search box to search for an option, for easy navigation.
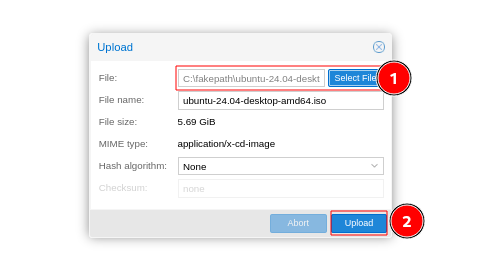
- You will then click on Select File, then select the ISO file that you want to upload, then click on Upload
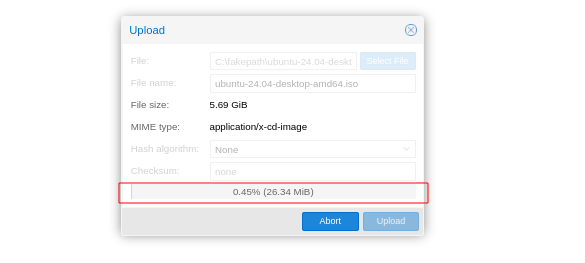
- Please note that the uplaod time will be determined by the size of the ISO file that you are uploading and your internet speed. There will be a progress bar for you to keep tabs on the uplaod process.
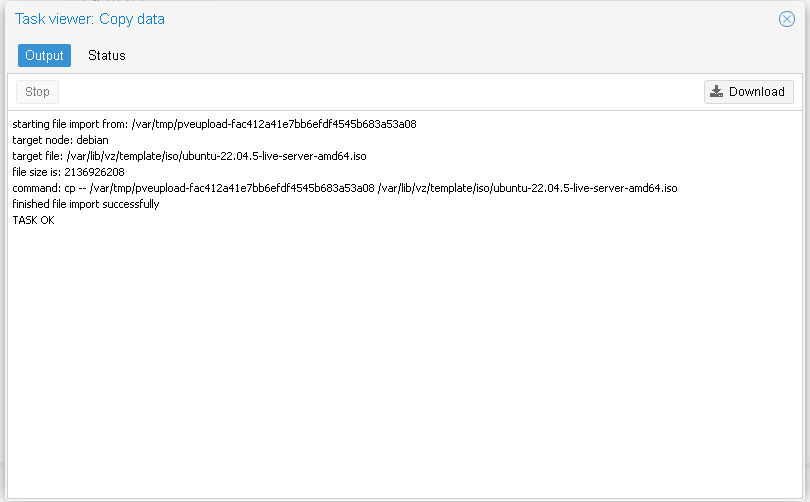
- Upon completion, you will see log messages on the task viewer window, which confirms that the process was completed seamlessly.
Step 2: Create a VM on the Proxmox #
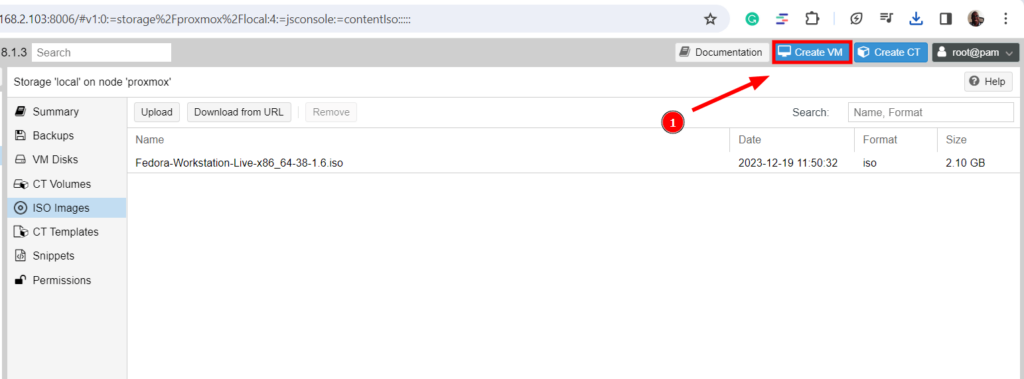
- We can now create a VM, since we have uploaded our ISO file. To do that, click on the Create VM button shown below.
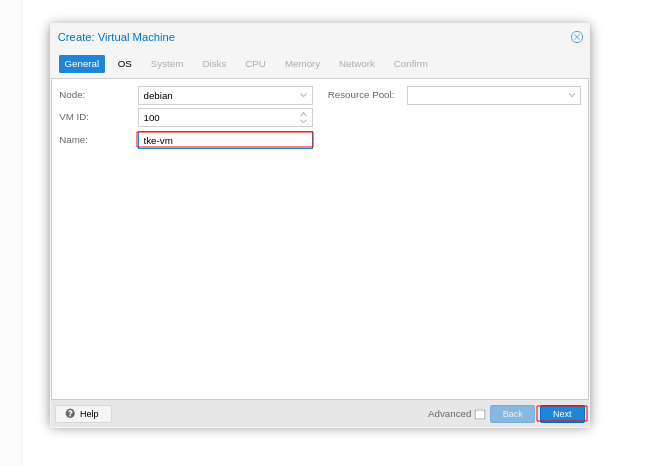
- You will see a wizard popping up which guides you on the installation process. You will be needed to provide the VM Name and then click on Next.
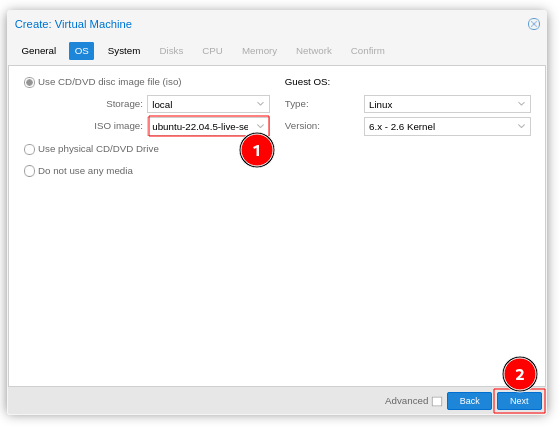
- Then you click on the text box for ISO Image, then select the iso image and click on Next.
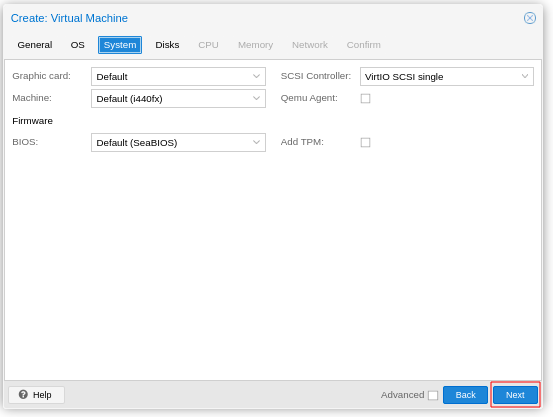
- Do not change anything on the System tab. Just click on Next
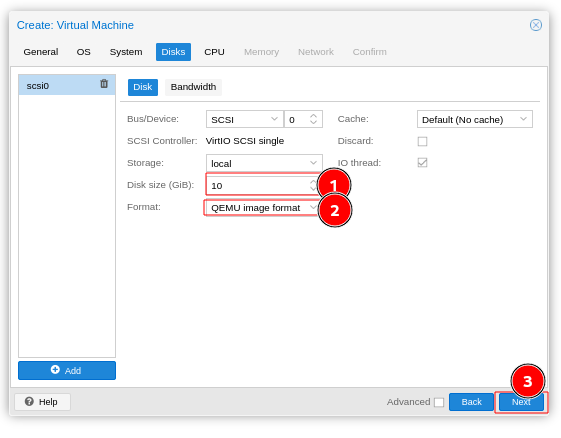
- Next will be to choose the disk size, from the Disks tab, and the format of your VM, then click on Next.
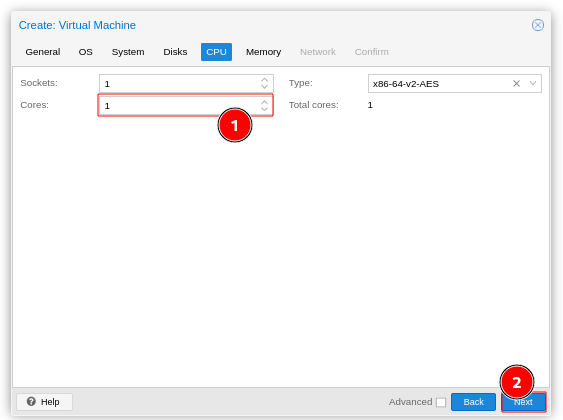
- You will then select the number of sockets and CPU cores for the VM, then click on Next.
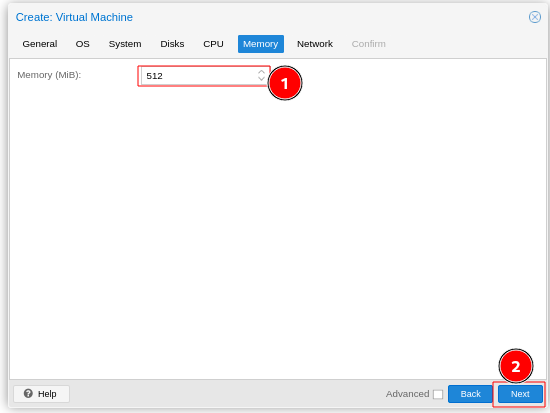
- Then you will adjust the RAM for your VM, on the Memory tab, then click on Next
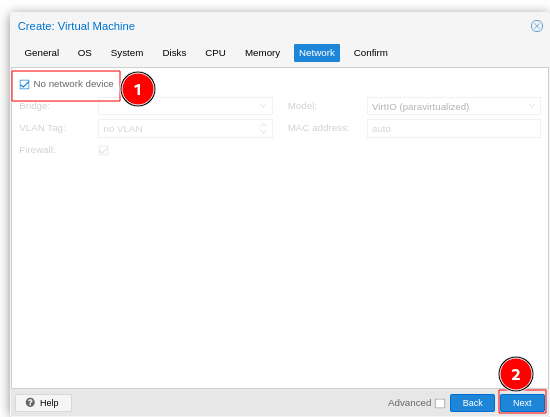
- For the network tab, select ‘No network device‘ for now since you have not configured a Linux bridge. Then click ‘Next‘.
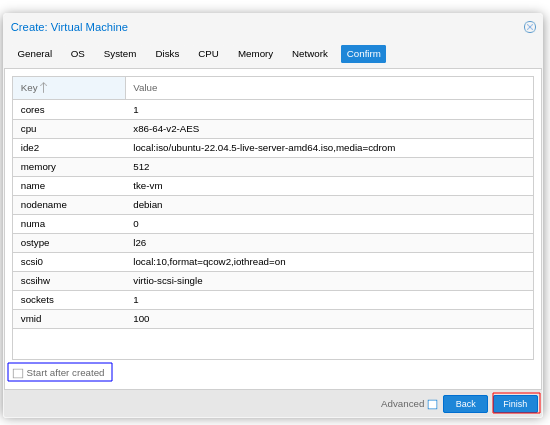
- Confirm all your details to ensure they’re correct, then click on Finish
- You may choose to check the provided box that starts the VM once installation is complete.
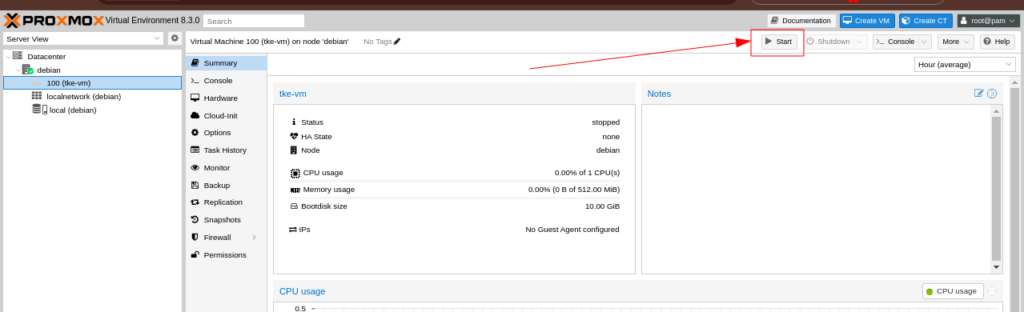
- You will see the created VM on the left side pane, as shown below.

Step 3: Start the VM on the Proxmox #
- To start the VM, click on the Start button, shown in the image below. Also, you can achieve the same by right-clicking on the VM, then click on Start
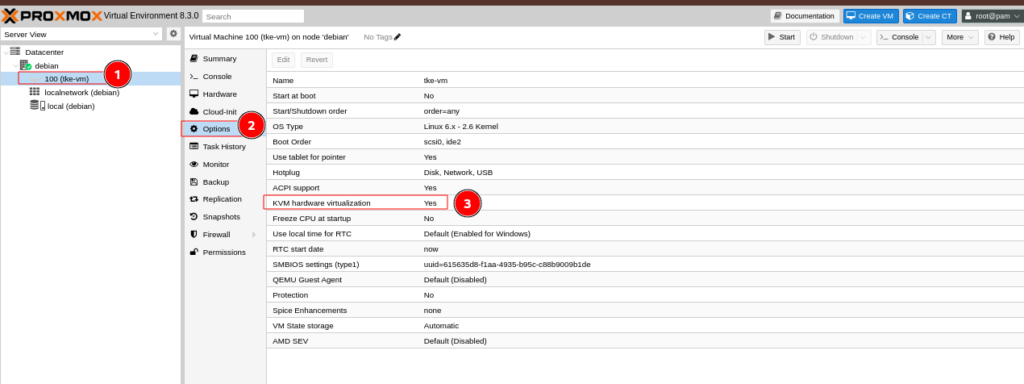
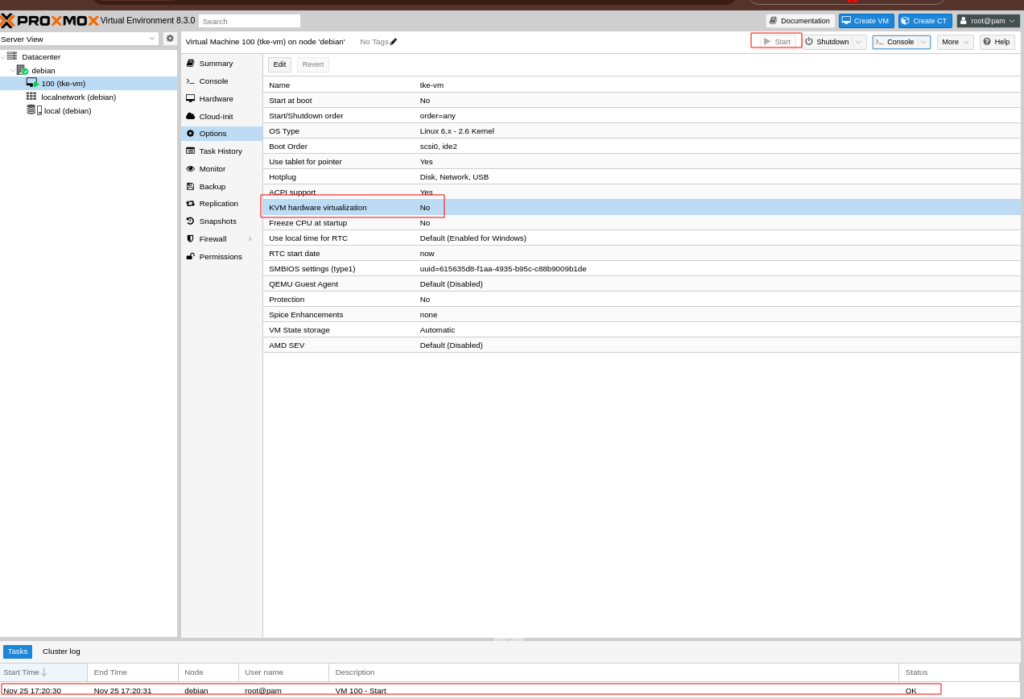
You might run into this error when starting the VM
“TASK ERROR: KVM virtualization configured, but not available. Either disable in VM configuration or enable in BIOS”

To fix it, navigate to VM Name >> Options>>KVM Hardware Virtualization. Set the option to No
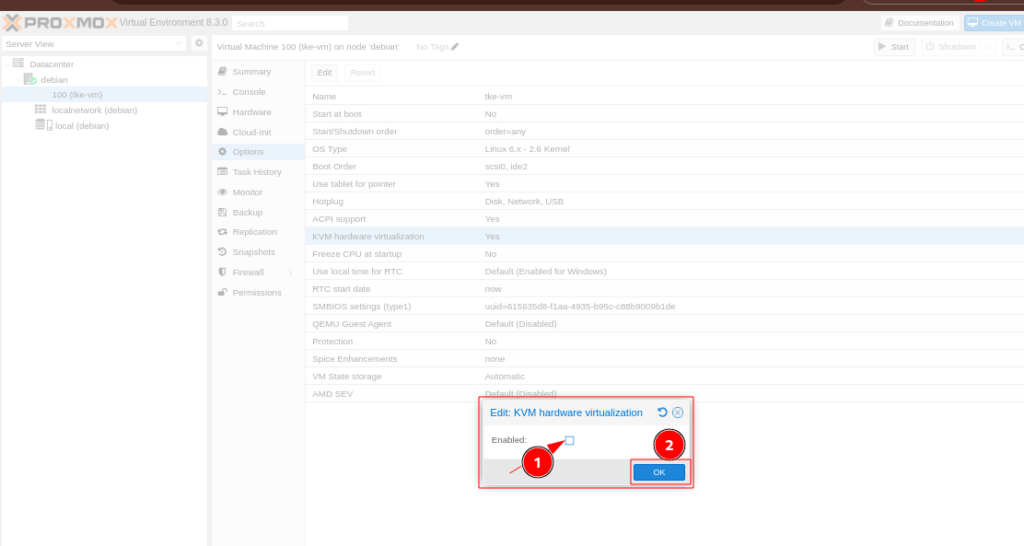
- You can then go ahead to start the VM, where it will launch seamlessly.
- You will see a window like this below, but with the OS name that you used.
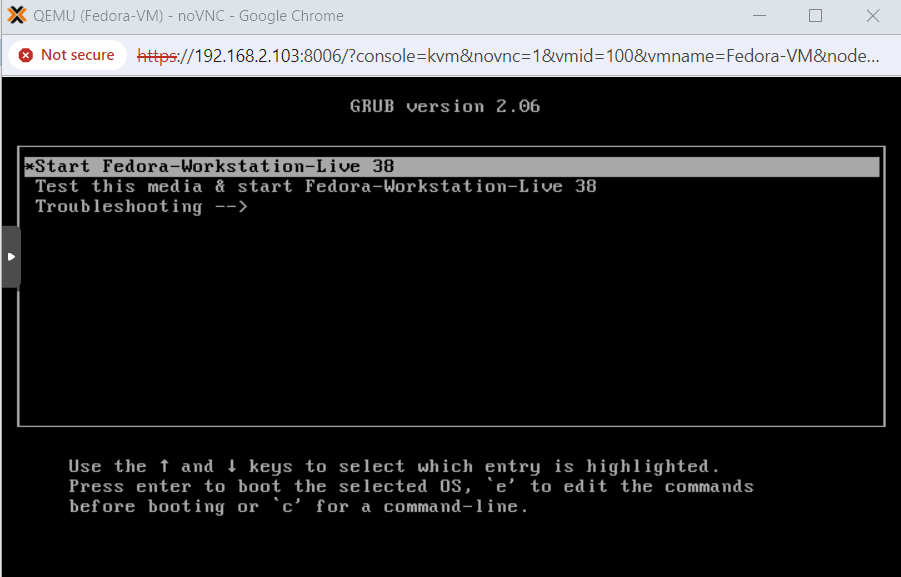
Proceed with installation of your VM until you complete.
Cheers!