Deploying a website using Plesk’s Git version control is a straightforward process. Plesk provides built-in support for Git, allowing you to easily deploy your website from a Git repository. Here’s a step-by-step guide to help you deploy your website using Plesk Git version control:
Step 1: Prepare Your Git Repository #
- Ensure your website code is hosted in a Git repository (e.g., GitHub, GitLab, Bitbucket, or any other Git hosting service).
- Make sure your repository contains all the necessary files for your website (e.g., HTML, CSS, JavaScript, PHP, etc.).
Step 2: Log in to Plesk #
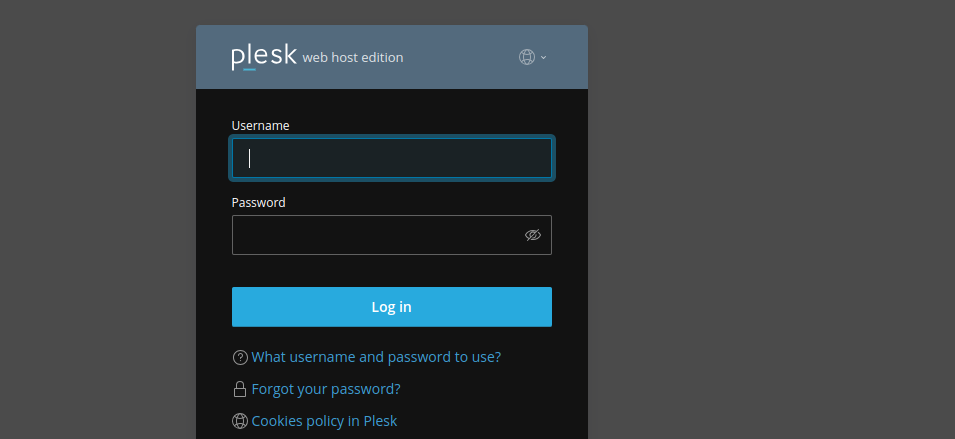
- Log in to your Plesk control panel using your credentials.
- Navigate to the Websites & Domains section for the domain where you want to deploy your website.
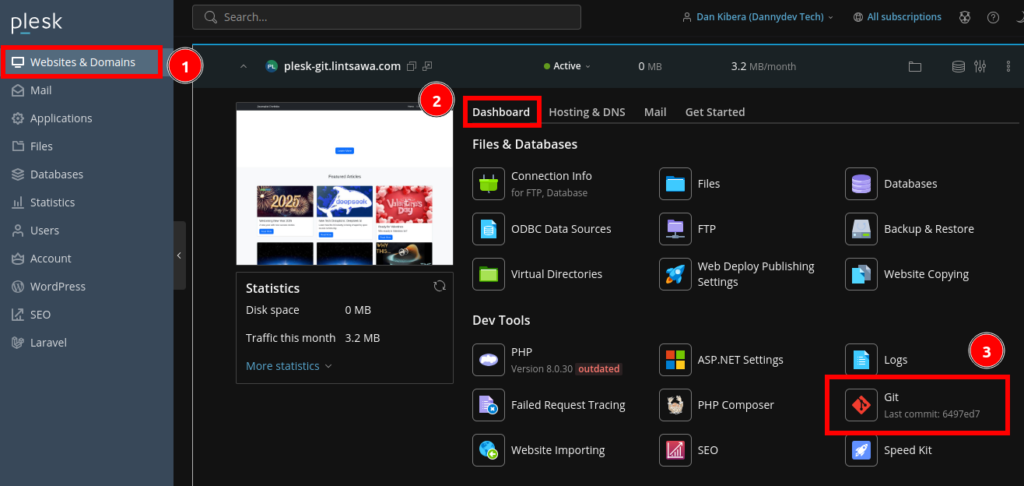
Step 3: Set Up Git Deployment #
- In the Websites & Domains section, locate and click on Git under the domain you want to deploy to.
- Click on Add Repository to set up a new Git repository.

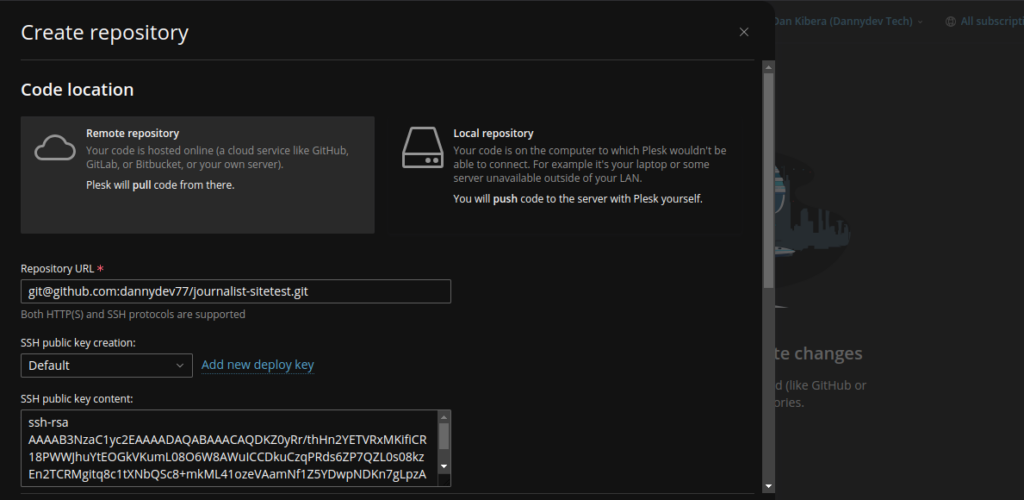
Step 4: Configure the Git Repository #
- Repository URL: Enter the URL of your Git repository (e.g.,
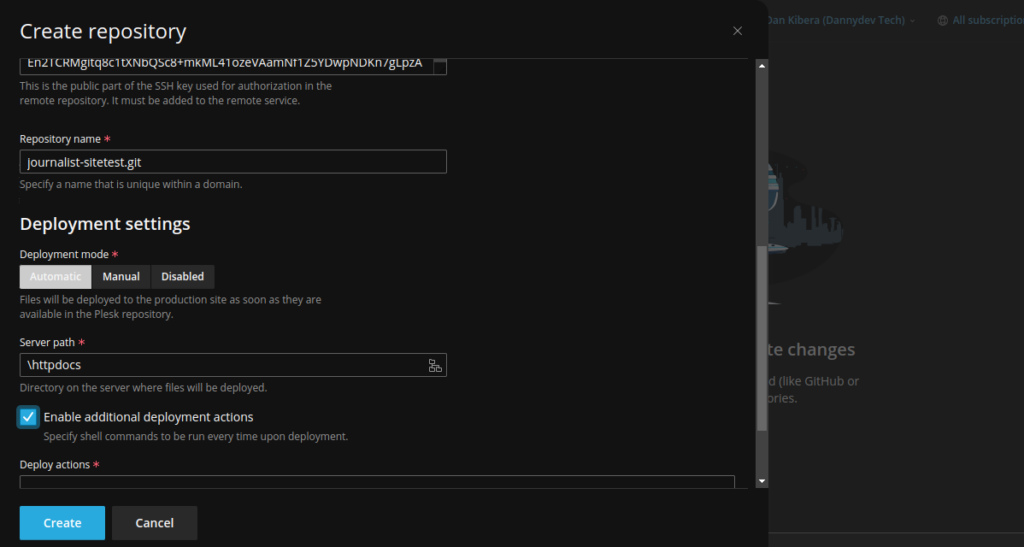
https://github.com/username/repository.git). - Repository Name: Provide a name for the repository (this is for internal reference in Plesk).
- Branch: Specify the branch you want to deploy (e.g.,
main,master, or any other branch). - Deployment Path: Choose the directory where the files will be deployed. By default, Plesk will deploy to the
httpdocsdirectory (the root of your website). You can change this if needed. - Authentication: If your repository is private, use ssh key (Auto generated when you enter your Git repo URL using SSH method instead of https)
- Add the Generated Key to Github or your remote repository.
Step 5: Enable Automatic Deployment (Optional) #
- Enable Automatic Deployment if you want Plesk to automatically pull changes from the repository whenever you push updates to the specified branch.
- You can also enable Deploy after repository is added to deploy the website immediately after setting up the repository.
Step 6: Deploy the Website #
- Click OK or Add to save the repository settings.
- If you enabled Deploy after repository is added, Plesk will automatically pull the files from the repository and deploy them to the specified directory.
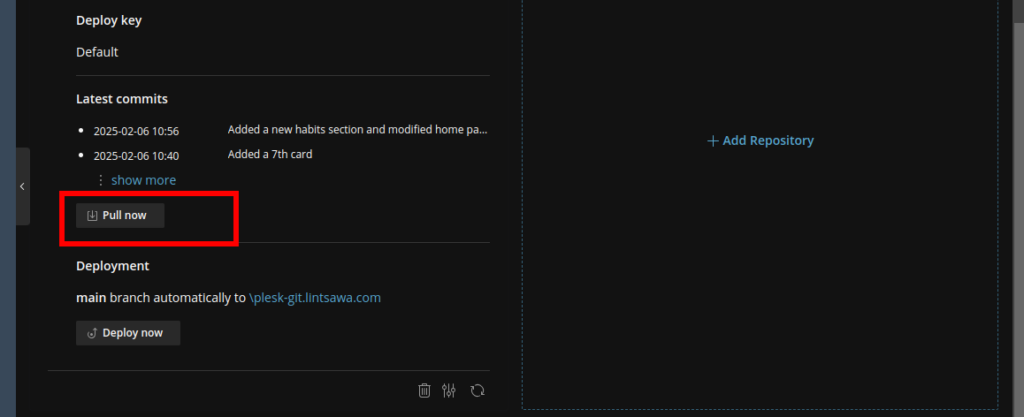
- If not, you can manually deploy by clicking the Deploy Now or Pull Now button in the Git repository settings.
Step 7: Verify the Deployment #
- Once the deployment is complete, visit your website’s URL to ensure it’s working correctly.
- If you encounter any issues, check the deployment path and ensure all required files are present.
Step 8: Update Your Website #
- To update your website, simply push changes to the specified branch in your Git repository.
- If automatic deployment is enabled, Plesk will pull the changes and update the website automatically. Otherwise, manually click the Pull Now button in the Git repository settings.
Additional Tips #
- Deployment Scripts: If you need to run custom scripts during deployment (e.g.,
composer installornpm build), you can configure them in the Additional Actions section of the Git repository settings.