Granting shell access to a cPanel account allows the user to connect to the server via SSH. Here’s a step-by-step guide to enable shell access for a specific cPanel account through WHM.
- Log in to WHM either with the root account. Normally you will use one of the URLs below;
http://your_server_ip:2087

https://your_server_hostname:2087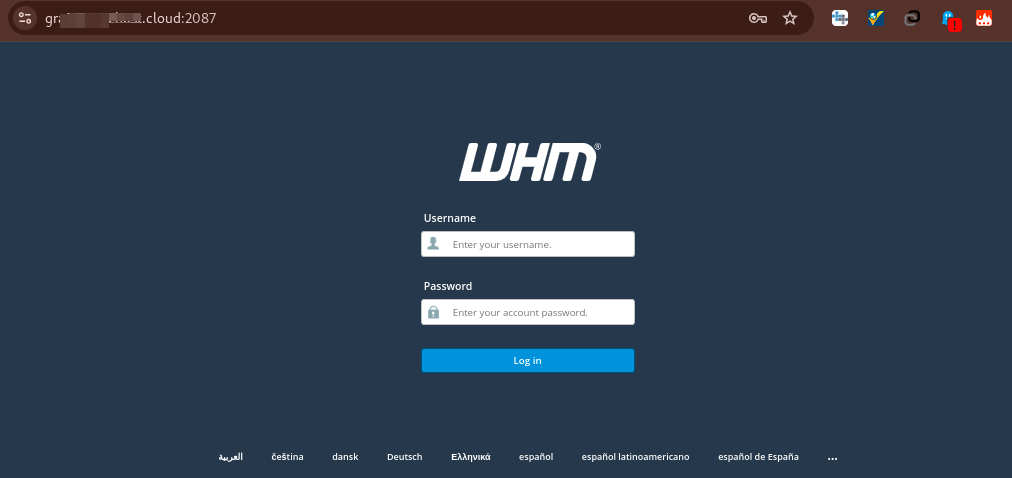
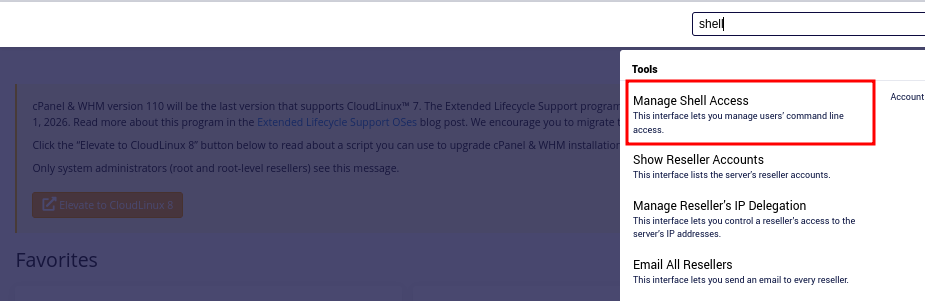
2. Search for Manage Shell Access #
- In the WHM dashboard, search for “Manage Shell Access” in the search bar.
- Alternatively, navigate to:
Home > Account Functions > Manage Shell Access.
3. Locate the cPanel Account #
- In the Manage Shell Access section, you will see a list of cPanel accounts associated with your server.
- Locate the account for which you want to enable shell access.
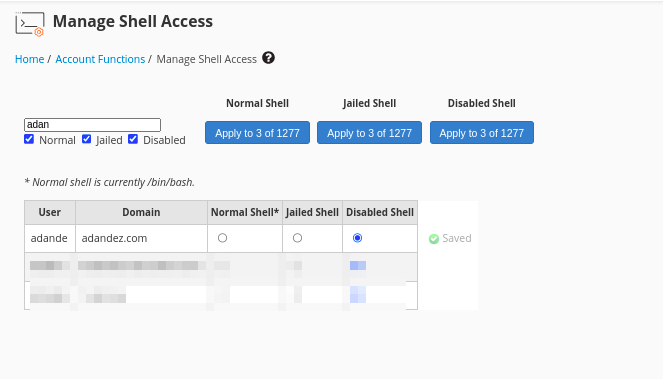
4. Enable Shell Access #
- Select one of the following options based on your preference:
- Normal Shell: Grants standard shell access with limited privileges.
- Jailed Shell: Provides restricted access, isolating the user from other parts of the server for enhanced security. This is the recommended option for most users.
- You will see a message asking you to either [Set this account to have no package] or [Keep this account on its package (Not recommended)]
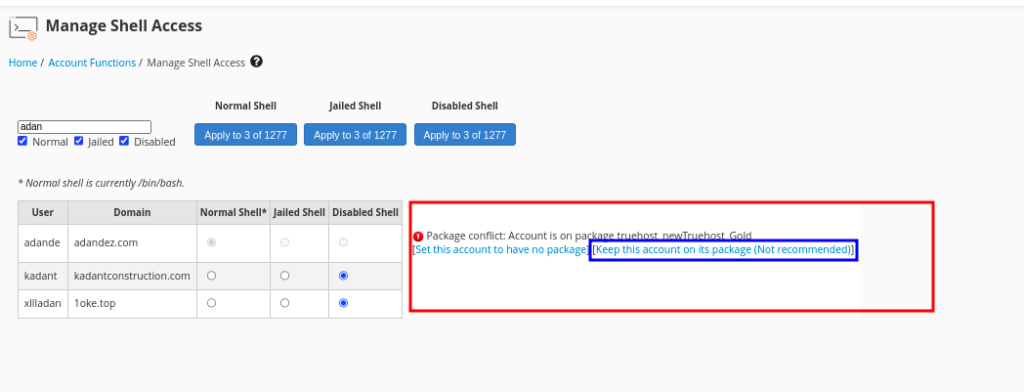
- Click Keep this account on its package (Not recommended)]
Shell Access will be enabled for the account and a terminal will be provided on cPanel. If you had already logged in to cpanel before the above is done, refresh the page for it to load the terminal, then search or it from he search box
You can also SSH to the account using your cpanel username and the cpanel password, as shown bellow
ssh -p 1026 mycpanelUser@myServerIPReplace 1026 with your SSH port, mycpanelUser with your cpanel username and myServerIP with your server IP.
Cheers! That will be all.