WHM provides a user-friendly way to manage PHP extensions for your server. You can easily add the required PHP extensions using the EasyApache 4 interface. Here’s a step-by-step guide:
Prerequisites
- Have root access to the server’s WHM.
Step by Step On How to install a PHP extension in WHM
- Log in to WHM either with the root account. Normally you will use one of the URLs below;
http://your_server_ip:2087

https://your_server_hostname:2087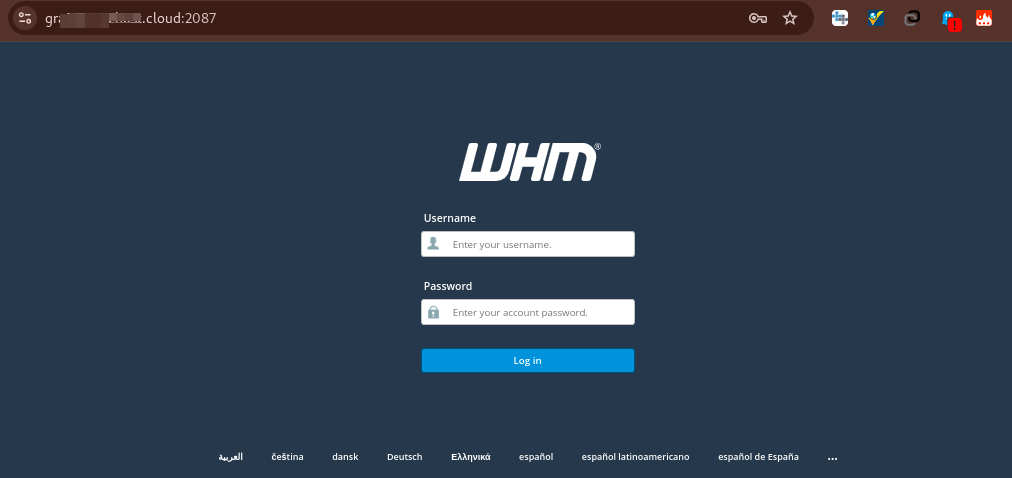
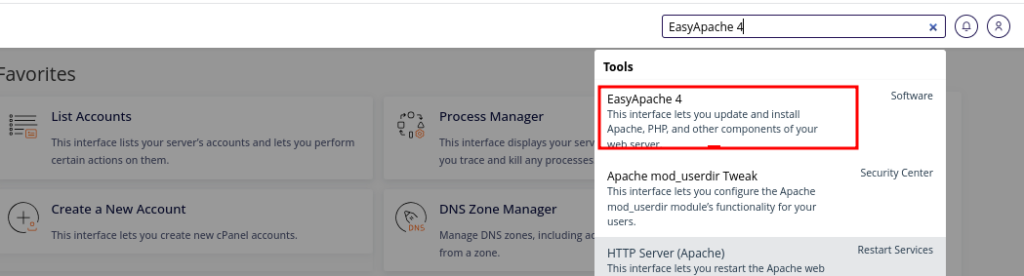
- Navigate to “Home » Software » EasyApache 4“
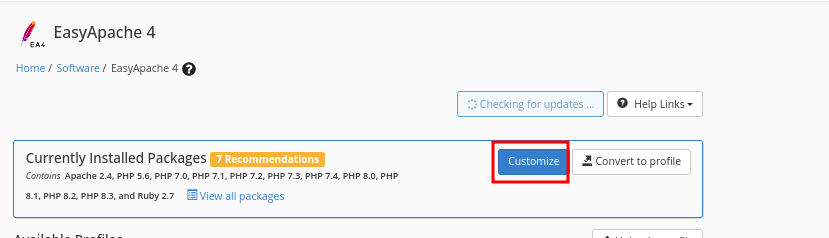
- Click the “Customize” button under “Currently Installed Packages.”
- Click “PHP Extensions.”
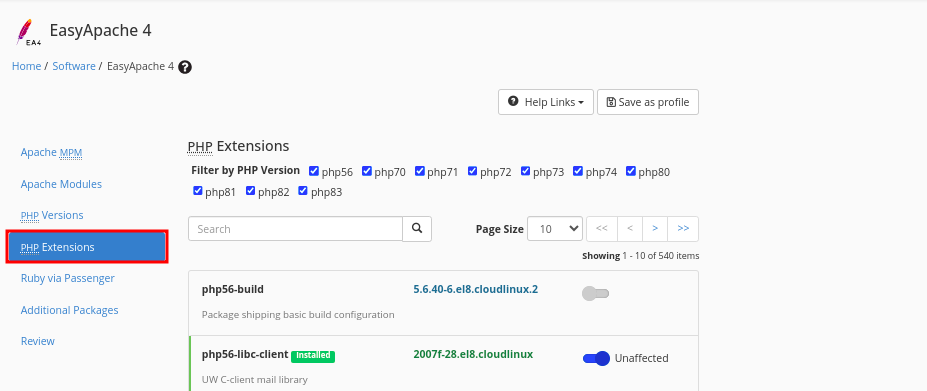
- Use the search bar to search for the extension you need to install. Example: sodium
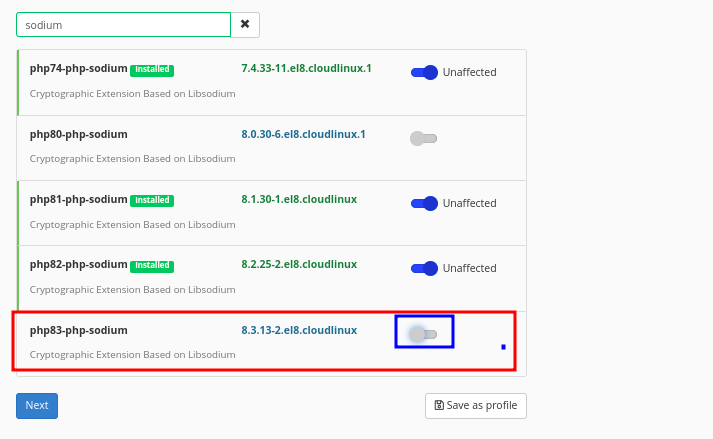
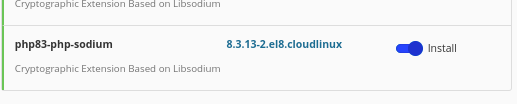
- Mark the extension for installation by clicking the switch icon to the far right of the extension.
This needs to be done for each version of PHP for which you need the PHP Extension.
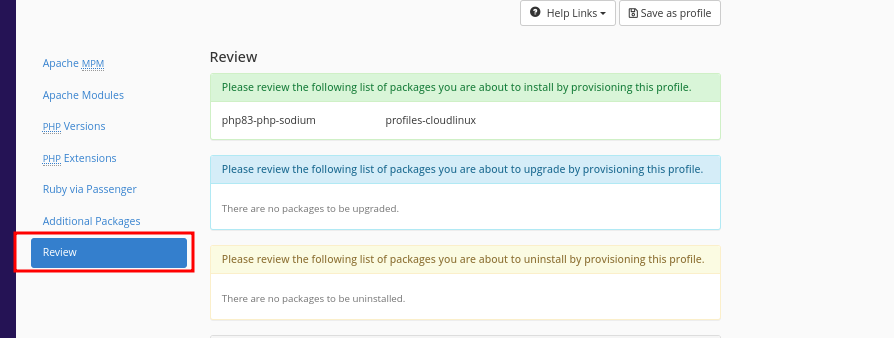
- Click “Review” and review the output to ensure the PHP extension you marked for installation will be installed.
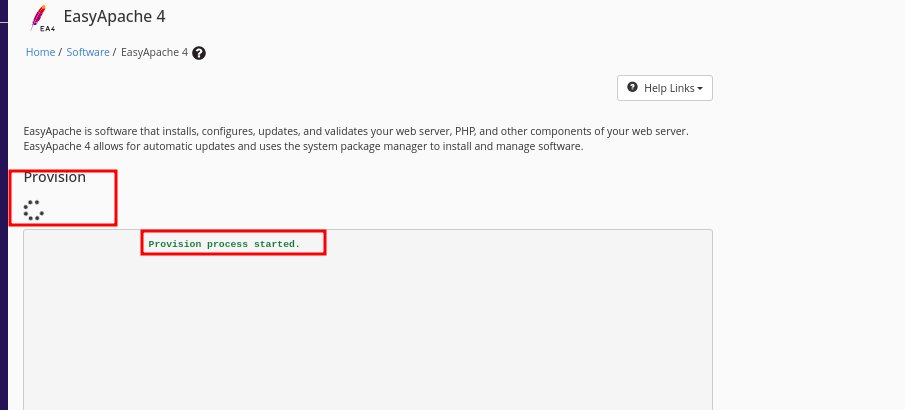
- Click the “Provision” button to install the selected PHP extensions.
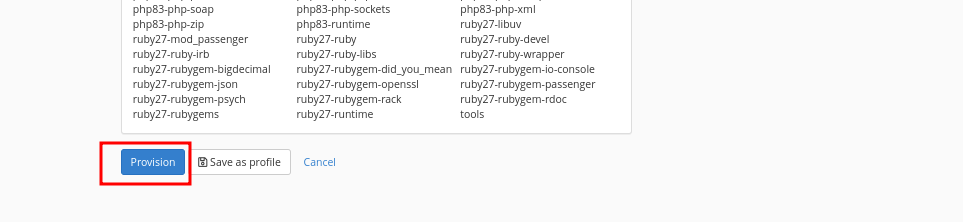
- Give it time to provision
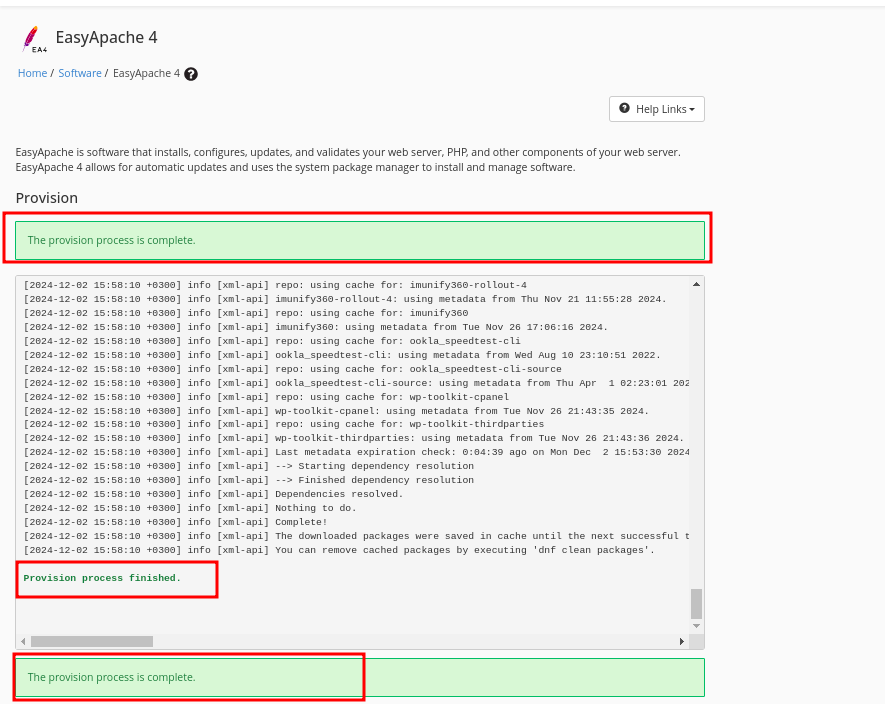
- The selected extensions will install and a success message will be displayed
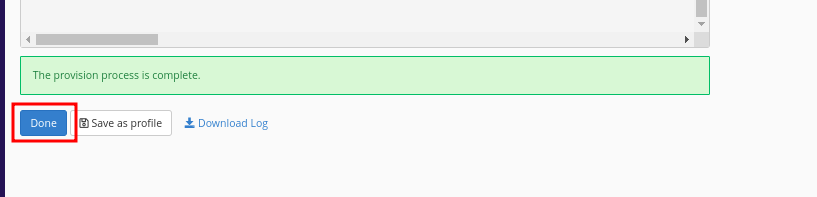
- Click on Done to complete and close the window
That will be all! Cheers!