Proxmox Virtual Environment is an open-source virtualization platform built on Debian GNU/Linux. It combines KVM virtualization and Linux Containers (LXC) and provides a user-friendly web interface for managing virtual machines, containers, and clusters. Advanced users can also utilize the command line for management tasks.
Proxmox is ideal for enterprise virtualization or simple IT setups and is optimized for bare-metal installations, especially in production environments. However, it can also be installed on top of Debian. Alternatives include VMware ESXi, Citrix Hypervisor, and Oracle VM VirtualBox. For detailed features, refer to the Proxmox Features page.
In this article, we will install Proxmox on Debian 12
Prerequisites #
- A server with Debiab 12 installed
- Root SSH access to the server or acccess via a sudo user
Step 1: Update Apt Cahe #
- You will update your system’s packages using the following command.
sudo apt update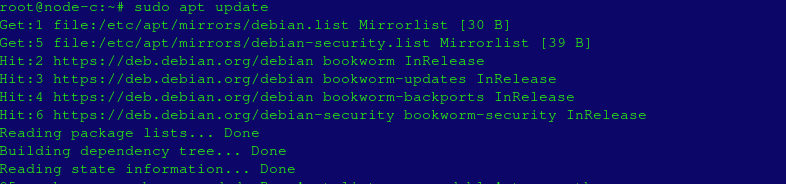
Step 2: Configure Static IP #
- You now need to configure the server to have a static IP. You can check your IP using the command below;
ip a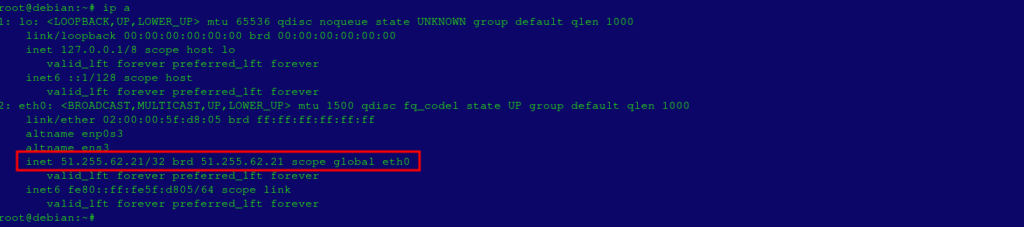
- In Debian, the network configuration file is /etc/network/interfaces. You can view its contents using the command below.
cat /etc/network/interfaces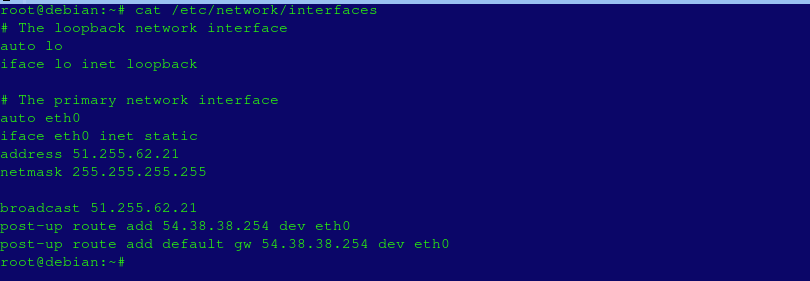
- Open the configuration file using a text editor of your choice. We will use vi here but you could choose to use nano.
sudo vi /etc/network/interfaces- Then add the following configuration settings, ensuring to replace the IP Address and the subnet to reflect your own.
auto enp0s3
iface enp0s3 inet static
        address 51.255.62.21/24
        network 51.255.62.0
        broadcast 51.255.62.21
        gateway 54.38.38.254
dns-nameservers 8.8.8.8- Save the changes then exit the configuration file.
- You can then restart the Network Manager service
sudo systemctl restart NetworkManagerStep 3: Configure Hostname Resolution #
- You now need to set up a hostname for the server. I want my hostname to be debian.tke.co.ke so I will set using the command below
sudo hostnamectl set-hostname debian.tke.co.ke

exec bash
- You will then open this file /etc/hosts using a text editor of your choice then add your server’s IP and hostname resolution
sudo vi /etc/hosts51.255.62.21 debian.tke.co.ke
- Save changes and Exit the file
- You can then confirm the hostnamr and the IP Address that is associated with the hostname

Step 4: Add the Proxmox VE Repository #
- Run the following command to install some needed packages
sudo apt install curl software-properties-common apt-transport-https ca-certificates gnupg2 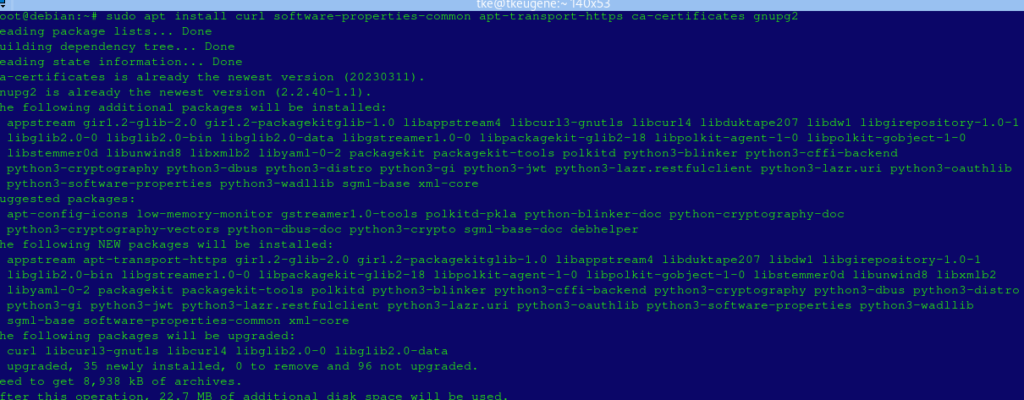
- You will then add the proxmox repository to sources.list.d directory
sudo su -- Then run the command below to add poroxmox repository
echo "deb [arch=amd64] http://download.proxmox.com/debian/pve bookworm pve-no-subscription" >
/etc/apt/sources.list.d/pve-install-repo.list- You might get an error that says No such file or directory. If you get that, you can also add the repository by creating the file using this command
sudo vi /etc/apt/sources.list.d/pve-install-repo.list- Then add the following content
deb [arch=amd64] http://download.proxmox.com/debian/pve bookworm pve-no-subscription- Then update the local APT cache, followed by a full upgrade
apt update && apt full-upgrade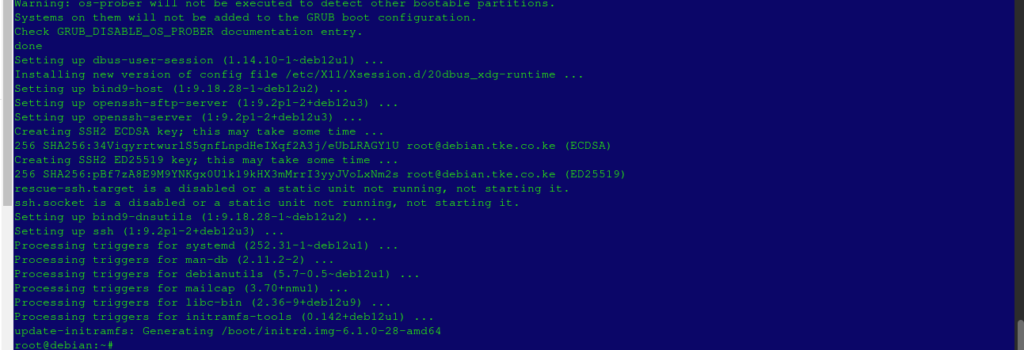
Step 5: Install the Proxmox Kernel #
- You can install the kernel using this command
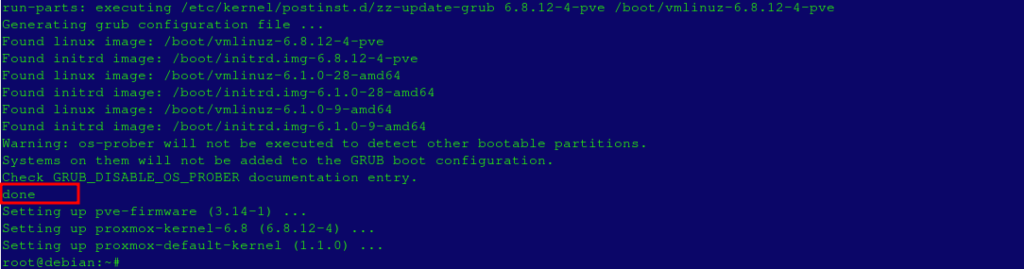
apt install proxmox-default-kernel -y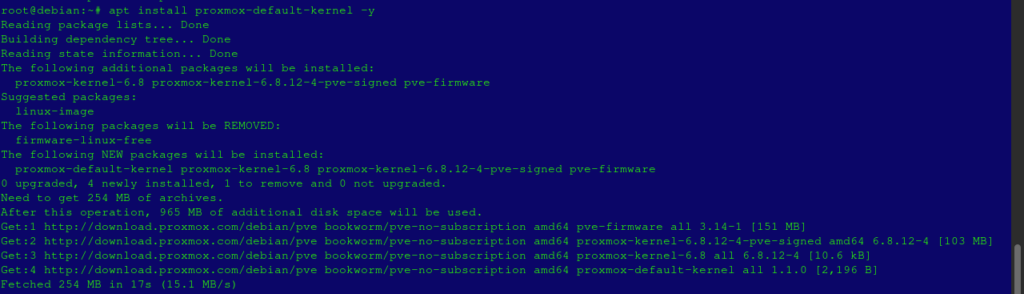
- At the end of the installation, you will see the following output, which confirms that the installation was successful.
Step 6: Install the Proxmox Packages #
- Run the command below to install Proxmox VE together with more packages like postfix, and chrony. The installation could take some time.
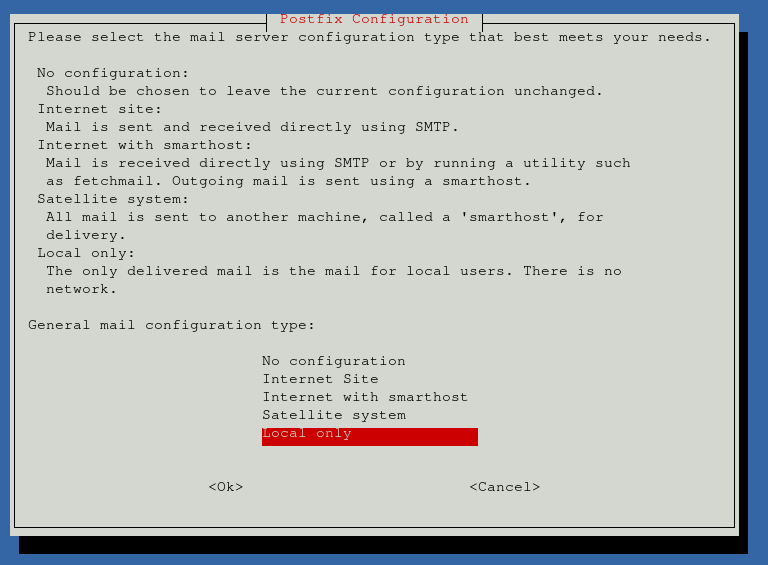
sudo apt install proxmox-ve postfix open-iscsi chrony- During the process, you may get a prompt that asks you to choose the mail configuration type for postfix. You will choose Local Only, then hit Enter
- Next step will ask you for a system mail name. Provide it then hit Enter
- The installation will continue to completion.
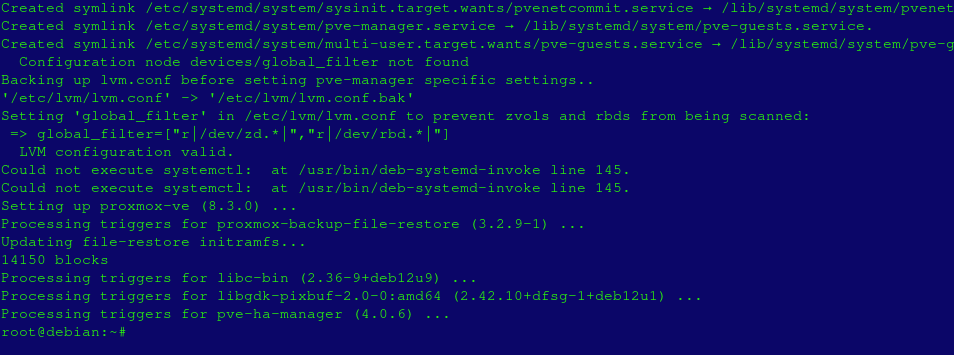
- Proxmox, will by default be listening to port 8006. Use this command below to confirm that.
sudo ss -tunelp | grep 8006
Step 7: Remove the Linux Kernel #
- Proxmox comes with it’s own kernel thus we can remove the default kernel also to prevent possible issues when doing upgrades. Purge the default kernel using this command below;
sudo apt remove linux-image-amd64 'linux-image-6.1*'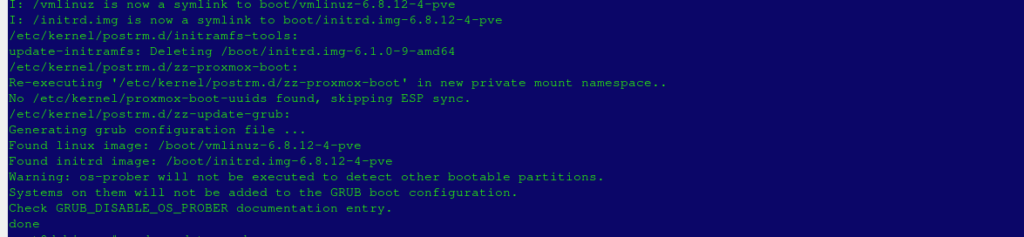
- hen upgrade the GRUB configuration file using this command
sudo update-grub
- You can remove os-prober to prevent it from scanning partitions for Operating Systems
sudo apt remove os-proberStep 8: Access Proxmox VE Web Interface #
- You will need to reboot the system
sudo reboot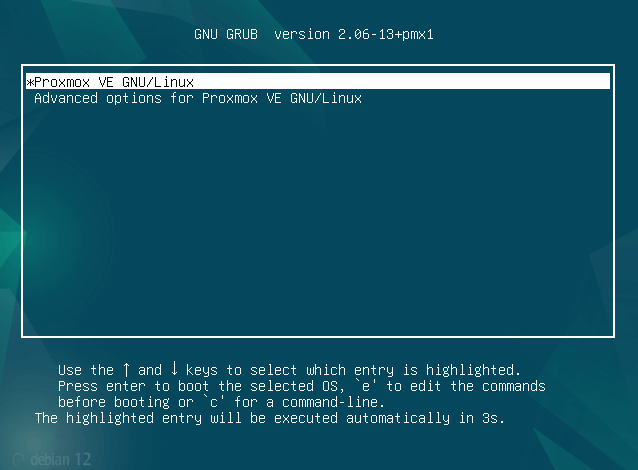
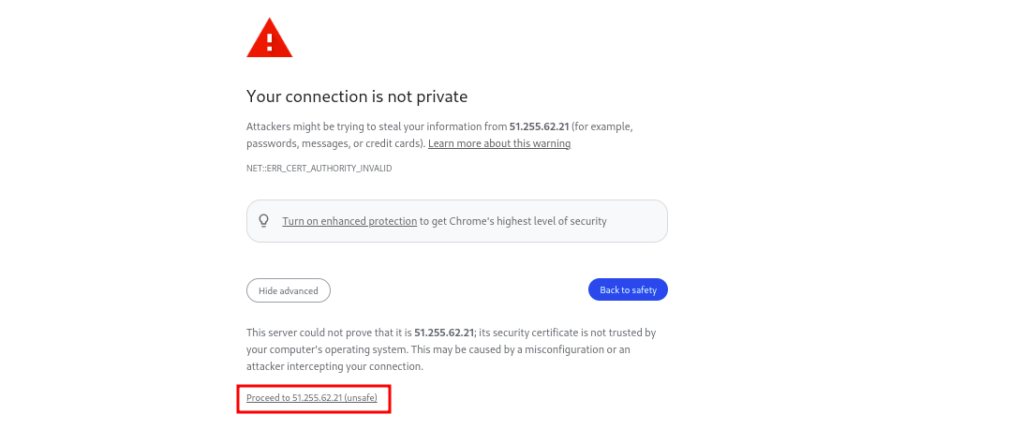
- You can now visit the dashboard through this URL below. Replace your-ip-address with your server IP Address.
https://your-ip-address:8006/- You will run into a securiry warning, which comes due to the IP-based URL not having an SSL.
- Click on Advanced to proceed to next step.

- Then click on Proceed to your-server IP
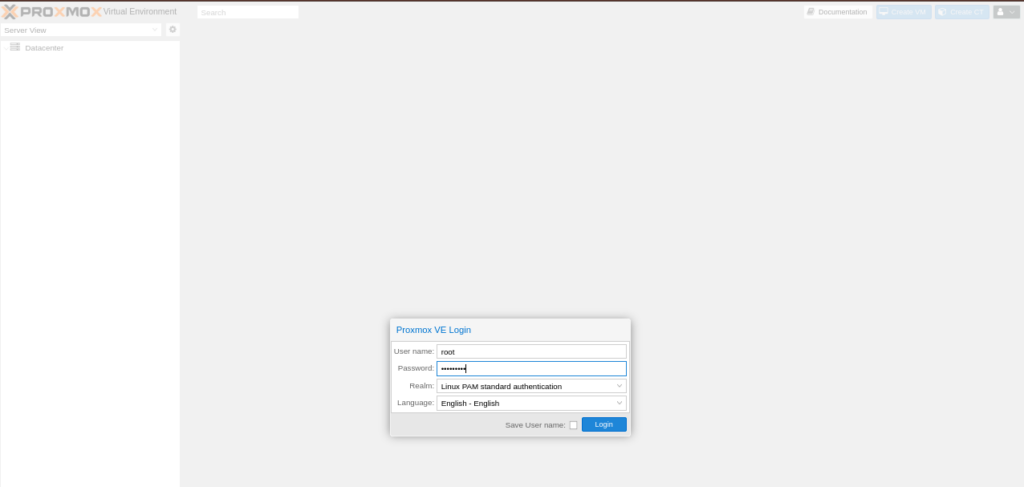
- You will see a proxmox login page. Log in to the dashboard by inputting root as the user and the server’s root password then click on Login.
- Once logged in, you will see a proxmox dashboad page like this one below;
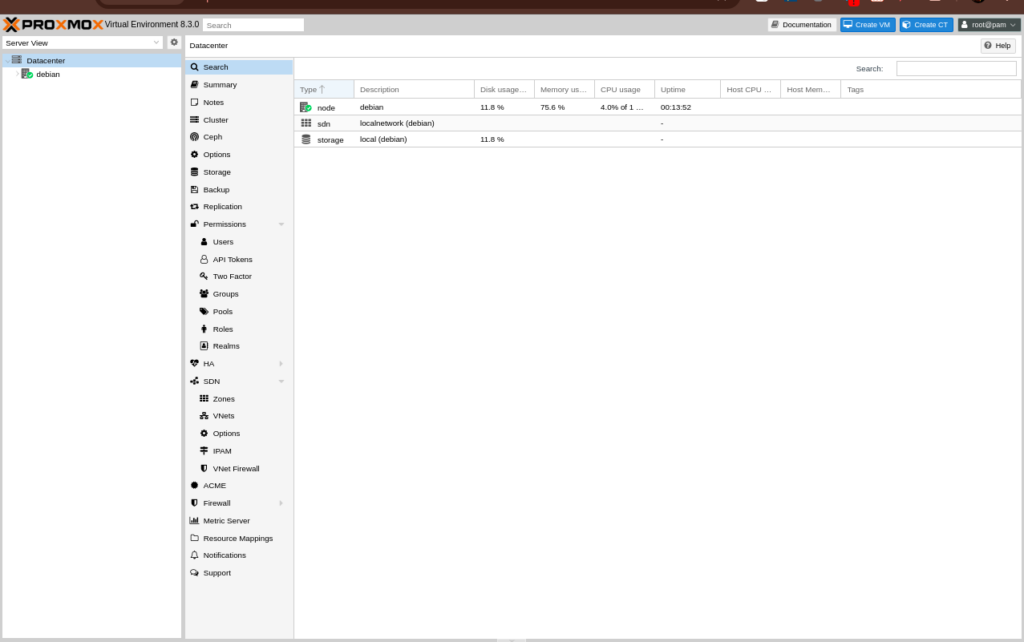
- While on this dashboard, you can create and manage virtual machine, Linux containers and other components like backup and restore, storage, users and networking
Please note that proxmox is better suited to be installed on a bare metal server that has no operating system on it.