ClamAV is an open-source antivirus software toolkit widely used for detecting malware and viruses on Linux servers. Installing and setting up ClamAV is straightforward, and it provides a powerful tool to scan files and directories for potential threats. Here’s how to install and configure ClamAV on a Linux system for malware scanning.
Prerequisites #
- A Linux sever with at least 2GB RAM
- Ubuntu operating system should be installed on the server. I will use Ubuntu 22.04 here.
- Sudo SSH access to the server (either with user root or a sudo user)
Step 1: Update Your System #
Before installing any software, it’s always good practice to update your package lists:
sudo apt update Step 2: Install ClamAV #
- Debian/Ubuntu:
sudo apt-get install clamav clamav-daemon -y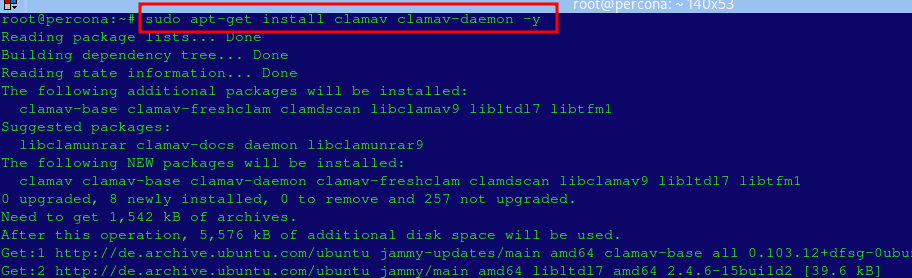
Step 3: Update ClamAV Virus Definitions #
After installing ClamAV, you should update the virus definitions to ensure ClamAV has the latest signatures for detecting threats.
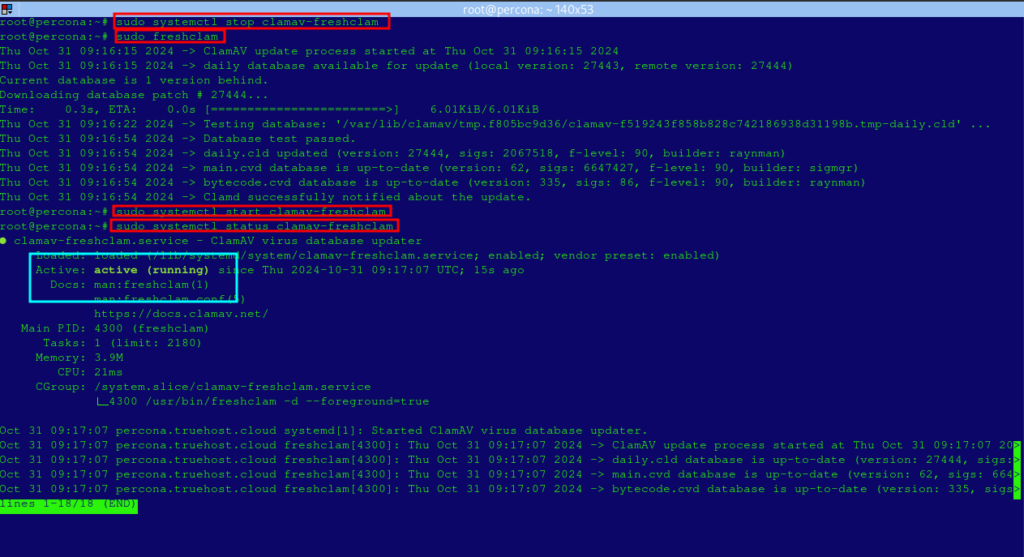
- First Stop the ClamAV process:
sudo systemctl stop clamav-freshclam- Manually update the ClamAV signature database:
sudo freshclam- Restart the service to update the database in the background:
sudo systemctl start clamav-freshclam- Check status of clamav-freshclam
Step 5: Start and Enable ClamAV Daemon #
- Starting the
clamdservice allows you to perform scans without initializing ClamAV each time.
# Start the ClamAV daemon
sudo systemctl start clamav-daemon    # On Ubuntu
sudo systemctl enable clamav-daemon
sudo systemctl status clamav-daemon
Step 6: Run a Scan #
You can scan directories or specific files with the clamscan command.
- Scan a Directory:
- The
-rflag performs a recursive scan, scanning all subdirectories within the specified path.
- The
clamscan -r /path/to/directory- Scan and Remove Infected Files:
- The
--removeoption will delete infected files (use with caution).
- The
clamscan -r --remove /path/to/directoryScan and Generate a Log:
- This command saves scan output to
/var/log/clamav/scan.logfor later review.
clamscan -r /path/to/directory | tee /var/log/clamav/scan.logTo learn more about clamscan options, check the manual:
man clamscanStep 7: Schedule Regular Scans (Optional) #
To automate scans, set up a cron job. For example, to scan /home daily:
- Open the cron editor:
crontab -e- Add the following line to schedule a scan at midnight each day:
0 0 * * * /usr/bin/clamscan -r /home | tee -a /var/log/clamav/daily_scan.logStep 8: Check Scan Results #
- If you configured logging, you can view scan results in the log file:
cat /var/log/clamav/daily_scan.logAuthor’s final word #
ClamAV provides a robust antivirus solution for Linux systems, and with these steps, you can efficiently configure it to protect your system from malware. Regular updates, scheduled scans, and log reviews ensure comprehensive protection.
To learn more about the ClamAV scanner and its commands, you may check their Official Documentation.