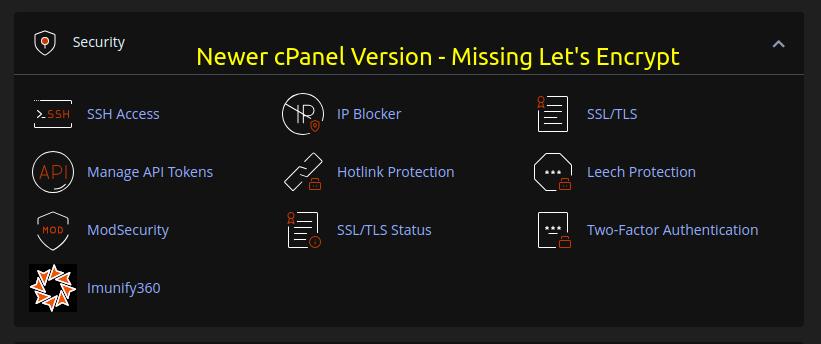
Recent cPanel updates have removed the Let’s Encrypt option that used to be there for SSL issuance.
See differences below.
Steps :
Step 1 : Login to cPanel
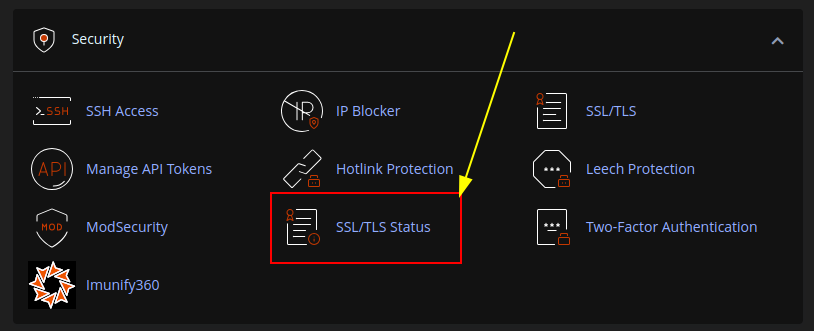
Step 2: Go to Security Section
Step 3: Locate SSL Staus
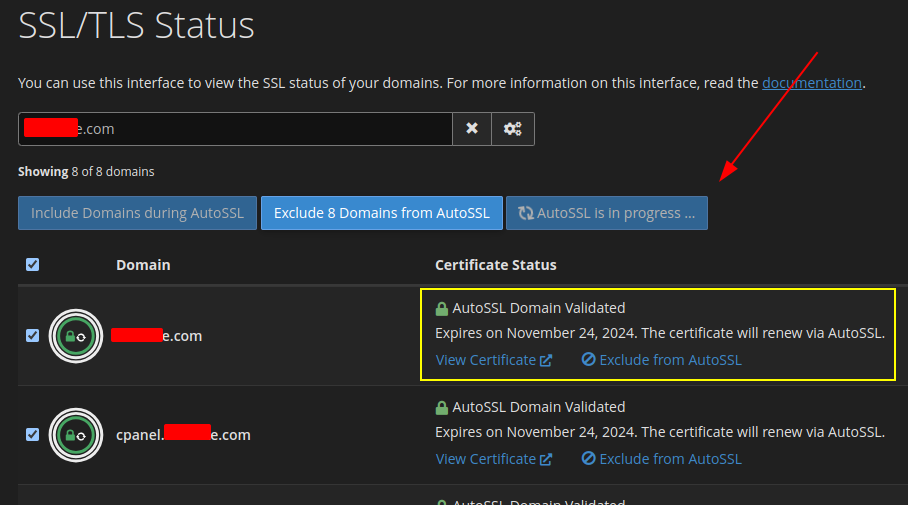
Step 4: Click on SSL status and Run Auto SSL for your domain
Step 5: Access your domain on browser to confirm SSL has been installed.
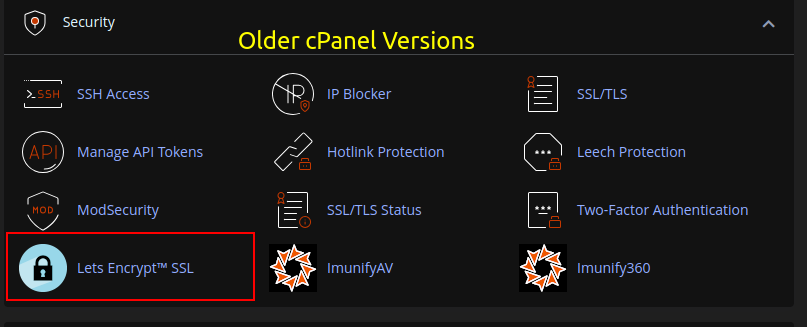
Older cPanel Versions.
Newer cPanel Versions.
On new cPanel versions, Auto SSL is used to Issue SSL.
Go to Security Section and click on SSL STATUS
On the next Page, Click on the checkbox and click on RUN AUTO SSL button.
You will see AutoSSL is in Progress
Last step : Optional
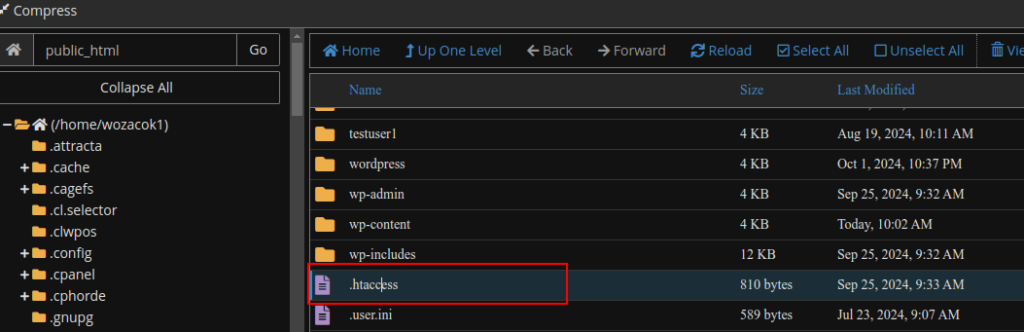
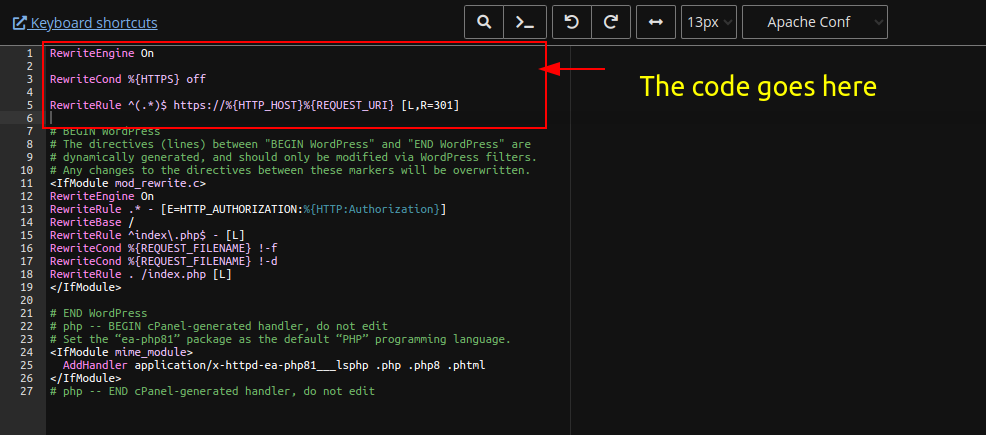
Add the .htaccess code below to redirect all http requests to https
RewriteEngine On
RewriteCond %{HTTPS} off
RewriteRule ^(.*)$ https://%{HTTP_HOST}%{REQUEST_URI} [L,R=301]
NOTE:
The Auto SSL is automatically initiated by the server. Only do this manually if your domain does not yet have SSL.
The SSL auto Renews automatically via AUTO SSL.