How to Manually Install Moodle on Plesk Windows #
Moodle is a powerful, flexible, open-source learning management system (LMS) widely used by educators worldwide. Installing Moodle on a Plesk Windows server manually allows more control over the environment, ensuring you meet Moodle’s requirements and optimize your hosting for the best performance.
Prerequisites #
Before starting the Moodle installation process, ensure the following prerequisites are met:
- PHP 8.1 or above (Moodle requires PHP 8.1+).
- PHP Settings:
max_input_vars = 5000or higher.max_execution_time = 300or higher.memory_limit = 128Mor higher (256M recommended).
- MySQL 5.7+ or MariaDB 10.6+.
- IIS (Internet Information Services) installed on your Windows server.
- Plesk Admin Access to manage files, databases, and PHP configurations.
- Moodle software package (download from Moodle’s official website).
Step-by-Step Guide #
Please follow these steps
Step 1: Set Up PHP 8.1 on Plesk #
- Login to Plesk: Open your browser and log in to your Plesk control panel.
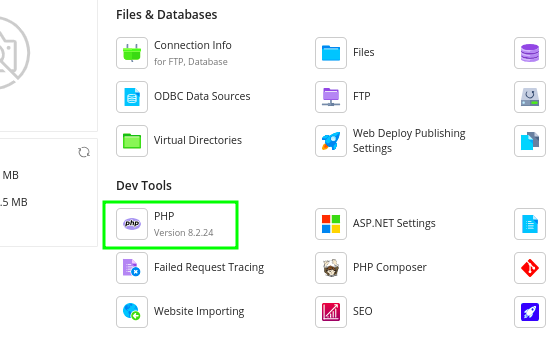
- Check PHP Version:
- Set the system php to 8.1 and above. Check this guide on how to do that. If you use Truehost Windows Shared packages, this should already be set by the admin,
- Once done, set the domain’s PHP version too. Navigate to Tools & Settings > PHP Settings .
- Ensure that PHP 8.1 or above is installed. If not, install it using these steps then set it for the domain that you want to install moodle on. Check this guide on how to.
3. Modify PHP Settings:
- Go to Tools & Settings > PHP Settings
- Click on the PHP version that you have set for the domain name
- Select PHP Settings.
- Set the following variables to meet Moodle’s requirements:
max_input_time = 600or highermax_execution_time = 300or highermemory_limit = 512M- Use these steps to adjust
max_input_varsto 5000 or higher
- Apply the changes.
Step 2: Create a MySQL Database #
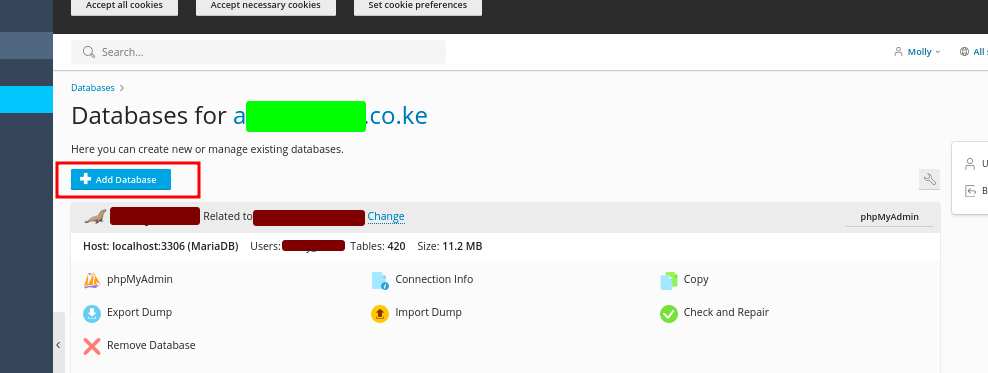
- In the Plesk Control Panel, go to Databases.
- Click Add Database.
- Enter a database name (e.g.,
moodle) and save it for later use - Select Mariadb as the database type.
- Create a database user and password, and save them for later use
- Click OK to save the new database.
- Enter a database name (e.g.,
Step 3: Download and Upload Moodle Files #
- Download Moodle: Download the latest version of Moodle from the Moodle Downloads page.
- Upload Moodle to Plesk:
- Using File Manager in Plesk, upload the Moodle compressed file to the httpdocs directory of your domain or subdomain. Alternatively, you can use FTP for this process.

- Ensure all files are in the correct directory (e.g.,
/httpdocs/moodleif using a subfolder). - Extract the file, once you have uploaded it.
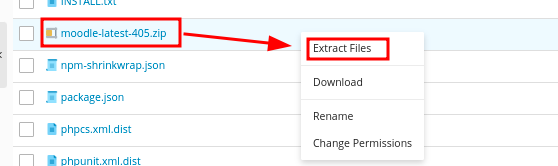

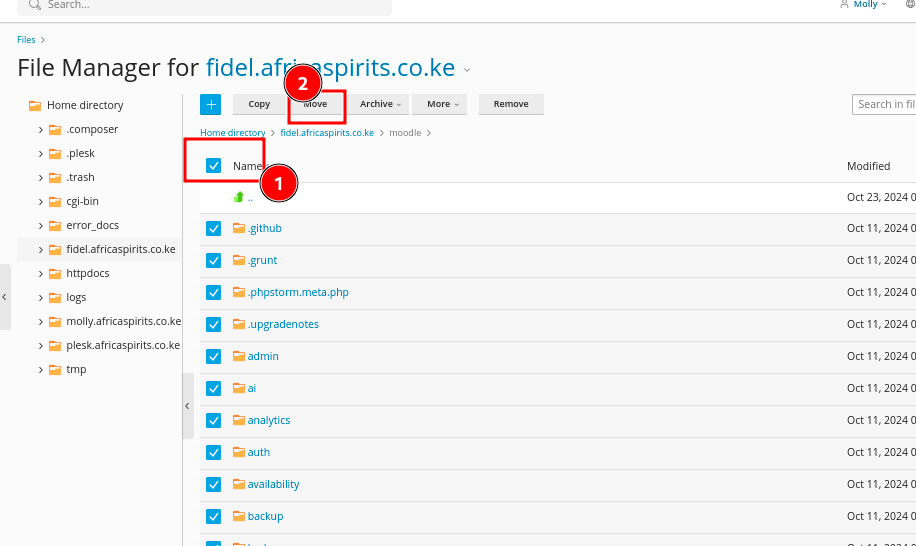
- Move the files from the extraction folder to the domain/subdomain’s root folder, e.g from a folder called moodle to httpdocs directly.
- Check all the files using the checkbox icon in the image below, then Click on Move.
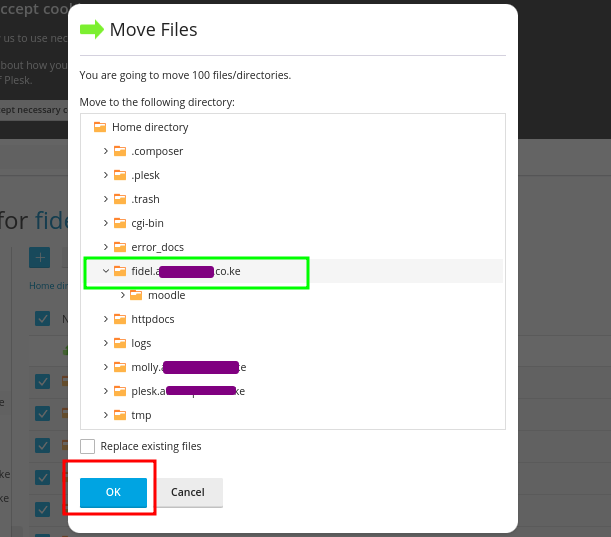
- You will then select the new destination, then click on OK
Step 4: Edit the config-dist.php file #
- Return to the folder where you copied moved the files, and locate a file called config-dist.php.
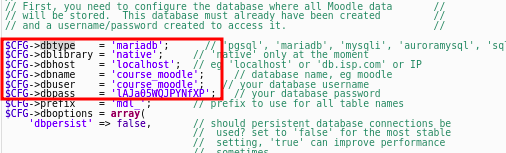
- Carefully edit the file by replacing the dummy database details with the actual database details, that you had created and saved earlier.
- Also, if you are using mysql or mariadb database, then change dbtype from pgsql to mysql or mariadb respectively. Truehost plesk shared servers use mariadb
Step 5: Begin Moodle Installation via Web Interface #
- Access Moodle Installer:
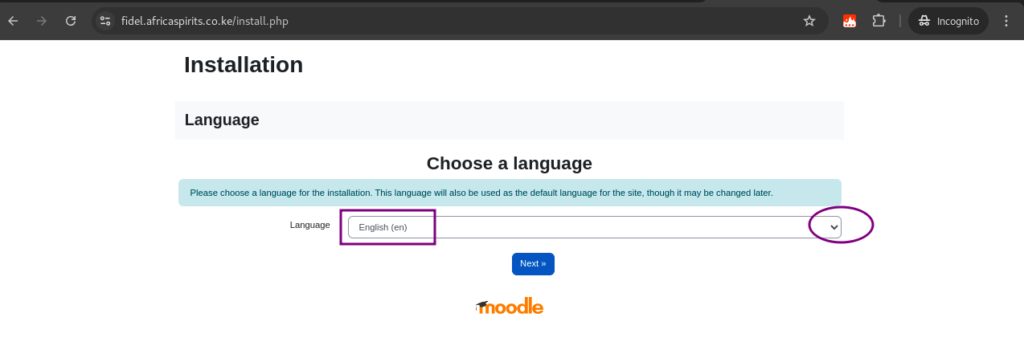
- Open your web browser and go to your domain (e.g.,
https://yourdomain.com/moodle/). - The Moodle installer will start automatically.
- Open your web browser and go to your domain (e.g.,
- Choose a Language and click Next.
3. Verify Installation Paths:
- The installer will bring you to a section where you verfy and edit the installation patjs
- Make sure the correct Web address and Moodle directory are displayed. Leave the Data directory as it is, or change the location.
- Web address is the domain or subdomain that you are installing moodle on
- Data directory is the directory where moodle data will be stored
- I recommend that for Data directory, you input it in the format below, depending on whether you are installing on a domain or subdomain. Replace example.com or subdomain.example.com with your correct domain or subdomain
- This path must be accurate, to prevent errors in the next step
C:\\Inetpub\\vhosts\\example.com\\moodledata

OR

C:\\Inetpub\\vhosts\\example.com\\subdomain.example.com\\moodledata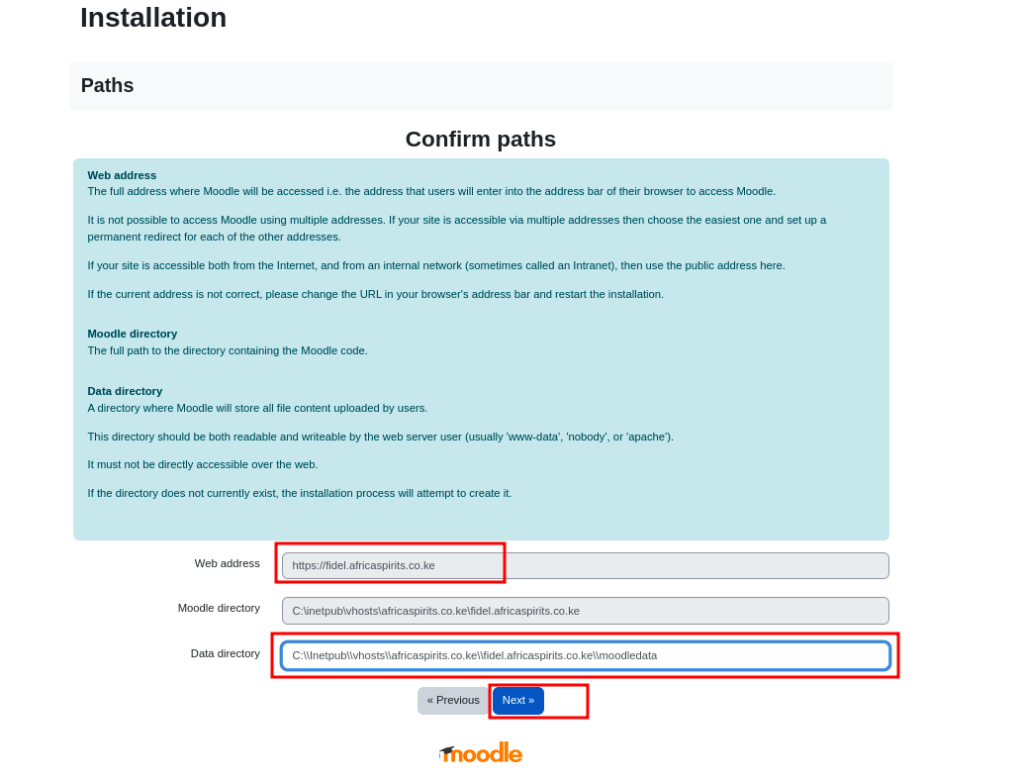
- Once done, return to config-dist.php file, open it and scroll down to find Web Site Location and Data Files Locations, named $CFG->wwwroot and $CFG->dataroot
- Carefully edit the $CFG->wwwroot to have the same value as Web address had in the above step
- Also edit the $CFG->dataroot to have the same value as Data directory had in the above step
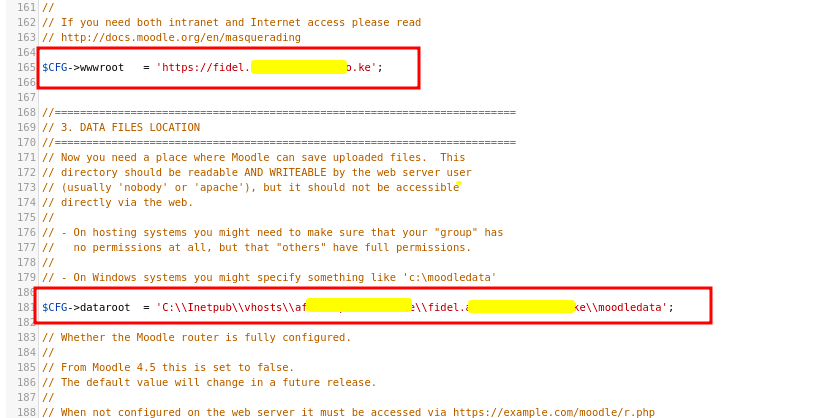
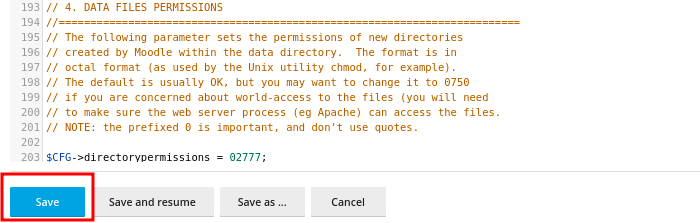
- Once done, Save the file, close it
- Return to the Moodle™ setup page and select Next.
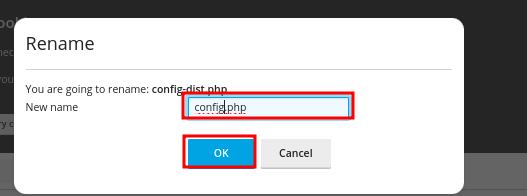
- Go back and rename the file config-dist.php to config.php.
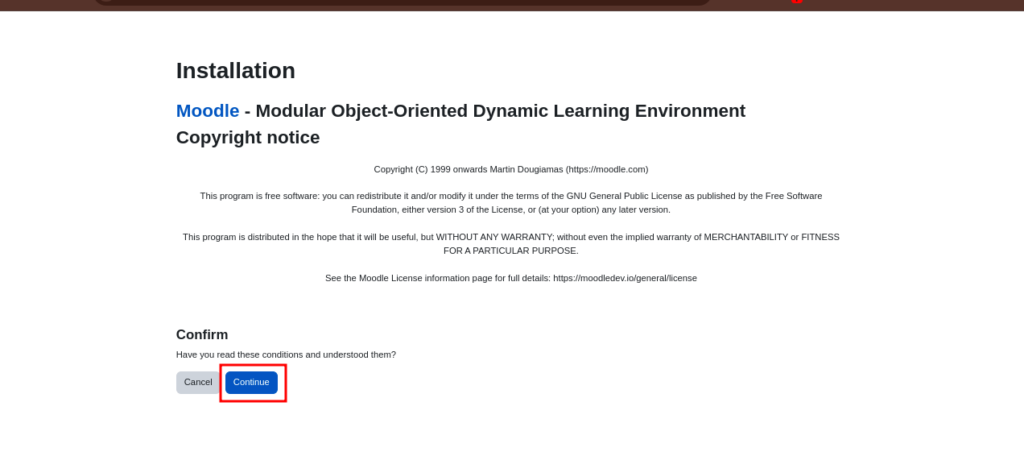
4. Confirm Copyright terms
- You will be presented with a screen such the one below so thta you can confirm the terms of service.
- Click on Continue to confirm the terms
5. Server checks and Adjustments
- The next screen will show you the server configurations, with system requirements that have been met and those that have not been met.
- You will need to adjust accordingly so that all system requirements are met.
- This section could tell you that max_input_vars must be above 5000, hence why we guided earlier that you adjust it. If you did not, please do it using these steps.
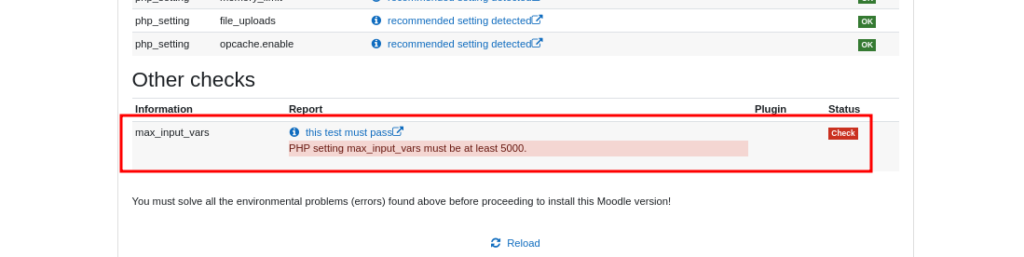
- Once you have done the changes, reload the page to see the status.
- When all requirements are met, you will see a message like this: Your server environment meets all minimum requirements.
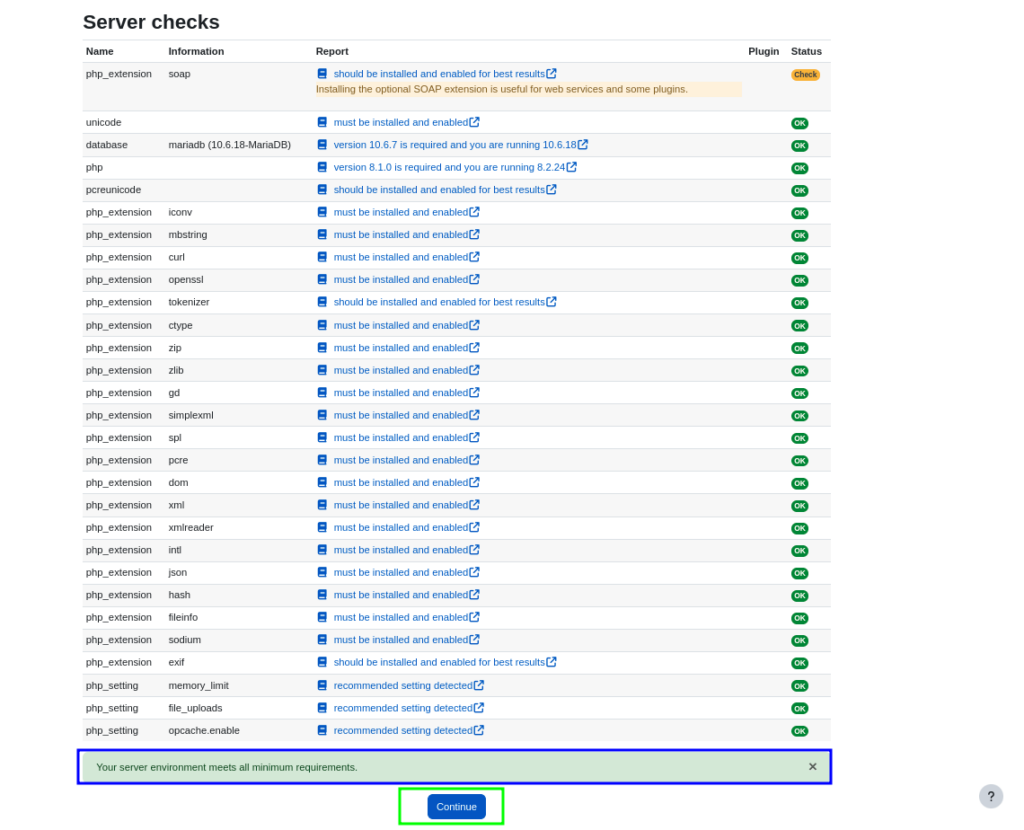
- Click on Continue, and give it time to confirm the settings again. You will see a window showing status information like in the image below
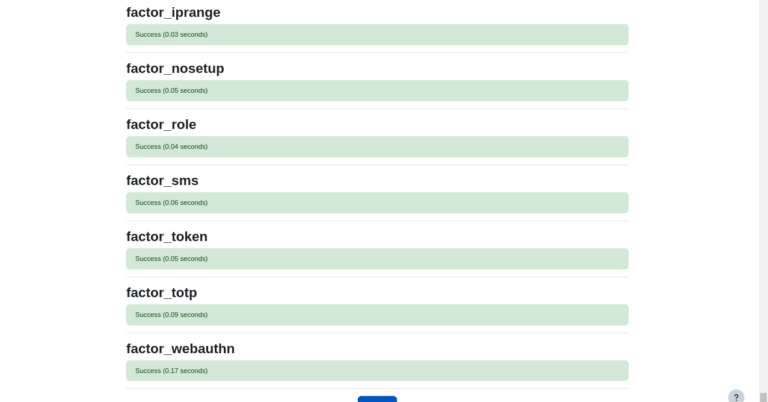
- Click on Continue
- You will then be taken to a page where you set up admin account details.
- Input the needed details then click on Update
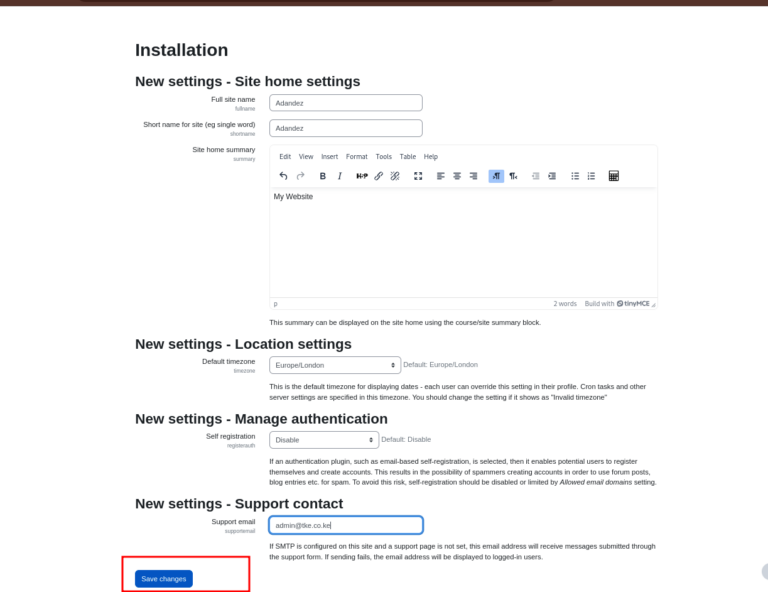
6. Enter Website Details:
- Next will be to input website details
- Fill in the details then click on Save Changes
6. Complete Website Registration
- The next step will need you to complete your site registration, by inputting needed details.
- Fill in the details, then check the box to agree to Moodle terms of service.
- You can optionally check the other box, to be notified of new releases or to receive newsletters from moodle.
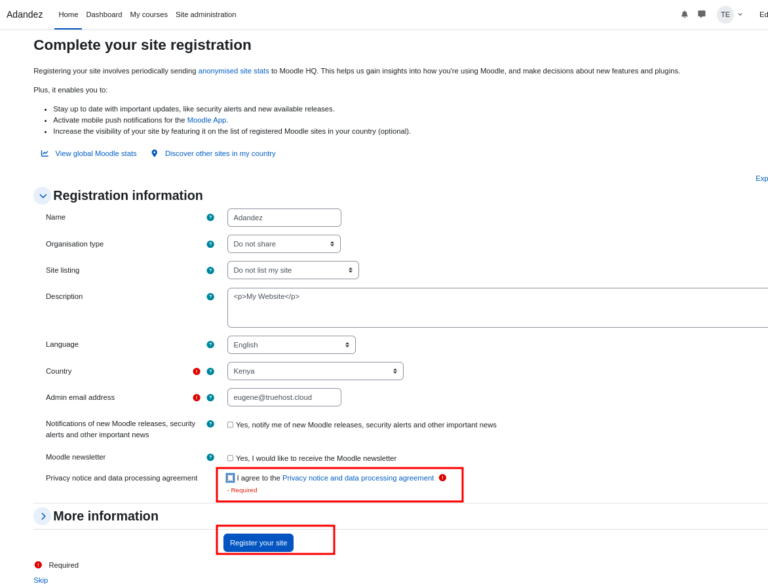
- Then click on Register your site
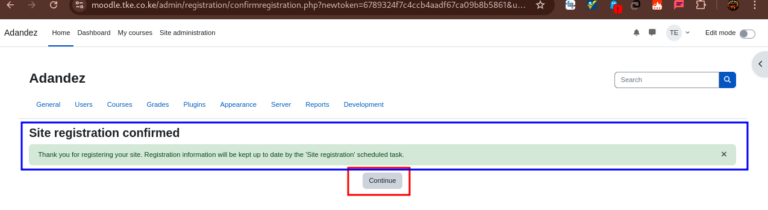
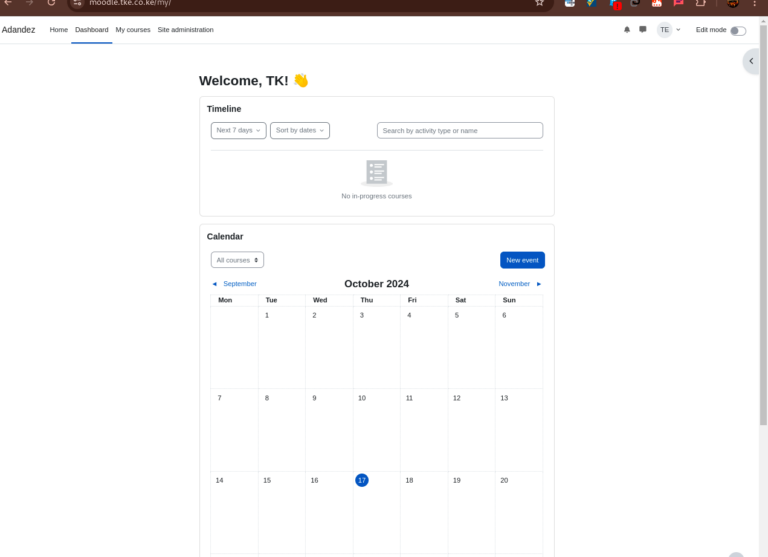
- Congratulations! You have successfully installed Moodle.
- You will now be logged into your admin account and you can now customize your installation as you desire.