Setting up a website on a VPS (Virtual Private Server) is a fundamental skill for developers, system administrators, and anyone looking to host their own website. In this guide, we’ll walk you through the process of setting up a website on a VPS using Nginx on AlmaLinux. We’ll also cover how to secure your site with a free SSL certificate from Let’s Encrypt and enable automatic renewal.
Prerequisites #
Before starting, ensure you have the following:
- A VPS running AlmaLinux: You should have root or sudo access to the server.
- A Fully Qualified Domain Name (FQDN): Your domain name (e.g.,
example.com) must be pointed to your server’s IP address via DNS settings. - SSH Access: You should be able to connect to your server via SSH.
In my case, I’ll be using a subdomain as below.

Step 1: Update System Repositories #
Start by updating your system’s package repositories to ensure you have the latest software versions:
sudo yum -y update

Step 2: Install Nginx #
Nginx is a high-performance web server that will host your website. Install it using the following commands:
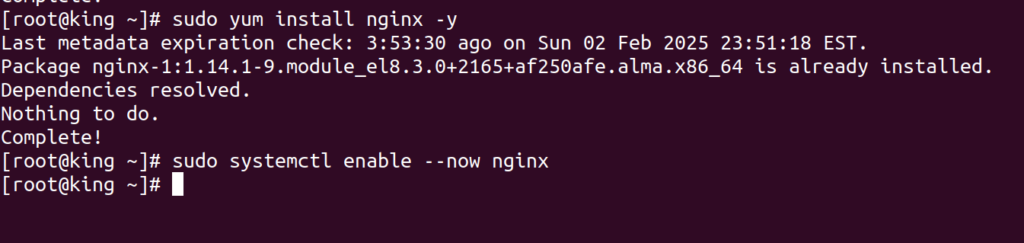
sudo yum install nginx -y
Once installed, enable and start the Nginx service:
sudo systemctl enable --now nginx
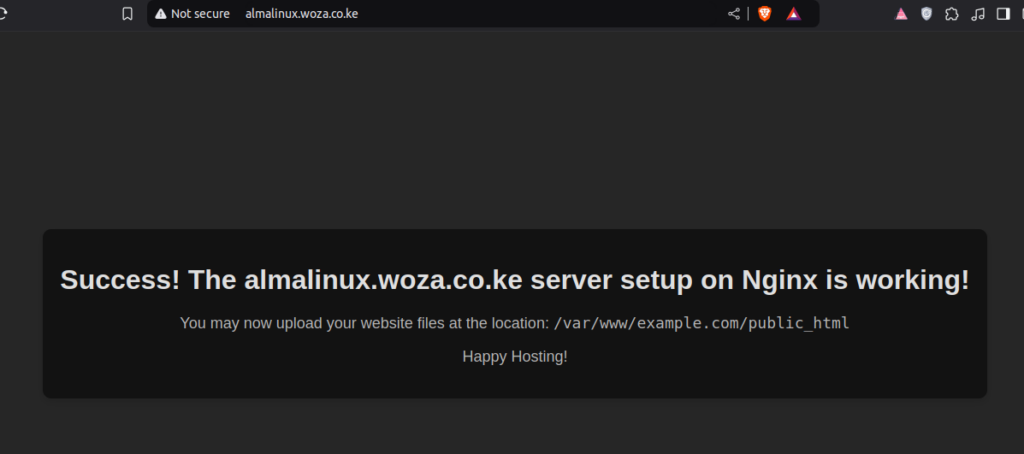
You can verify that Nginx is running by visiting your server’s IP address in a web browser. You should see the default Nginx welcome page.
Step 3: Create the Website Directory Structure #
Create a directory to store your website files. Replace example.com with your actual domain name:
sudo mkdir -p /var/www/example.com/public_html
Set the correct permissions for the directory:
sudo chown -R nginx:nginx /var/www/example.com/public_html
sudo chmod -R 755 /var/www/example.com

Step 4: Create a Sample HTML Page #
Create a simple index.html file to test your website setup:
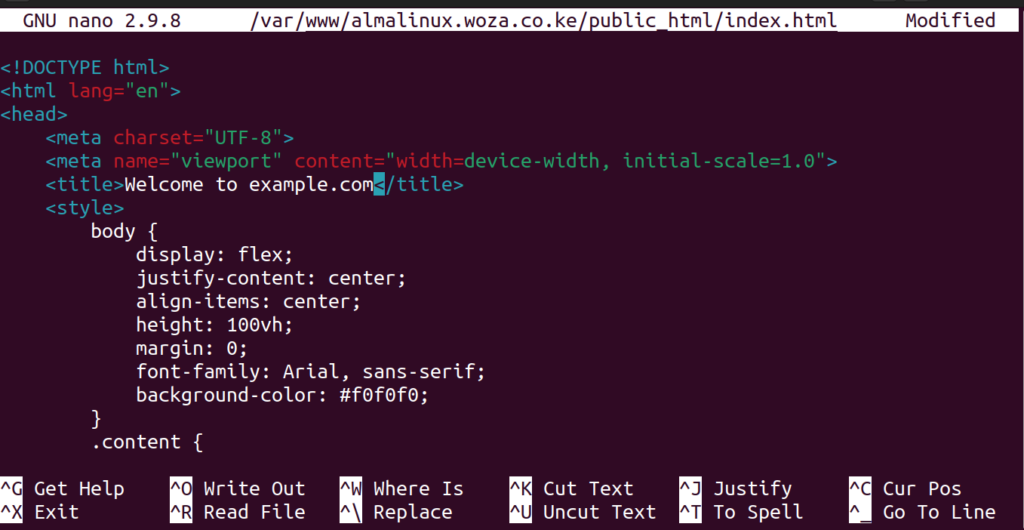
sudo nano /var/www/example.com/public_html/index.html
Add the following HTML content: (Edit as needed)
Save and close the file.
Step 5: Configure Nginx Server Blocks #
Next, create an Nginx server block (virtual host) configuration for your domain:
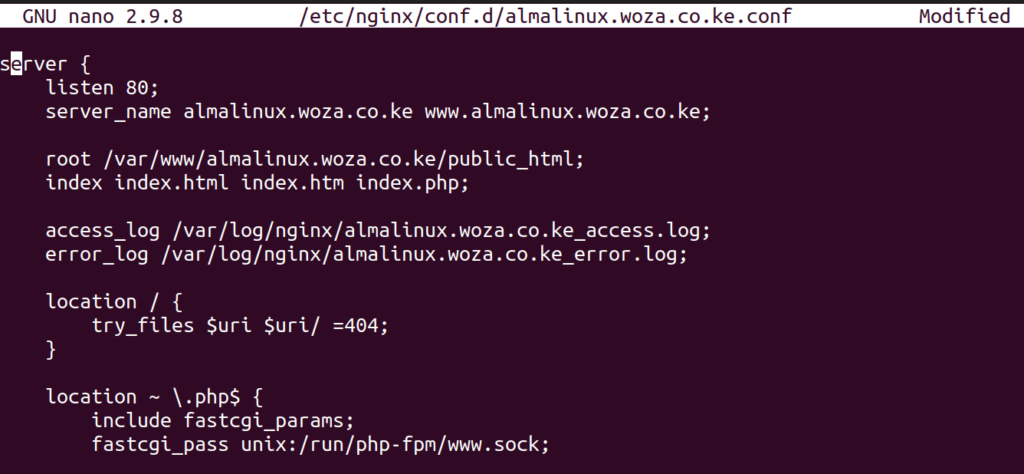
sudo nano /etc/nginx/conf.d/example.com.conf
Add the following configuration:
replace example.com with your domain name.
server {
    listen 80;
    server_name example.com www.example.com;

    root /var/www/example.com/public_html;
    index index.html index.htm index.php;

    access_log /var/log/nginx/example.com_access.log;
    error_log /var/log/nginx/example.com_error.log;

    location / {
        try_files $uri $uri/ =404;
    }

    location ~ \.php$ {
        include fastcgi_params;
        fastcgi_pass unix:/run/php-fpm/www.sock;
        fastcgi_index index.php;
        fastcgi_param SCRIPT_FILENAME $document_root$fastcgi_script_name;
    }
}
Save and close the file.
Step 6: Test and Reload/Restart Nginx #
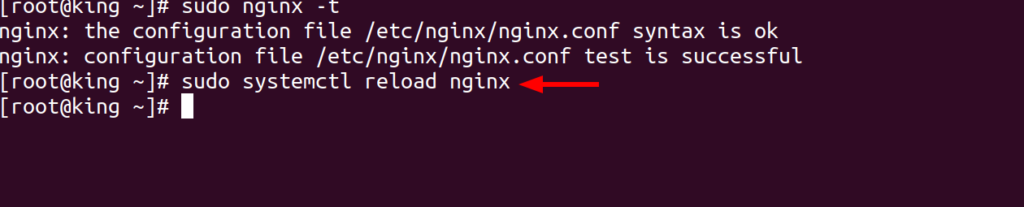
Before restarting Nginx, test the configuration to ensure there are no syntax errors:
sudo nginx -t

If the test is successful, restart or reload Nginx to apply the changes:
sudo systemctl reload nginx or sudo systemctl restart nginx
Your website should now be accessible at http://example.com.
Part 2: Installing a Free SSL Certificate with Let’s Encrypt #
Securing your website with an SSL certificate is essential for encrypting traffic and building trust with visitors. Let’s Encrypt provides free SSL certificates that are easy to install and renew.
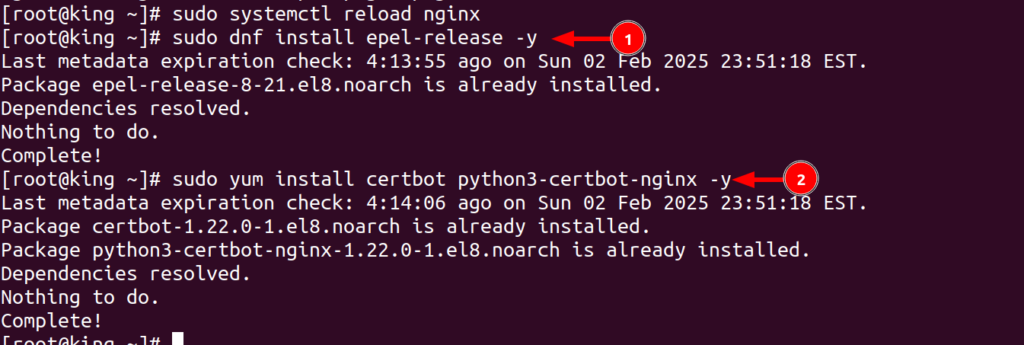
Step 1: Install Certbot and the Nginx Plugin #
Certbot is a tool that automates the process of obtaining and renewing SSL certificates. Install it along with the Nginx plugin:
sudo dnf install epel-release -y
sudo yum install certbot python3-certbot-nginx -y
Step 2: Generate an SSL Certificate #
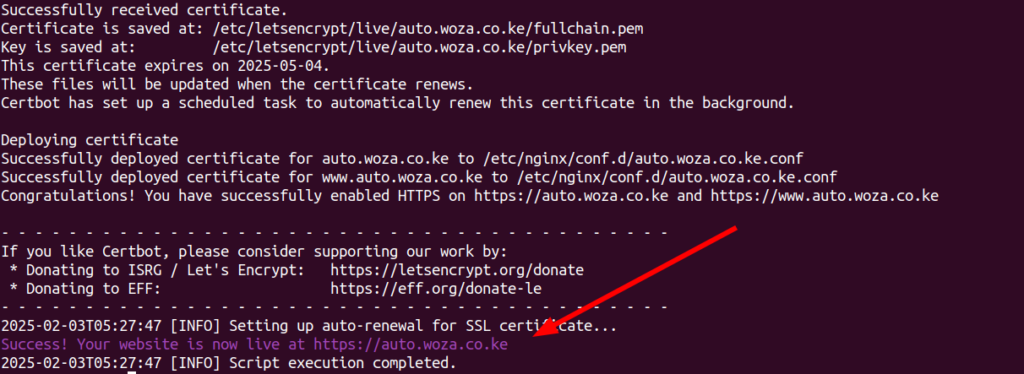
Run the following command to obtain an SSL certificate for your domain:
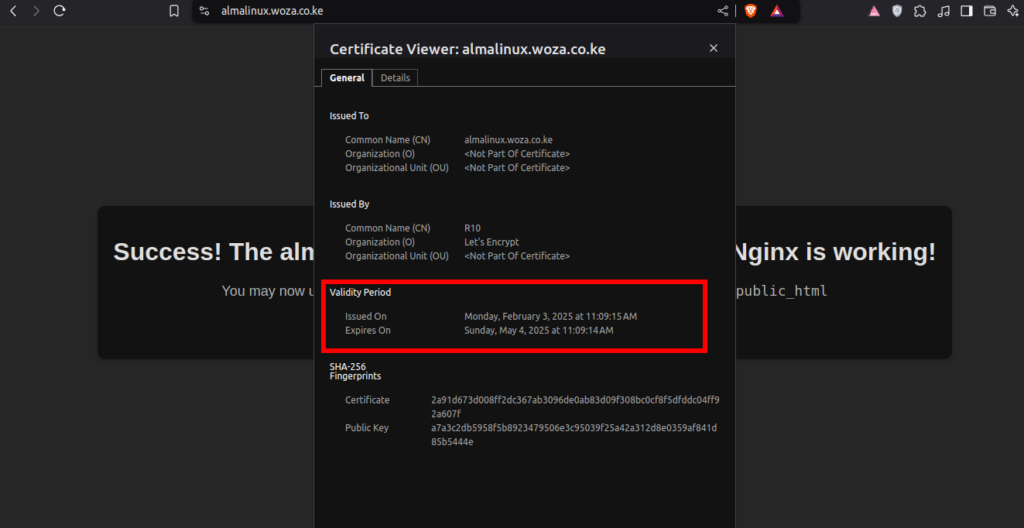
Follow the prompts to complete the process. Certbot will automatically configure Nginx to use the SSL certificate. (For Subsequent certificate requests, there will be no prompts as in my case as below)
sudo certbot --nginx -d example.com -d www.example.com

Access your site and confirm SSL is installed.
Step 3: Enable Automatic SSL Renewal #
Let’s Encrypt certificates expire every 90 days, so it’s important to set up automatic renewal. Certbot automatically adds a cron job for this, but you can test the renewal process manually:
Open crontab and add the following cronjob
crontab -e
"0 0,12 * * * /usr/bin/certbot renew --quiet"
Part 3 : Automated Setup #
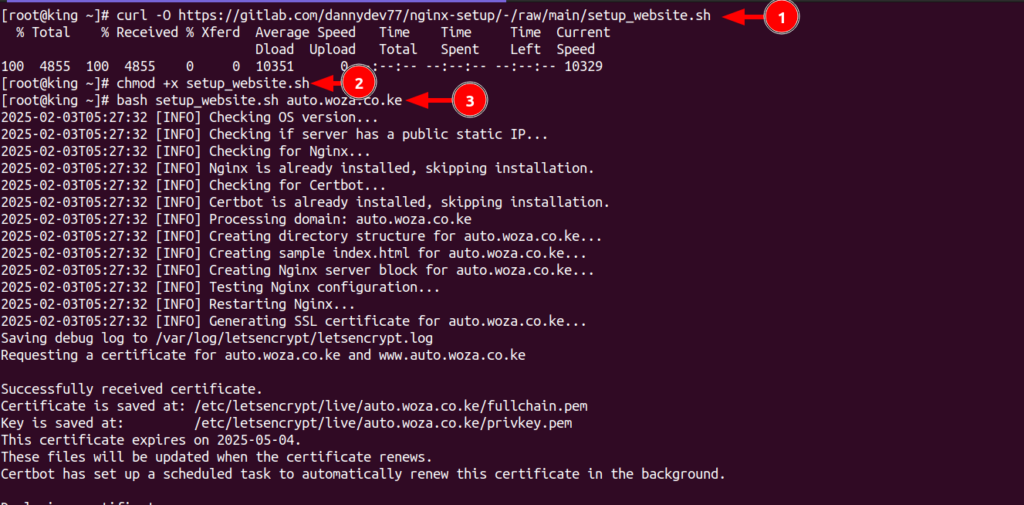
If you however do NOT wish to do this manually, you may use the Automated script below.
Download the script using curl #
curl -O https://gitlab.com/dannydev77/nginx-setup/-/raw/main/setup_website.sh
Make the script executable #
chmod +x setup_website.sh
Run the script using Bash #
bash setup_website.sh domain.com
Conclusion #
Congratulations! You’ve successfully set up a website on a VPS using Nginx on AlmaLinux and secured it with a free SSL certificate from Let’s Encrypt.
You can now upload your website files to /var/www/example.com/public_html and start hosting your site. Happy hosting! 🚀
If you have any questions or run into issues, feel free to leave a comment below!