Setting up your first Linux server is an exciting step into the world of server management. Linux servers are known for their stability, security, and flexibility, making them an excellent choice for hosting applications, websites, databases, and more.
Here’s a comprehensive step-by-step guide to help you get started.
Step 1: Choose a Linux Distribution #
The first step is selecting a Linux distribution. The most popular choices for server environments are:
- Ubuntu Server: Known for ease of use and excellent support, Ubuntu Server is widely used and has robust community and enterprise backing.
- AlmaLinux/CentOS/Rocky Linux: These are often preferred for enterprise environments, especially where compatibility with Red Hat Enterprise Linux (RHEL) is desired.
- Debian: Known for its stability and extensive software repository
Step 2: Provision Your Server #
- If you’re using a hosting provider like Truehost Cloud, provision your server through their control panel:
- Choose the server type and plan.
- Select the server location.
- Choose the distribution version.
- The server will be automatically provisioned. IN case you find a delay with provisioning, please check with our support team.
Step 3: Access Your Server via SSH #
- After provisioning, note your server’s IP address and SSH credentials. Use them to access SSH as guide in these steps.
Step 4: Update the Server #
- Before installing anything, make sure your server is up to date.
- Based on your Operating System, use the commands below to update
sudo apt update && sudo apt upgrade -y # For Ubuntu/Debian

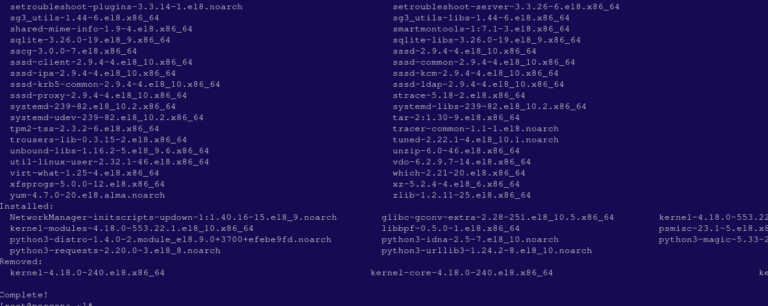
sudo yum update -y # For AlmaLinux/CentOS/Rocky
Step 5: Set Up a Basic Firewall #
- Linux servers typically come with UFW (Uncomplicated Firewall) on Ubuntu or firewalld on CentOS/AlmaLinux.
- For Ubuntu:
sudo ufw allow OpenSSH
sudo ufw enable
sudo ufw status
2. For CentOS/AlmaLinux:
sudo systemctl start firewalld
sudo firewall-cmd --permanent --add-service=ssh
sudo firewall-cmd --reload
sudo firewall-cmd --list-all- Verify Firewall Status: Confirm that your firewall rules are configured correctly to allow SSH access.
Step 6: Create a New User #
- For security, avoid working as the
rootuser. Create a new user with sudo privileges. - Use these steps to do that
Step 7: Set Up SSH Key Authentication (Optional but Recommended) #
- Using SSH keys instead of passwords significantly enhances security.
- Please refer to these steps on how to configure SSH keys
Step 8: Monitor Server Performance #
- Install monitoring tools to keep track of server health:
- Install Fail2Ban for protection against brute-force attacks:
- Please refer to this article on how to install and configure fail2ban
2. Top/htop for resource monitoring:
sudo apt install htop -y  # Ubuntu/Debian

sudo yum install htop -y  # AlmaLinuxCentOS
Step 9: Final Security Checks #
You can make your server even more secure by enforcing extra security measures
Disable Root SSH Login
- You can use these steps to disable root ssh login and only allow ssh with sudo user.
Change SSH port to a custom port
- You can use these steps to change the SSH port from the default 22, and set a custom one.
With those steps, your Linux server is now set up, secured, and ready for production use. Remember to monitor performance, stay on top of security updates, and back up your data regularly.